Adding Basic Product Information
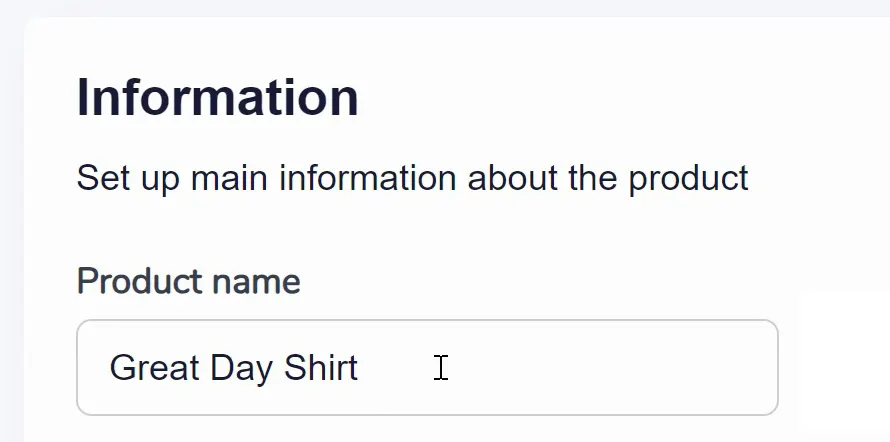
The first and most important part of your product setup is Product Information. Start by entering the name of your product (as shown below). Make sure it accurately represents the item you're adding to your store as this will be a public facing name.
Use the WYSIWYG (What You See Is What You Get) text editor below that to create a detailed product description. Highlight features, benefits, and specifications here.

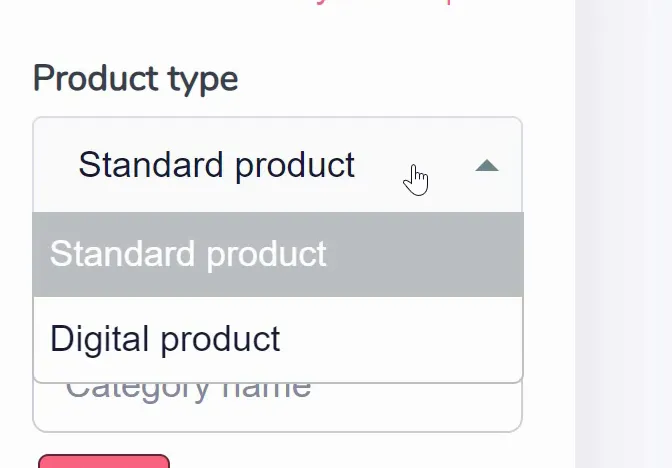
Choose between "Standard Product" or "Digital Product" from the dropdown options (as shown below). If you choose Digital Product, additional options will appear later.
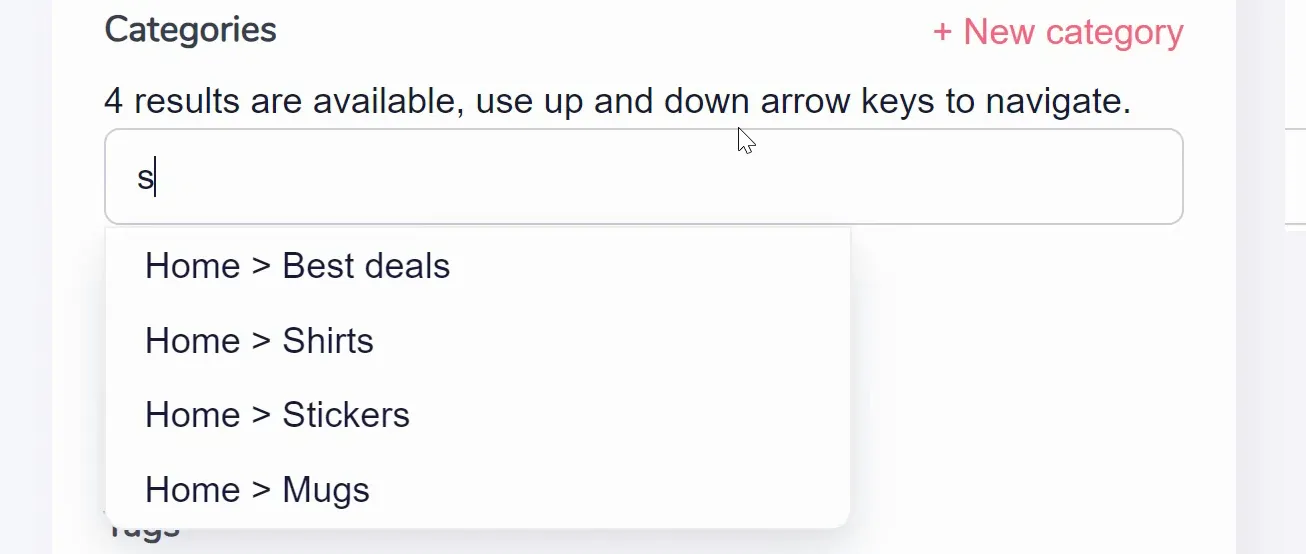
Assign relevant categories to your product (as shown below). You can either select existing categories or create new ones using the "+ New Category" link.
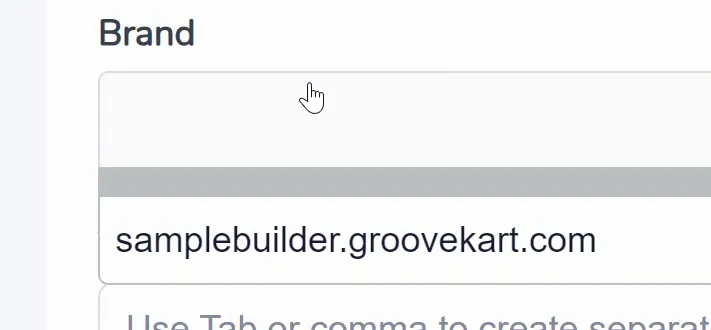
Use the "Assign A Brand" button to choose a brand from the dropdown menu (as shown below). Brands are created in the My Products area.
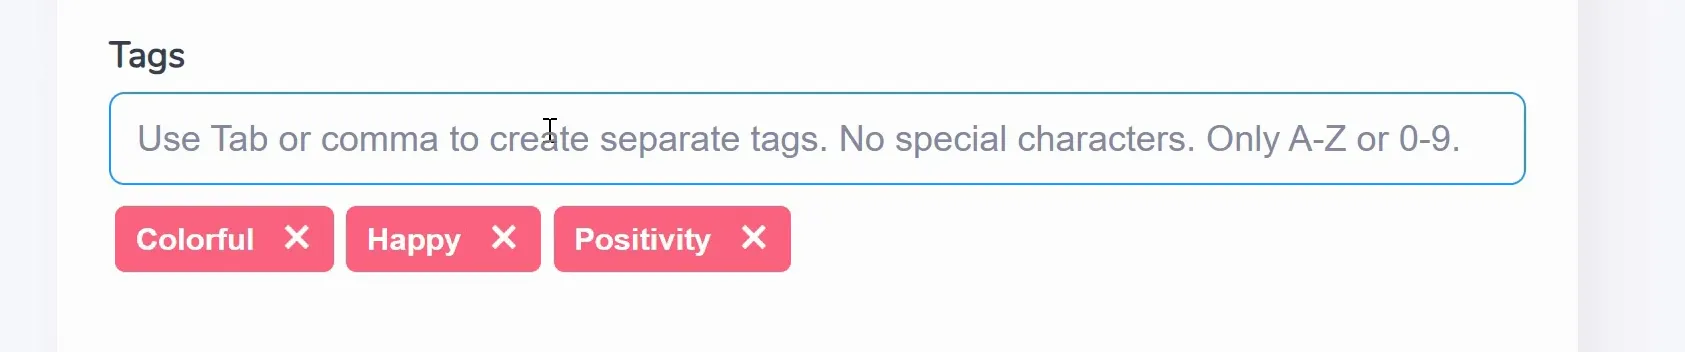
Add relevant tags to enhance discoverability (as shown below). Separate tags using tabs or commas.
If you've chosen "Digital Product" as the product type, next you'll configure additional options for digital items. In particular, does this product have an associated file? Select "Yes" (as shown below) if your digital product comes with a file and you can upload the digital file by clicking the "Choose A File" button. Then, provide a clear and descriptive filename, specify the number of allowed downloads for the digital product (if not applicable, mark 0), and if the digital product expires, set either the date or the number of days until expiration.

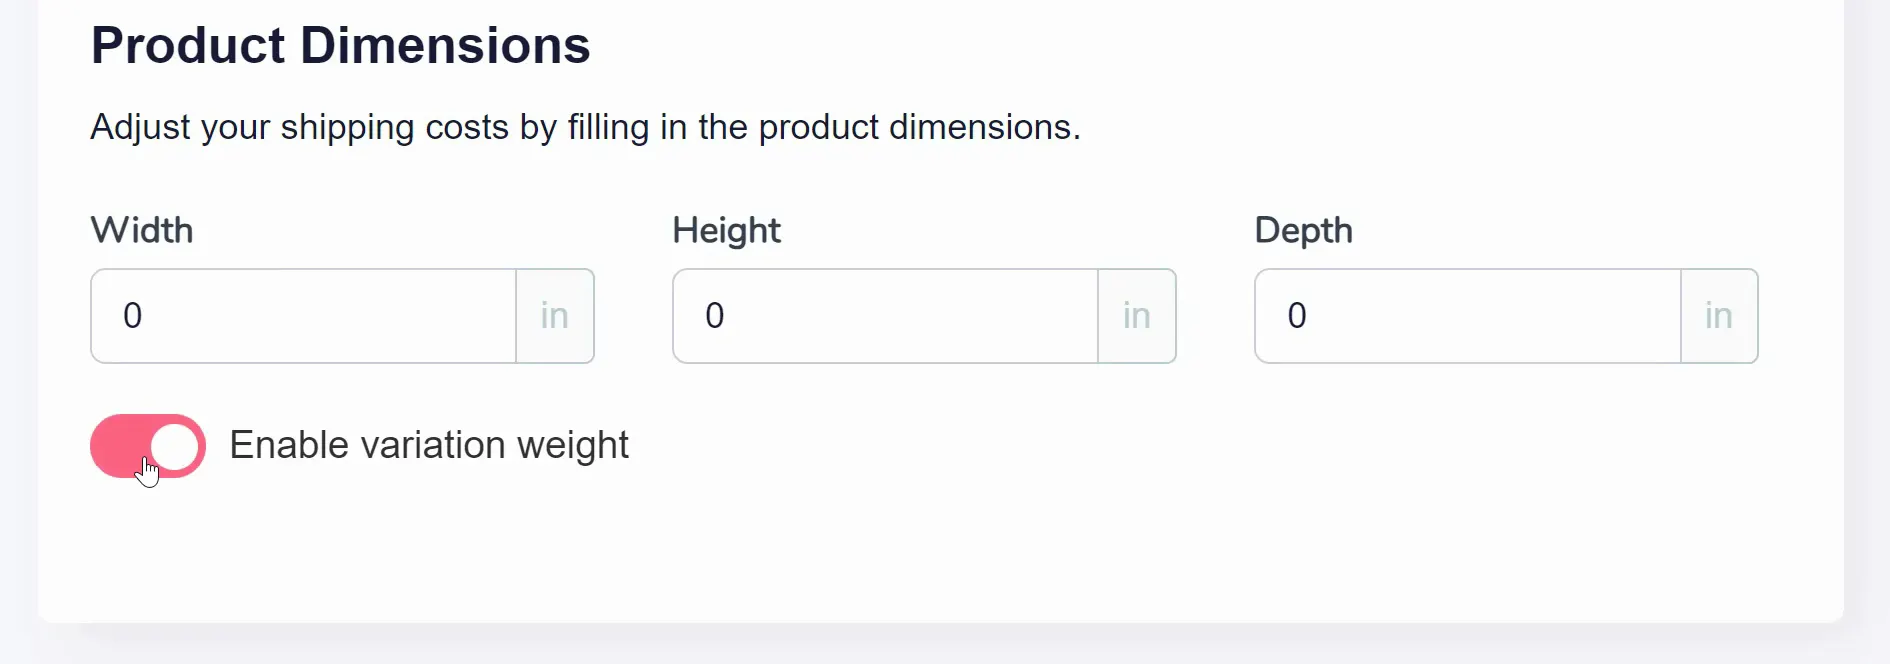
Finally, enter the product's dimensions and weight for accurate shipping cost calculation. Note that "Weight" might disappear (as shown below) if you enable the "Enable variation weight" toggle.