How to Add a Custom Domain
IMPORTANT NOTE: Migrating your domain will erase any DNS records you have already added to your domain. If you have records (such as MX Records for email), you will need to add them again inside Groove.
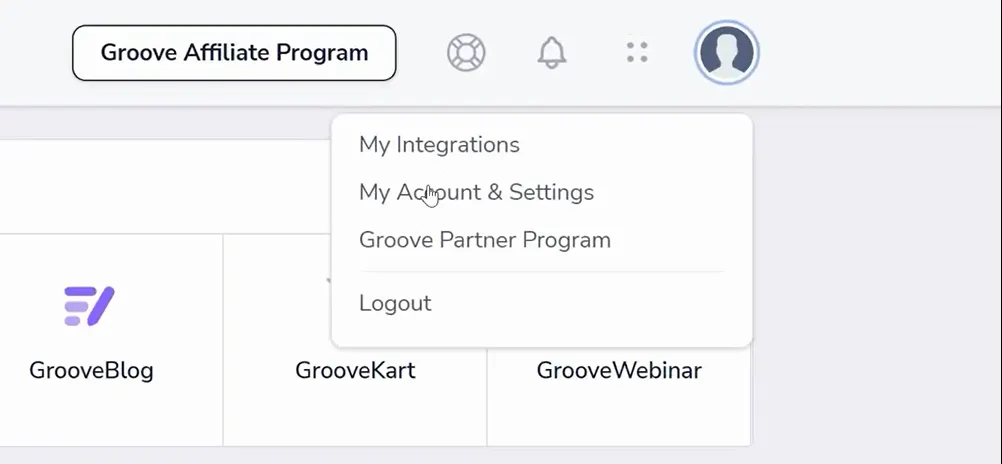
Adding a custom domain to Groove is done through your profile and settings. Click on your profile icon to navigate to "My Account & Settings" (shown below).
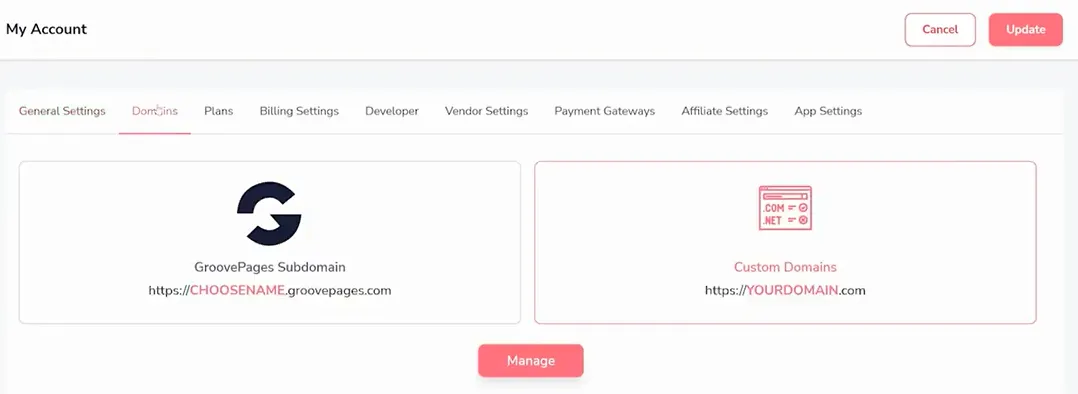
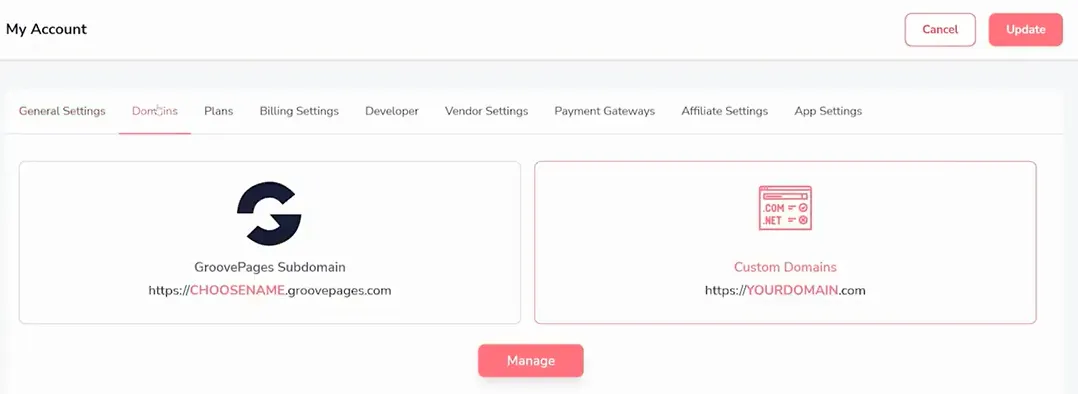
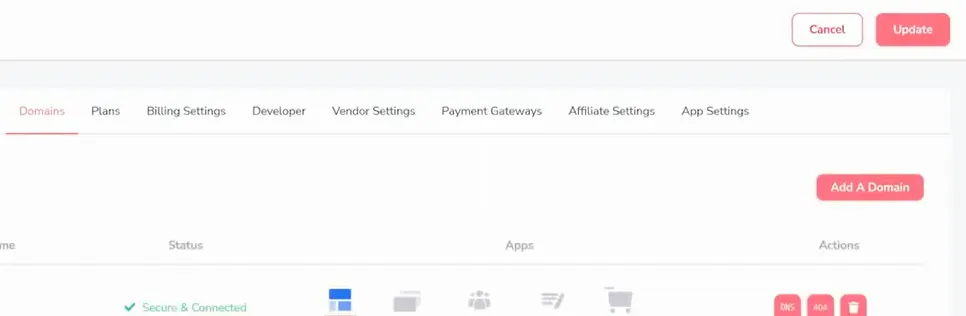
Under the Domains area (shown below), you will have the option to edit your Groove subdomain or add a custom domain. Select custom domains and click to continue.
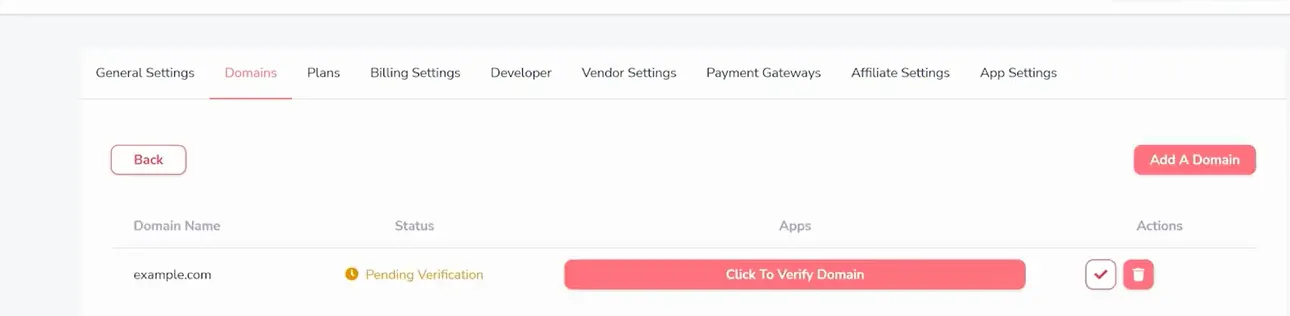
Click Add a Domain (shown below on the right) to begin the step by step process.
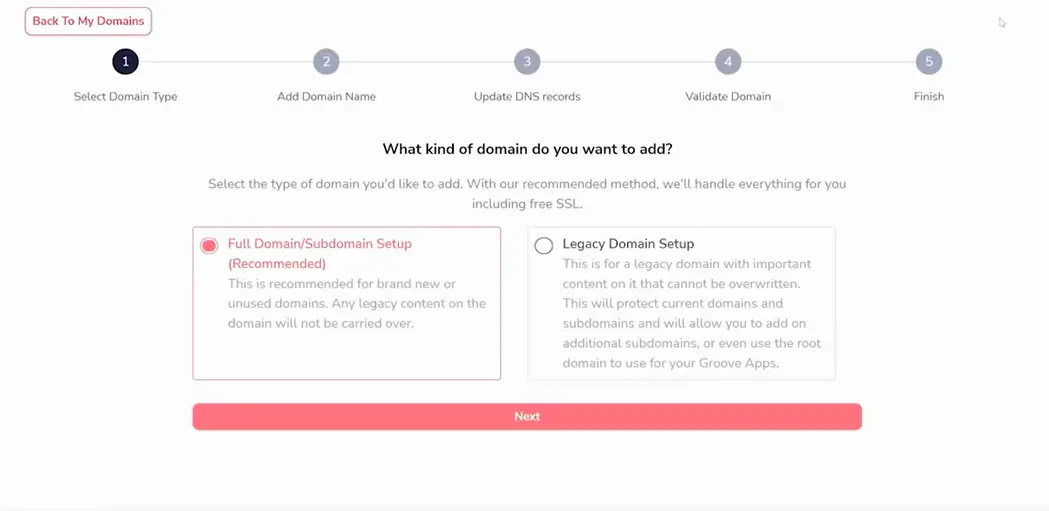
You are given two options (shown below). Full Domain setup is for a brand new domain with no content on it. Legacy Domain Setup is for a domain that currently has content and cannot be overwritten. For this tutorial, we will be adding a new domain using Full Domain Setup.
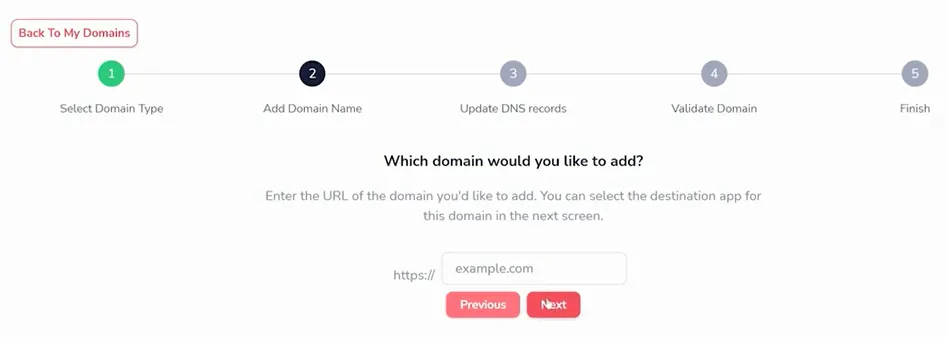
In the next step, enter your domain name without the www or any subdomain at the beginning (shown below).
You are given two DNS records to copy (shown below). These are used in your domain name host, which is where you purchased the domain name.
![]()
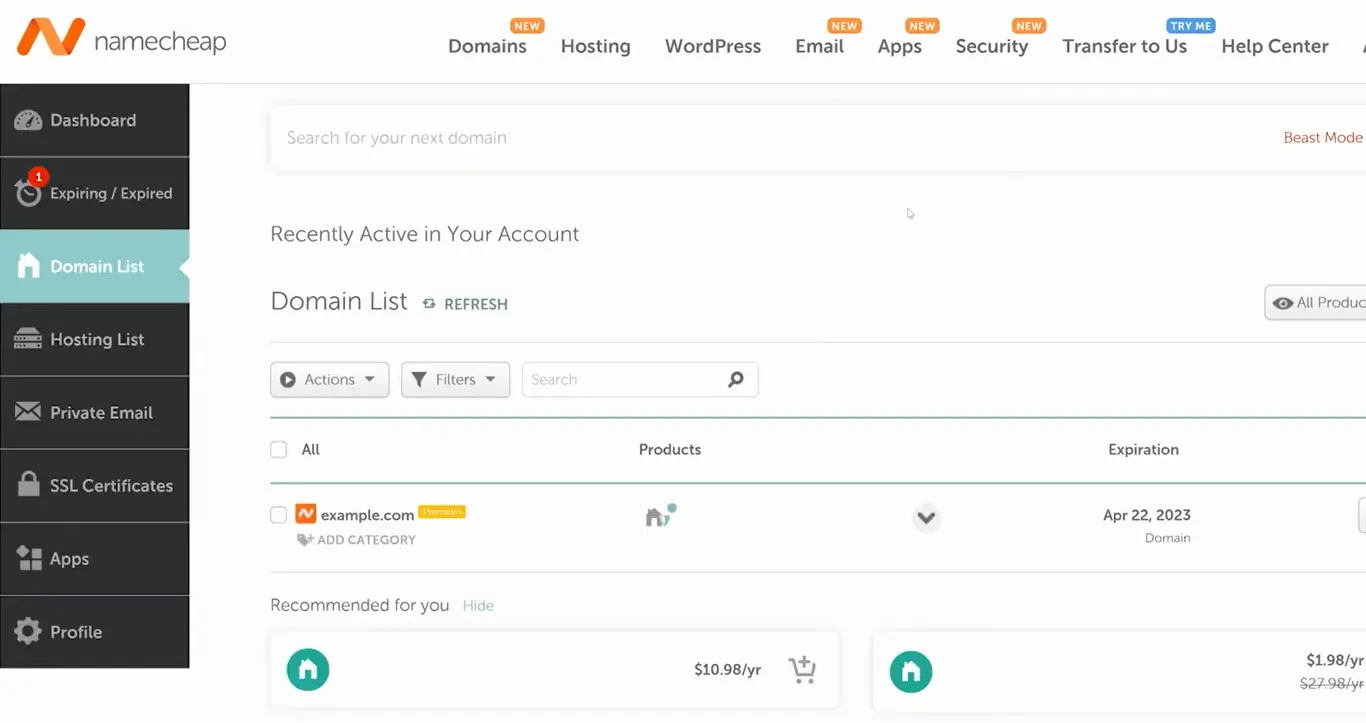
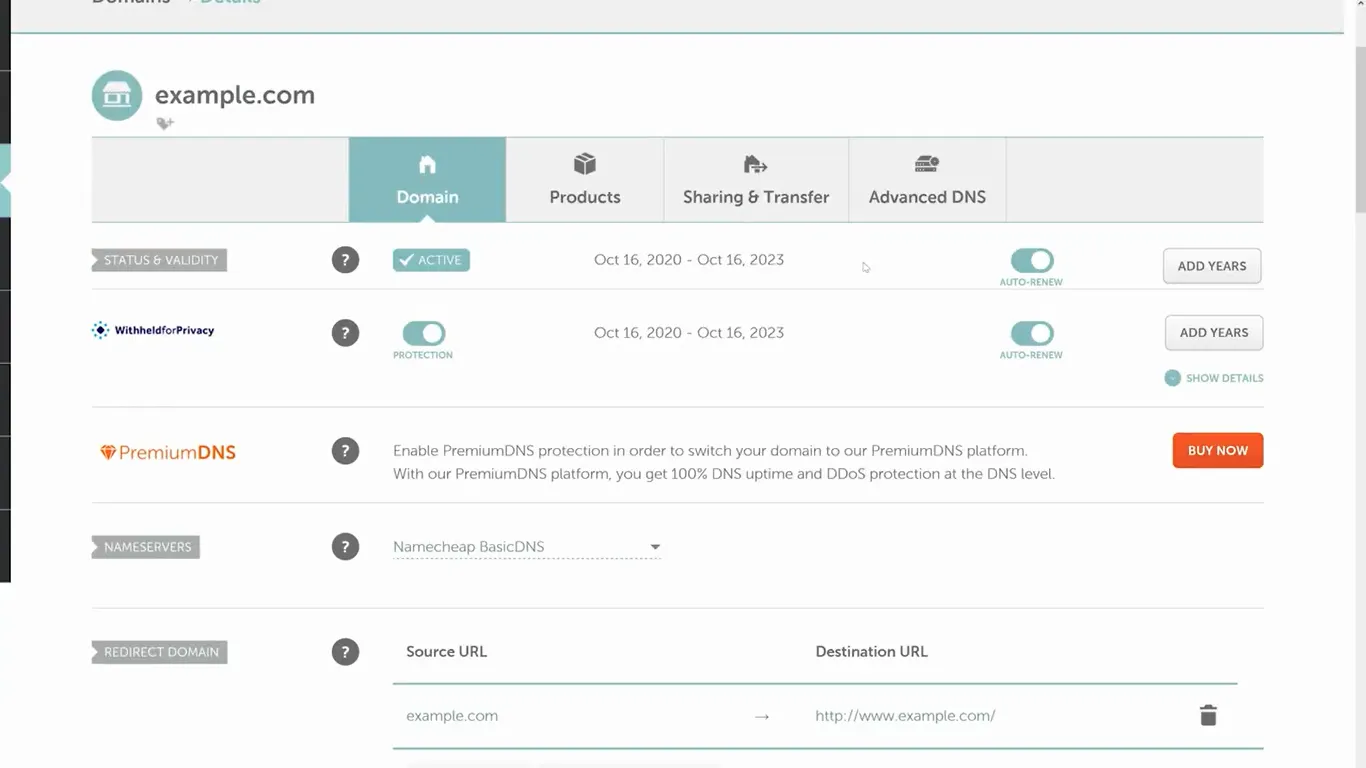
Login to your domain name host and find the settings for this particular domain. Depending on the host, this could be in a few places (shown below is NameCheap), but you are looking to find the DNS or Nameservers settings for your domain.
You will need to enter custom DNS Records or custom Nameservers here. These are the records that Groove gave you moments ago. Copy and paste these records (as shown below), save the details, and return to Groove.
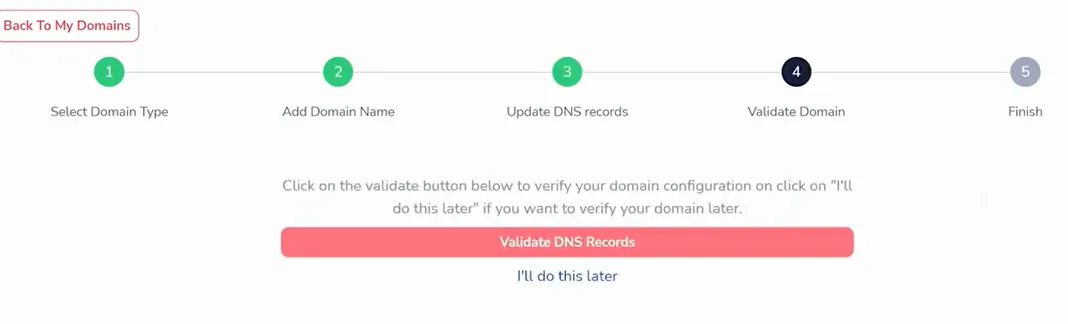
Click to the next step and you can choose to validate your domain (shown below). This is to check that the nameservers have been updated.
This process could take a couple days, so if it doesn't happen immediately, you can return to the domain settings area (shown below) and check again later.