Adding Lists & Tags to Forms
After creating a new form, you'll reach the "Form Setup" step in the wizard (shown below). This is where you can assign lists and tags to your form.
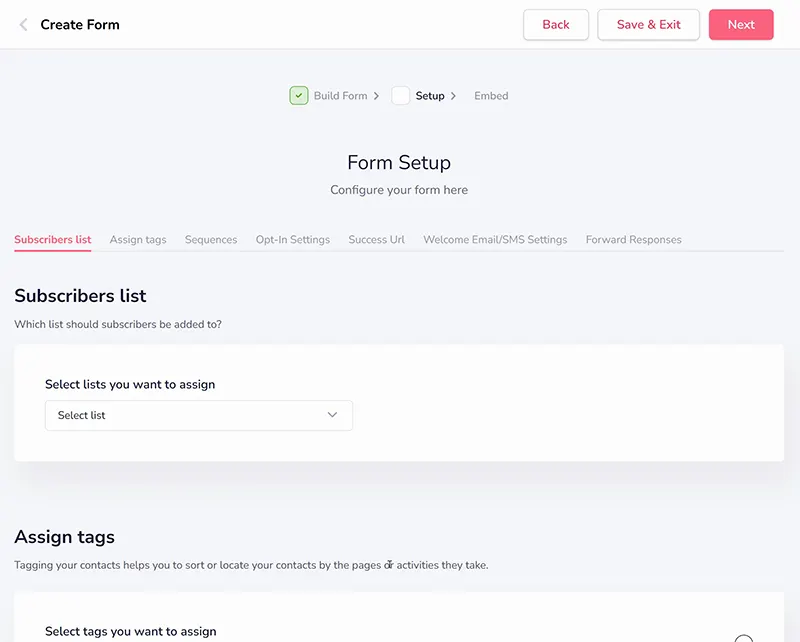
In the "Subscribers List" area, you can choose the lists to which you want to add the leads captured by the form. You can select existing lists or create new ones directly from here (as shown below).
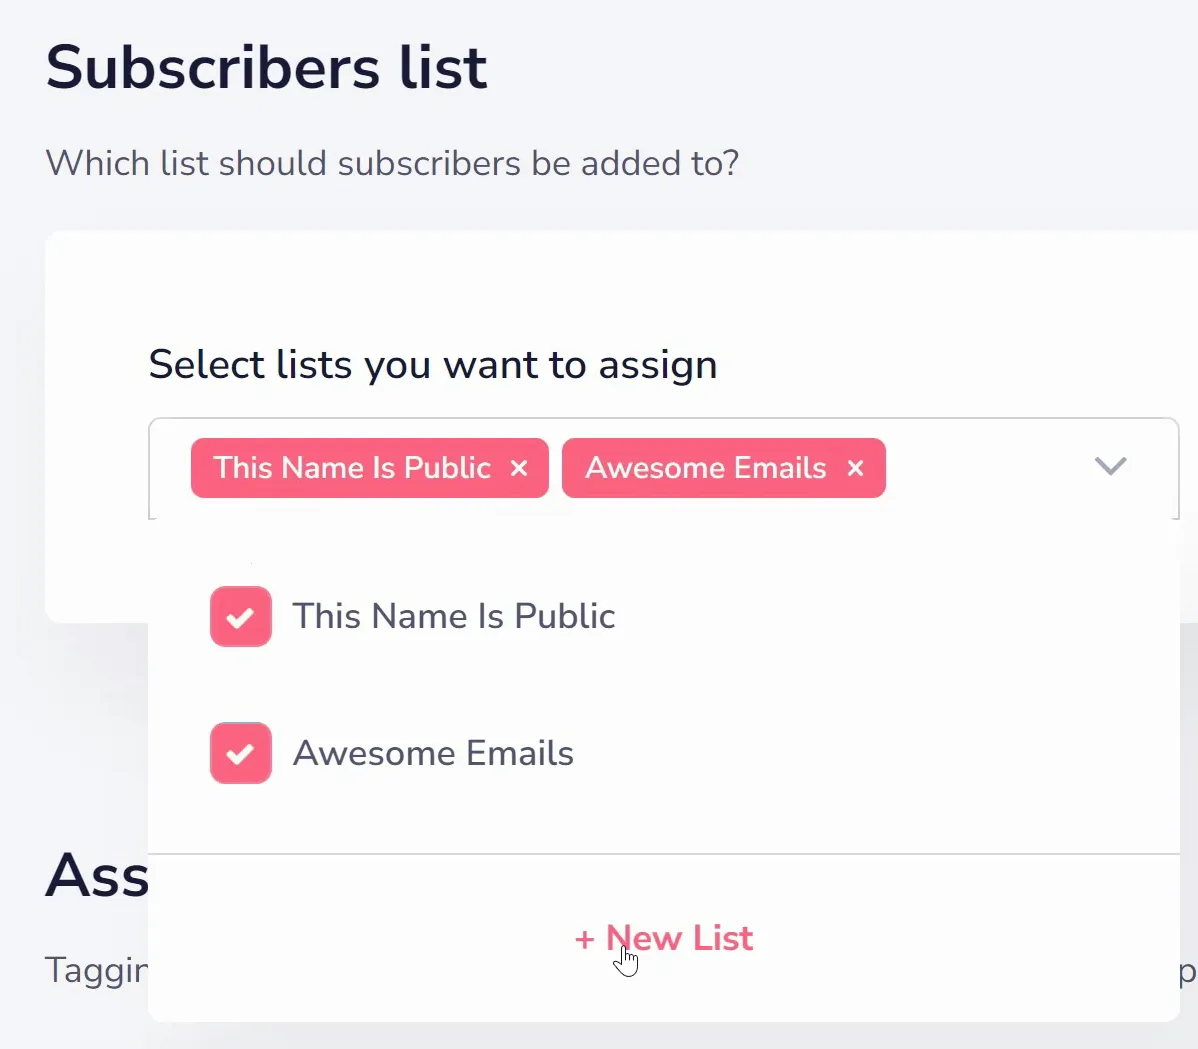
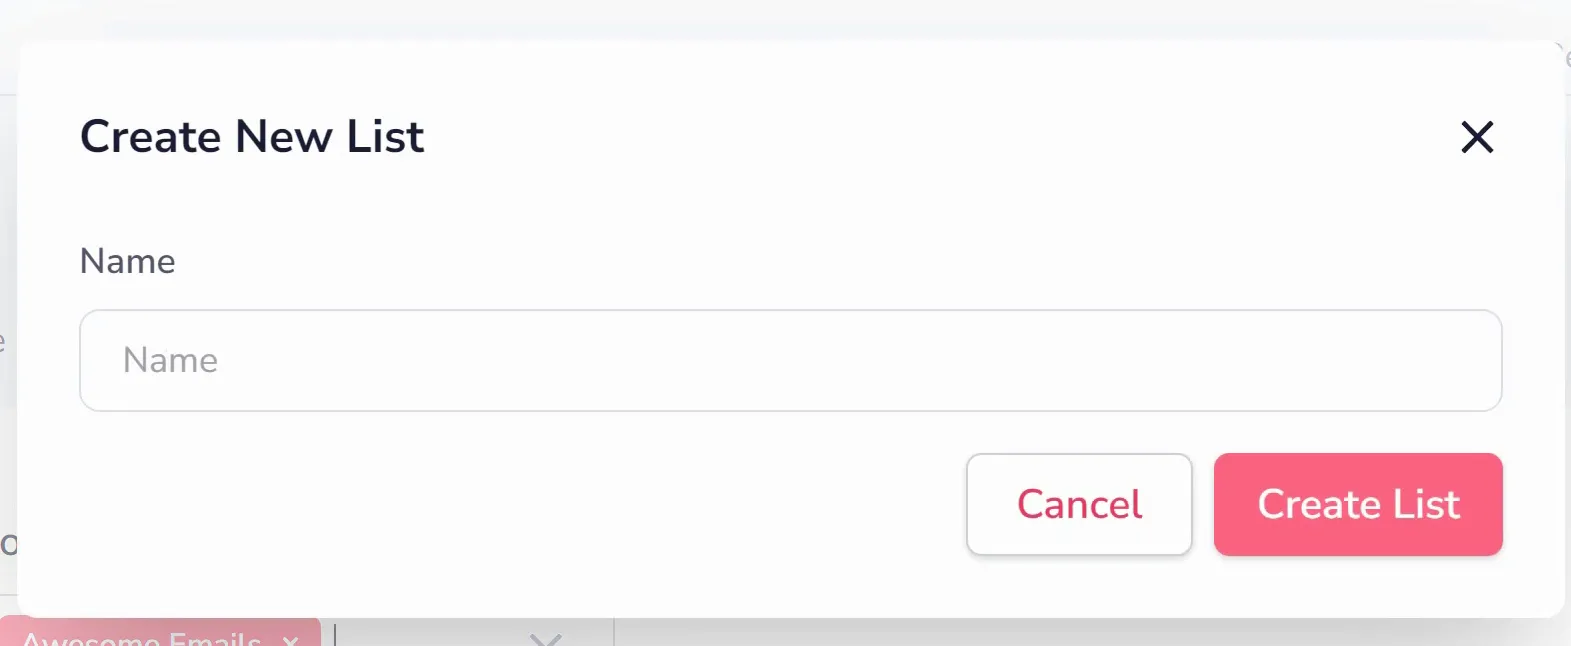
If you choose to create a new list, a popup will appear for you to name it (shown below). Lists are viewable by subscribers when they check their subscription (since what they are actually subscribing to is your list). So while they allow you to manage and organize your contacts, it is important to put something memorable and specific here.
In the "Assign Tags" area, you can assign tags to the leads captured by the form. This is not required, like Lists are required, but tags help with internal organization and segmentation. Like the lists, you can choose existing tags or create new ones.
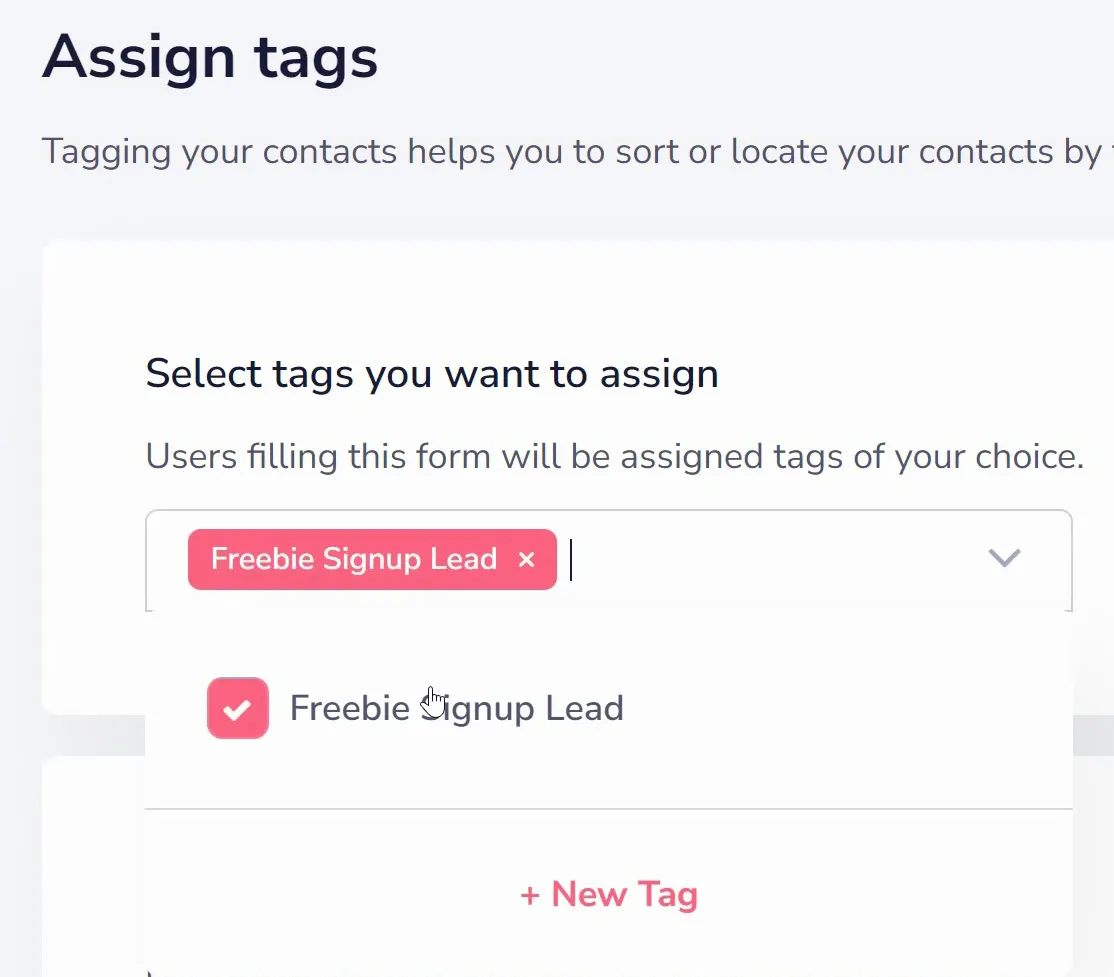
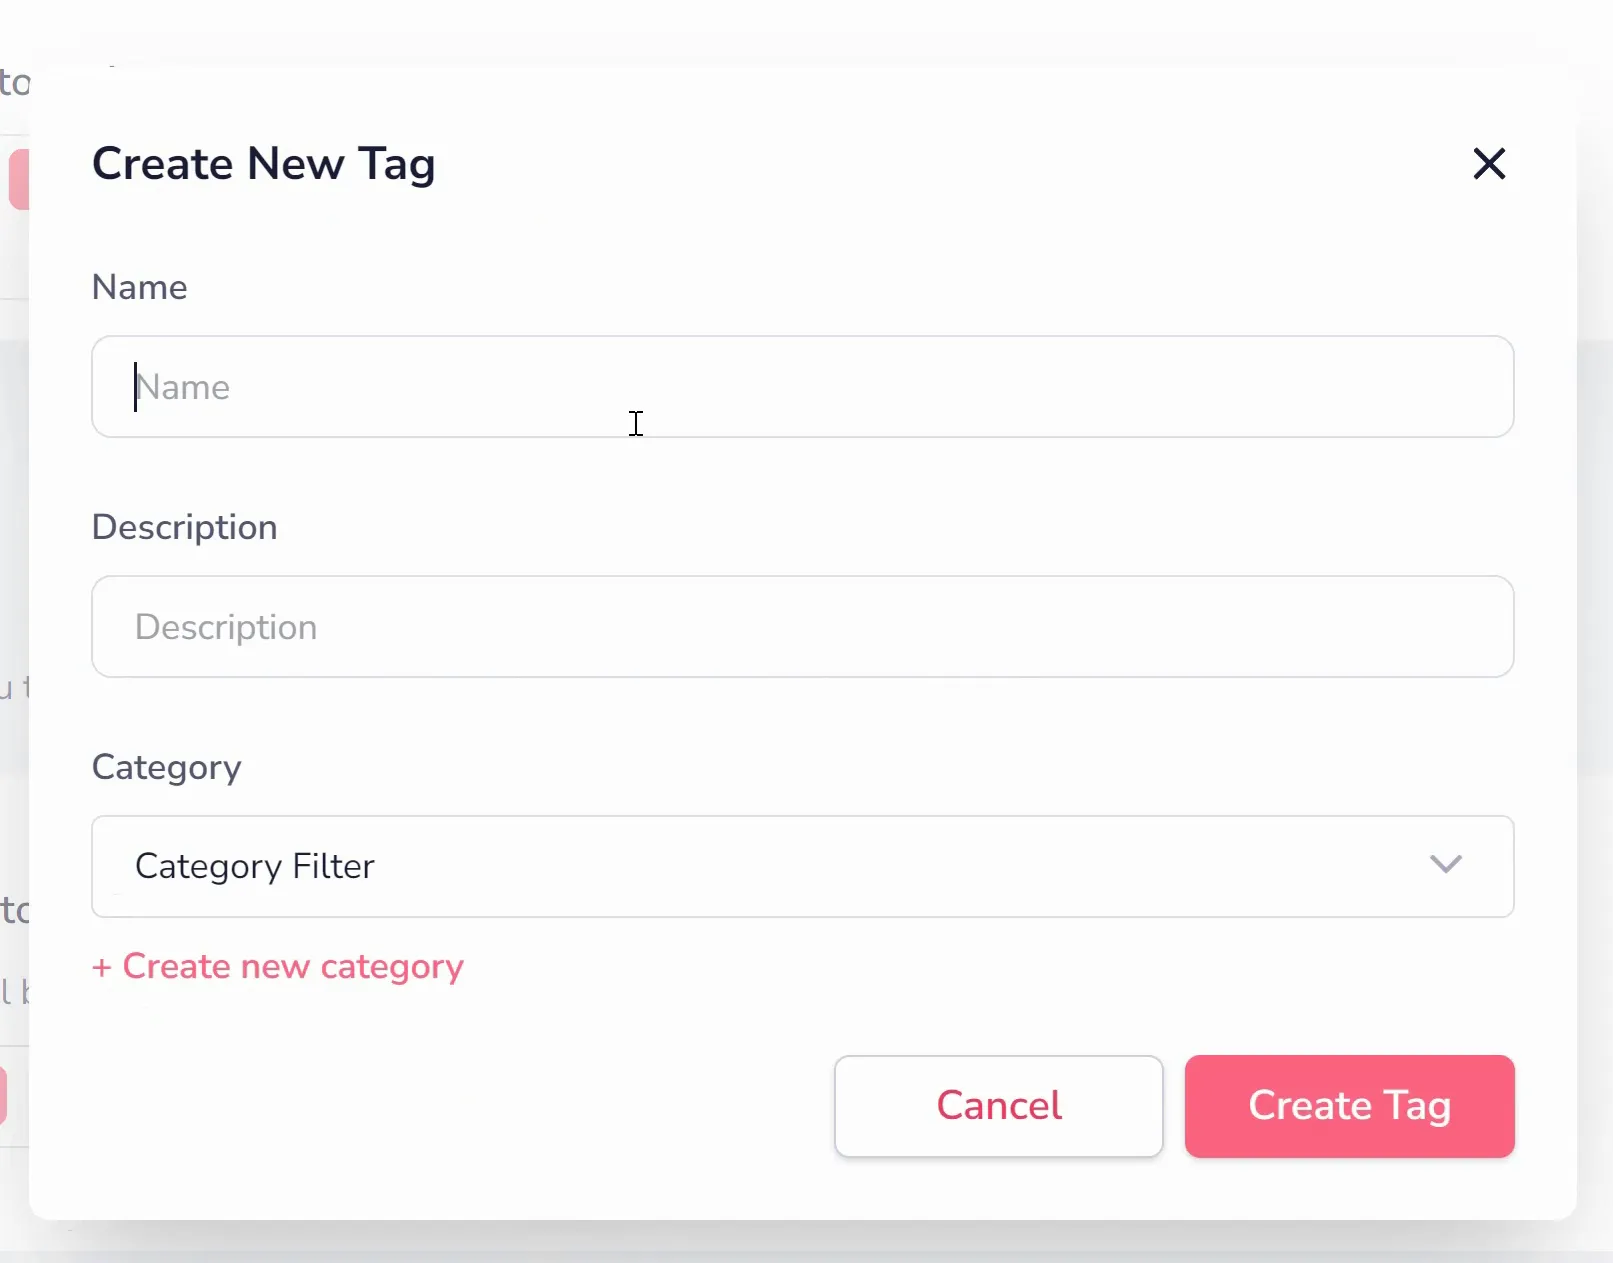
If you choose to add a new tag, a window will appear for you to name the tag and categorize it (shown below). Again, tags offer additional flexibility for categorizing and targeting your audience, as they are not viewable by subscribers. While lists are required, using tags is optional but highly beneficial.
