Creating a Product in GrooveKart
Product setup in GrooveKart is done through a simple, single page of settings. This post will cover every one of them.
To begin, from your store dashboard, click the Products icon in the lefthand sidebar to go to the products area (shown below).
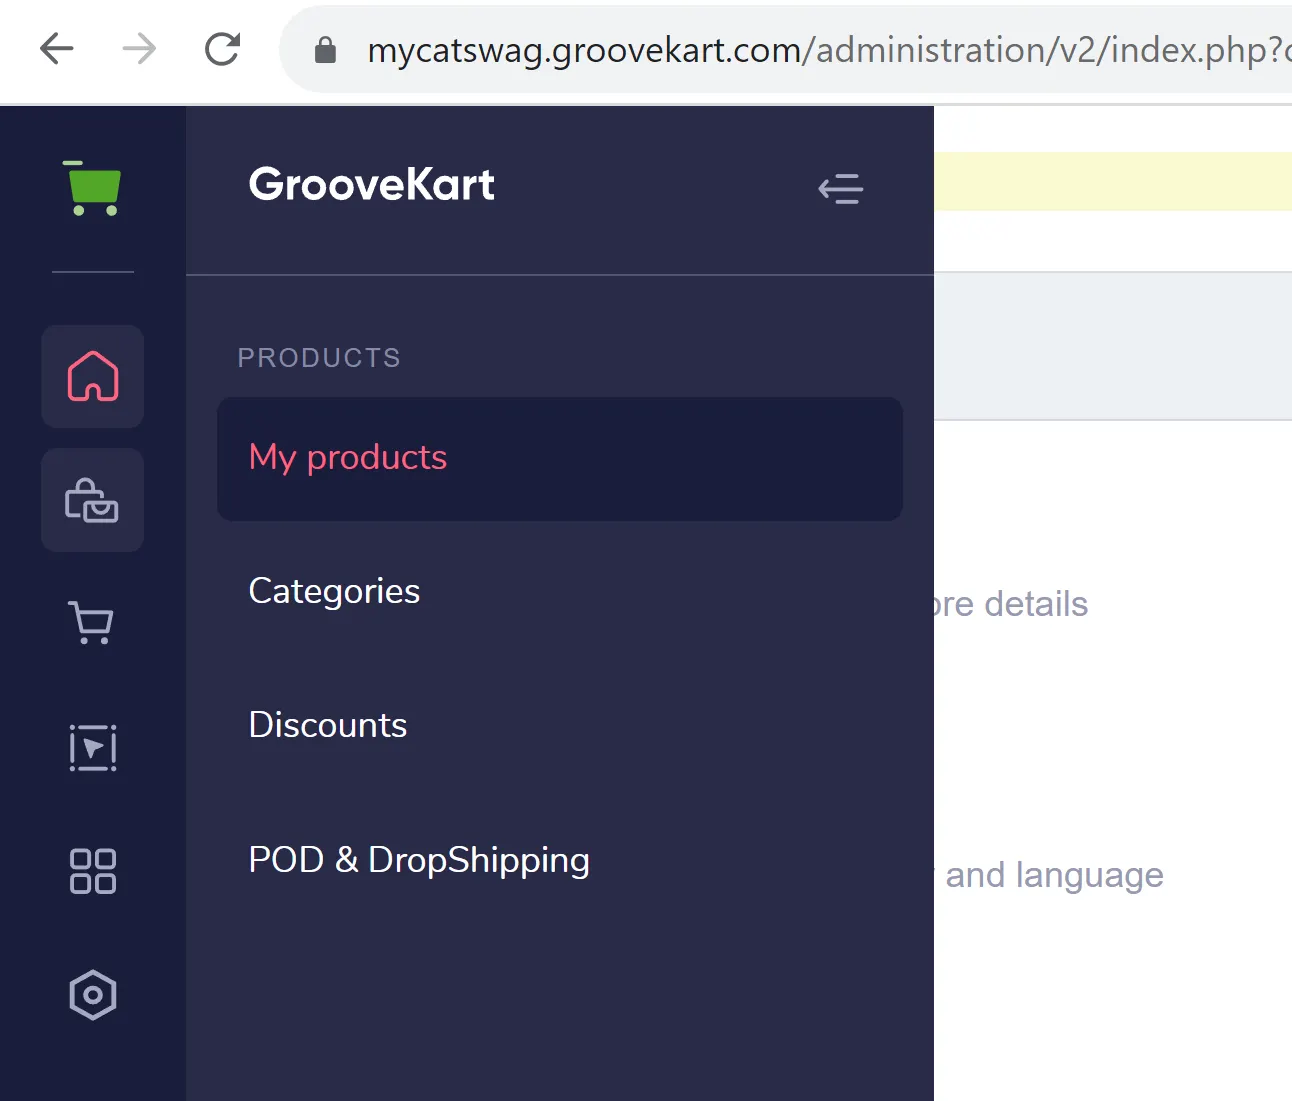
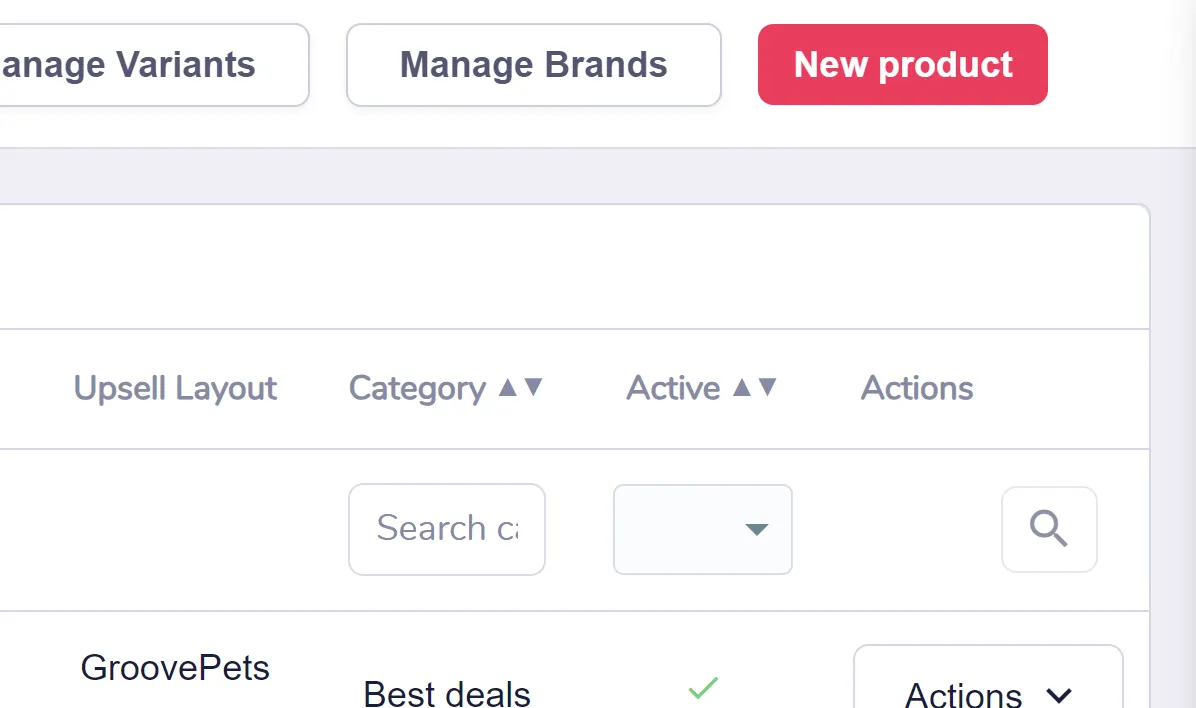
From the menu of options that slides out, select My Products (shown above). In the next area, click on New Product in the upper right (shown below).
There are two sections of settings: Product Setup and Marketing. Only the settings under "Product Setup" are required to create your product, but we recommend reviewing all of the options you have before moving on.
Product Setup
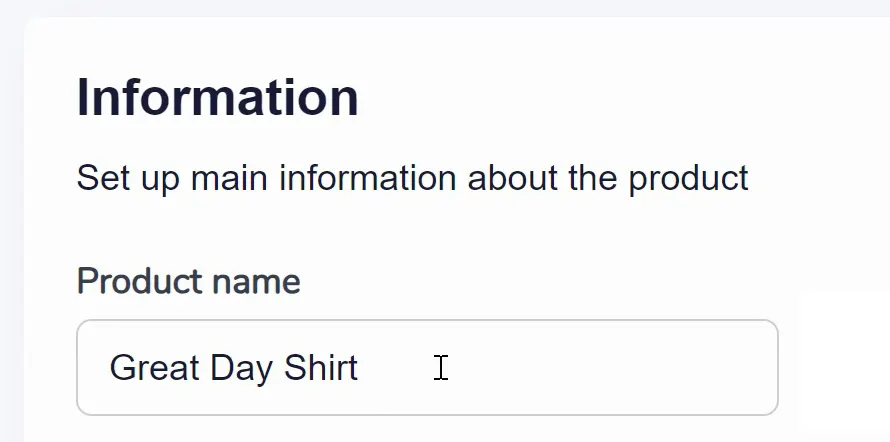
Adding Product Information
The first and most important part of your product setup is Product Information. Start by entering the name of your product (as shown below). Make sure it accurately represents the item you're adding to your store as this will be a public facing name.
Use the WYSIWYG (What You See Is What You Get) text editor below that to create a detailed product description. Highlight features, benefits, and specifications here.

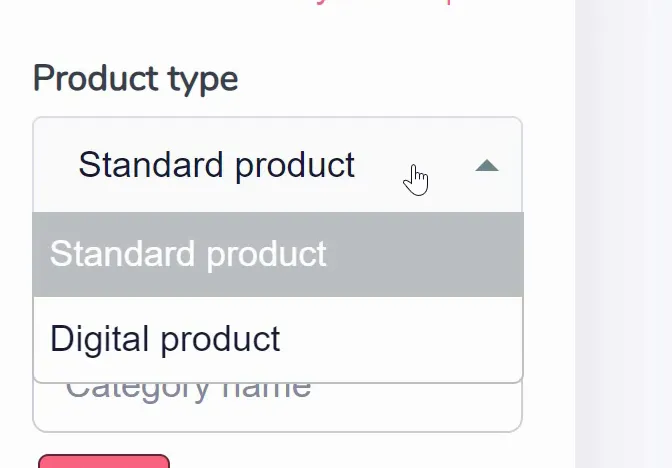
Choose between "Standard Product" or "Digital Product" from the dropdown options (as shown below). If you choose Digital Product, additional options will appear later.
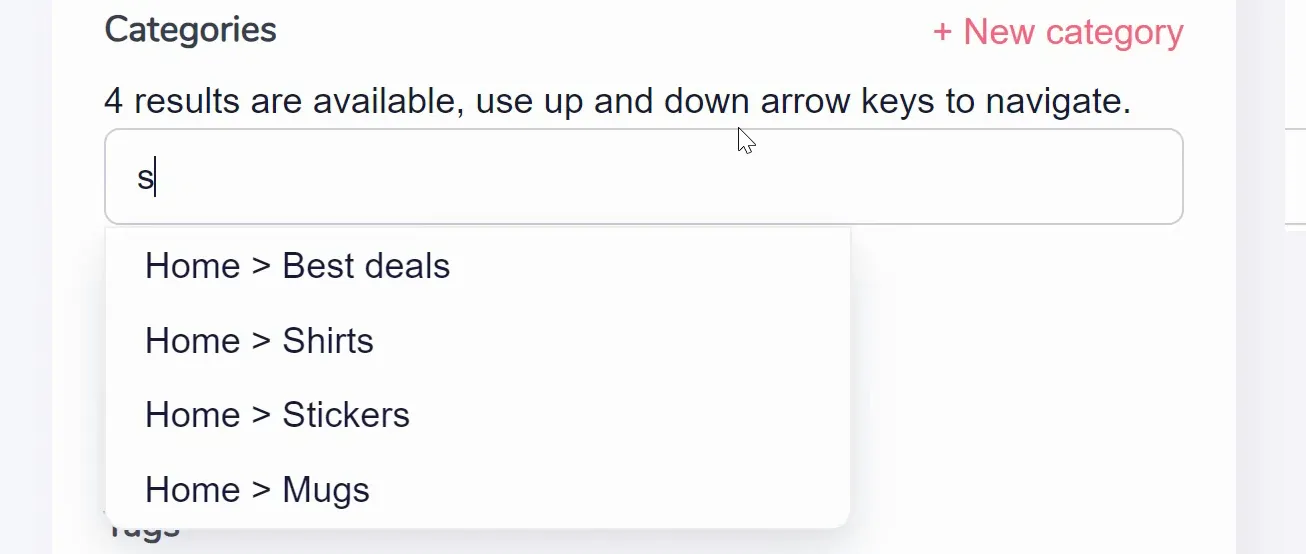
Assign relevant categories to your product (as shown below). You can either select existing categories or create new ones using the "+ New Category" link.
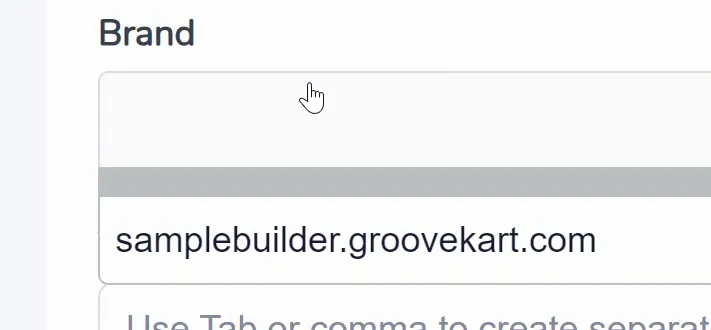
Use the "Assign A Brand" button to choose a brand from the dropdown menu (as shown below). Brands are created in the My Products area.
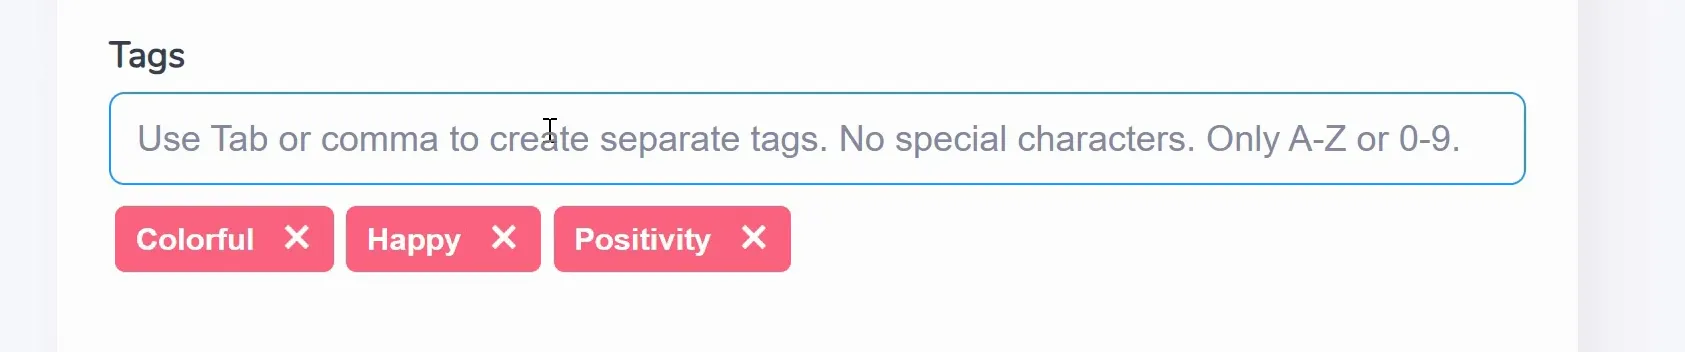
Add relevant tags to enhance discoverability (as shown below). Separate tags using tabs or commas.
If you've chosen "Digital Product" as the product type, next you'll configure additional options for digital items. In particular, does this product have an associated file? Select "Yes" (as shown below) if your digital product comes with a file and you can upload the digital file by clicking the "Choose A File" button. Then, provide a clear and descriptive filename, specify the number of allowed downloads for the digital product (if not applicable, mark 0), and if the digital product expires, set either the date or the number of days until expiration.

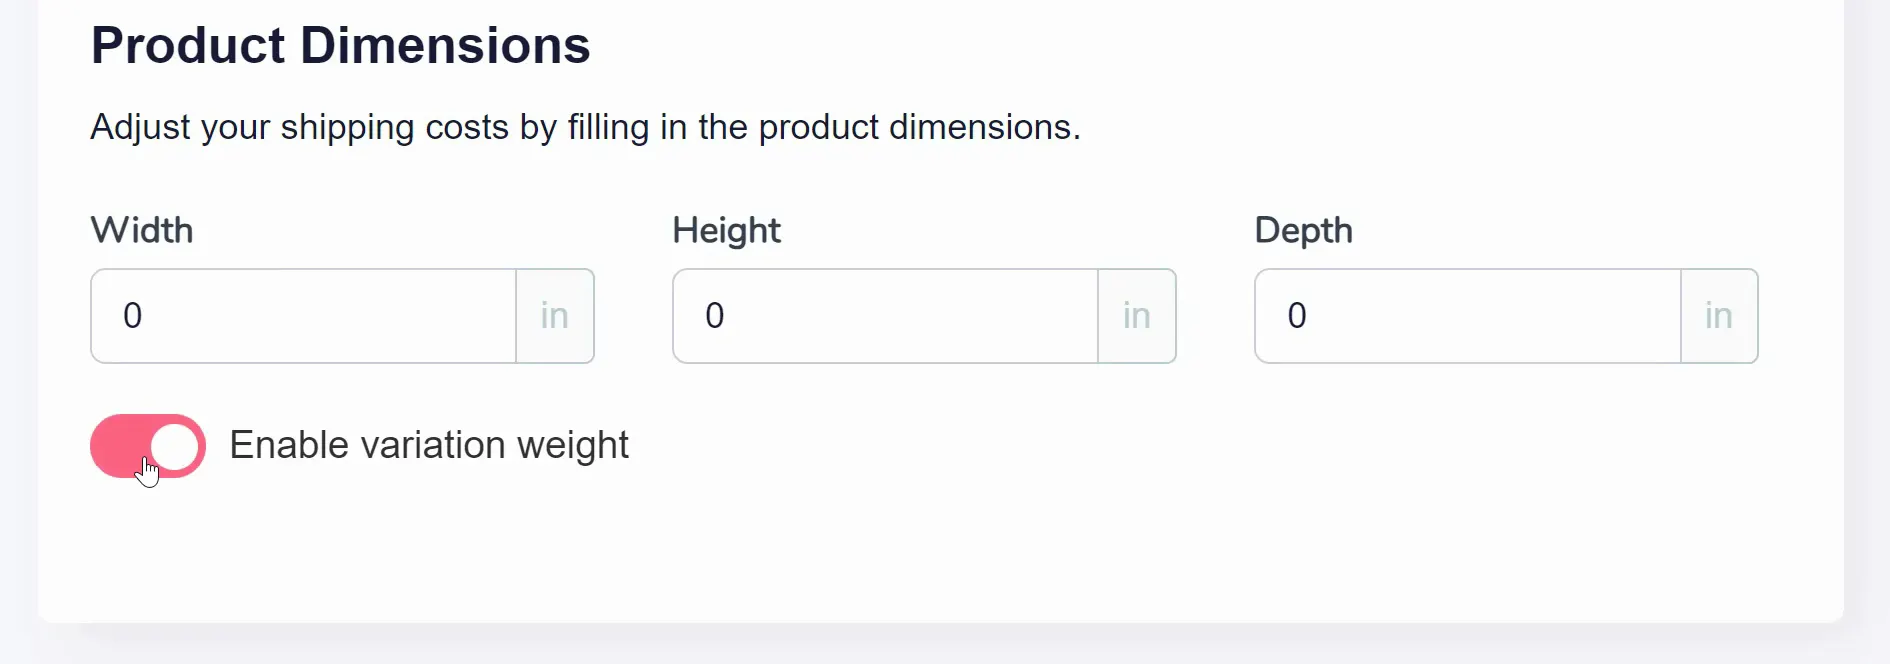
Finally, enter the product's dimensions and weight for accurate shipping cost calculation. Note that "Weight" might disappear (as shown below) if you enable the "Enable variation weight" toggle.
Adding Images & Videos
Visual content plays a crucial role in attracting customers and providing them with a comprehensive understanding of your product. In your product setup, you have the option to add both Images & Videos (as shown below).
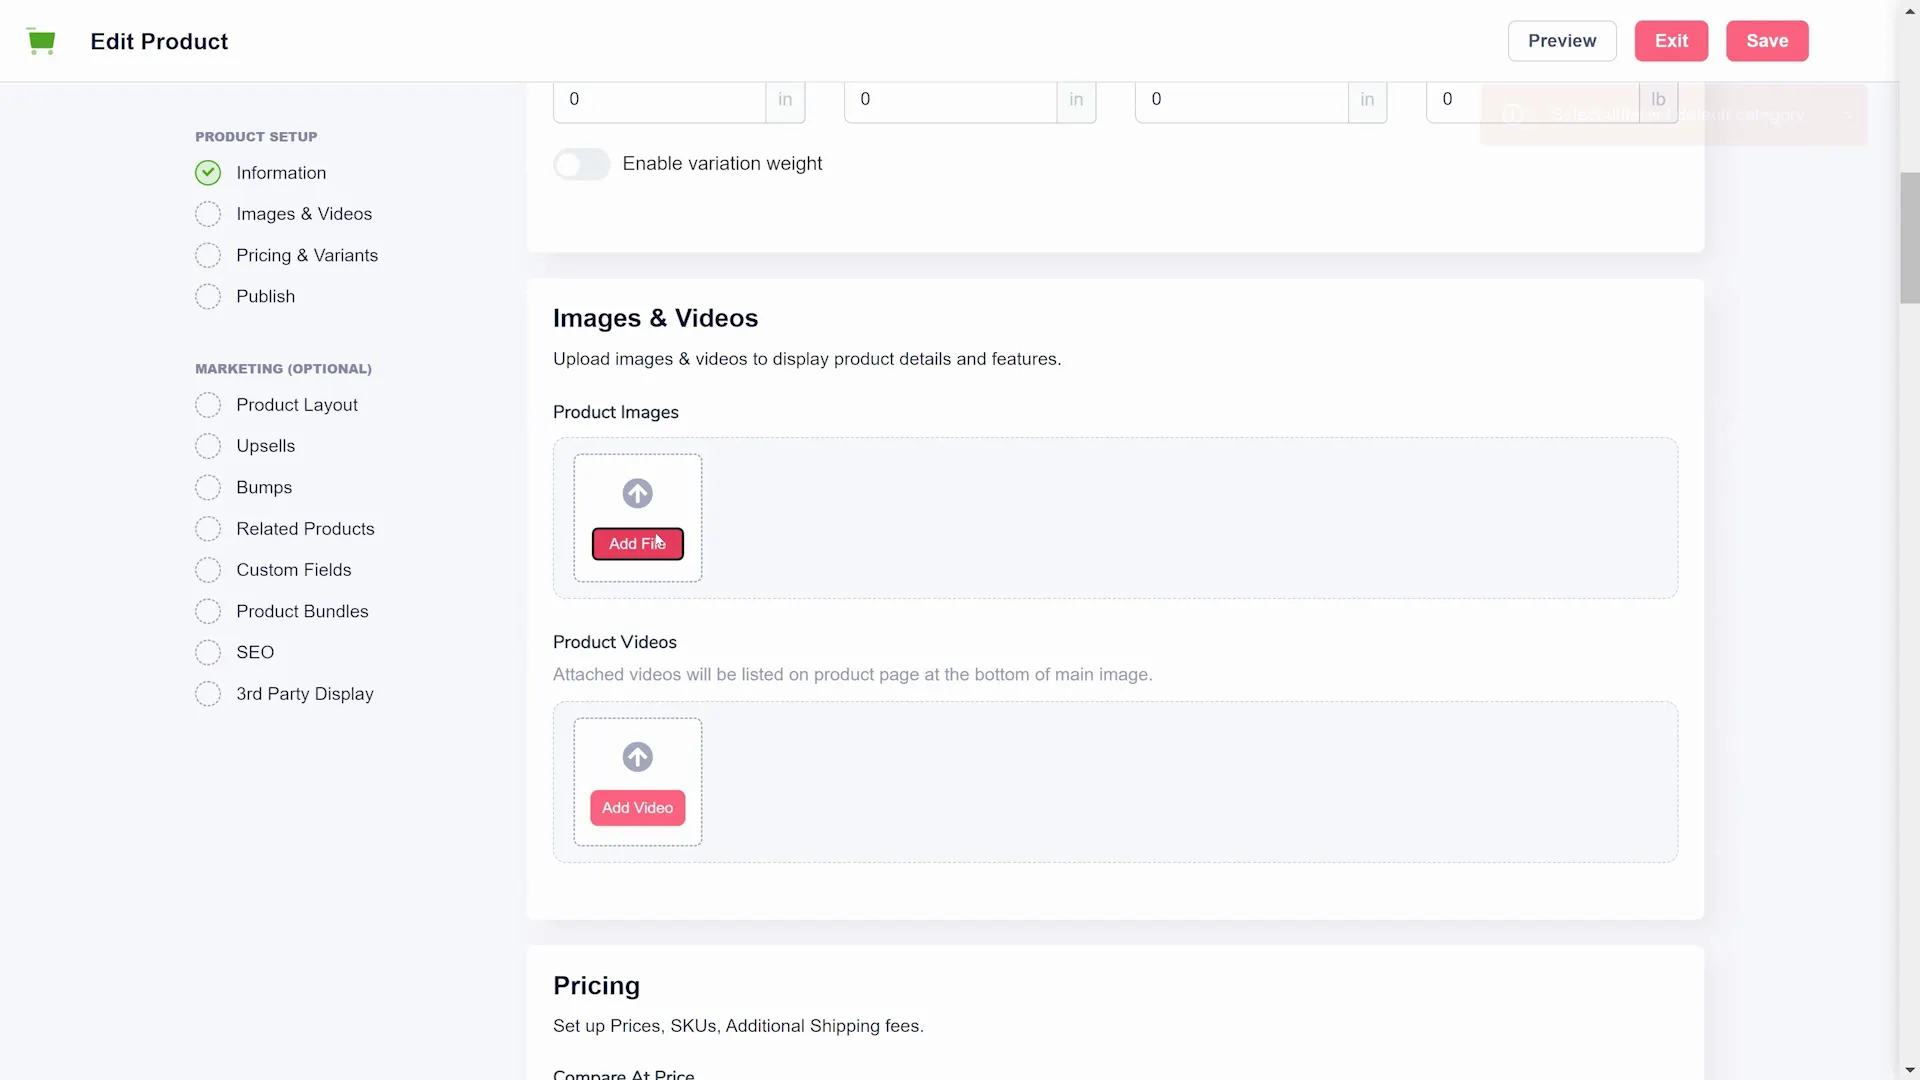
Click the "Add File" button to upload images of your product. High-quality images taken from different angles help customers get a clear view.
Videos can provide an even more dynamic presentation of your product. Click the "Add Video" button to include videos in your product listing. You will be brought to a video settings area (as shown below).
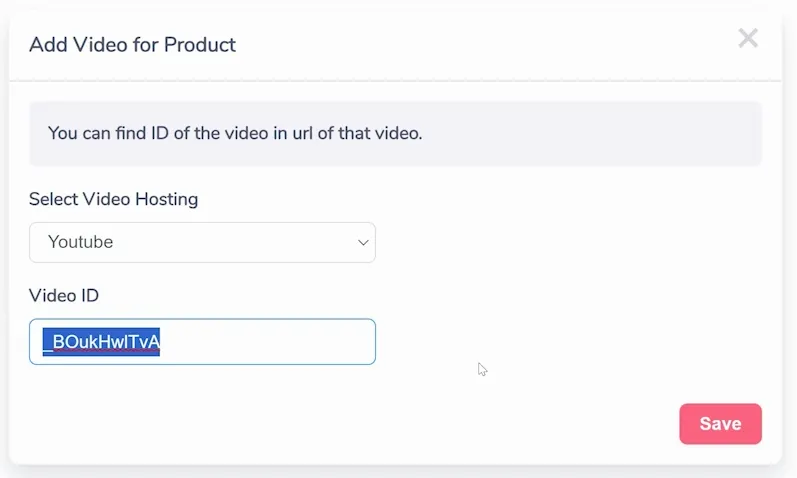
Choose between "Youtube" or "Vimeo" from the dropdown menu to indicate where your video is hosted. In the text input field, enter the unique video ID associated with your video on the chosen hosting platform.
Adding videos can create an immersive experience for your customers, allowing them to see the product in action. Keep in mind that a mix of images and videos can effectively engage your audience and increase the likelihood of conversions.
Pricing and Variants
Proper pricing and variant options contribute to a seamless shopping experience for your customers. You can configure both during product setup (as shown below).
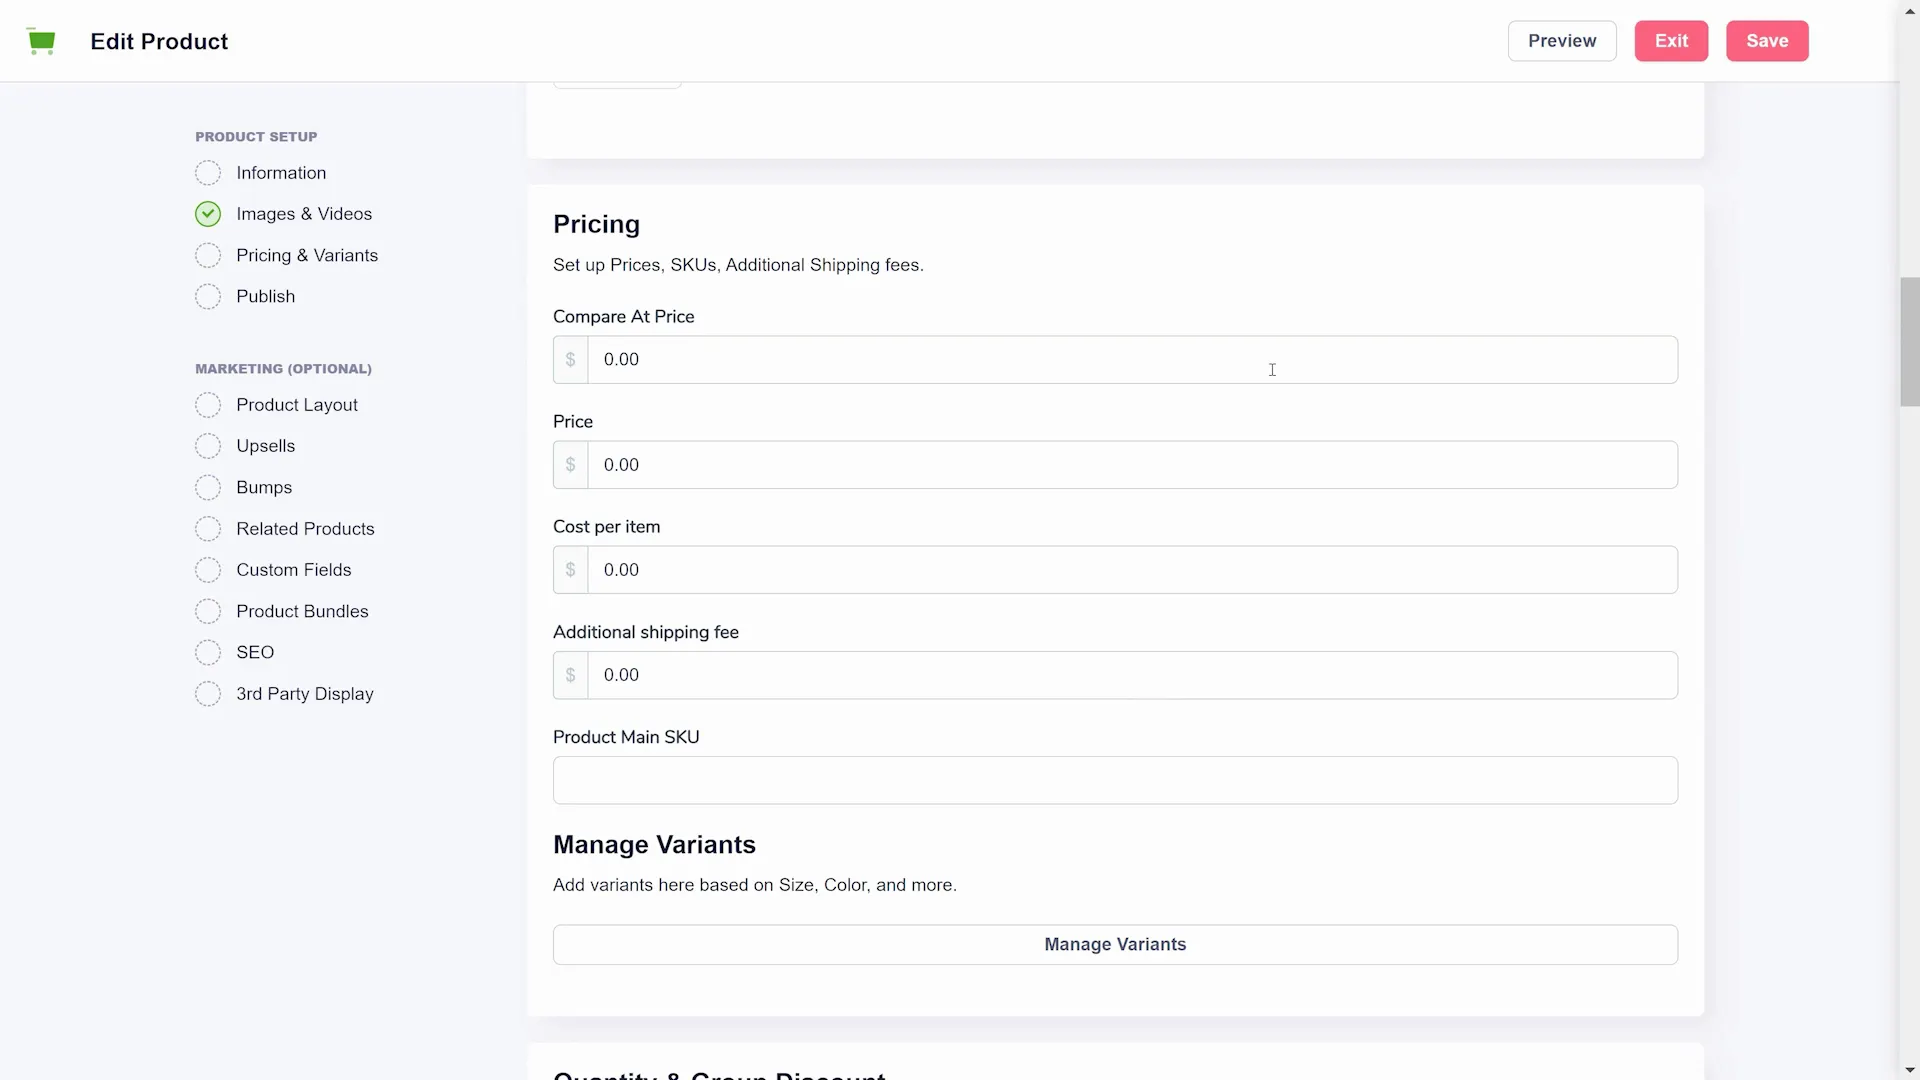
The pricing options include:
- Compare At Price - If applicable, enter the original price for the product before any discounts.
- Price - Set the selling price of the product.
- Cost per Item - Input the cost per item, which helps you track profitability.
- Additional Shipping Fee: If needed, specify an extra shipping fee for this product.
- Product Main SKU - Enter the SKU (Stock Keeping Unit) for the main product.
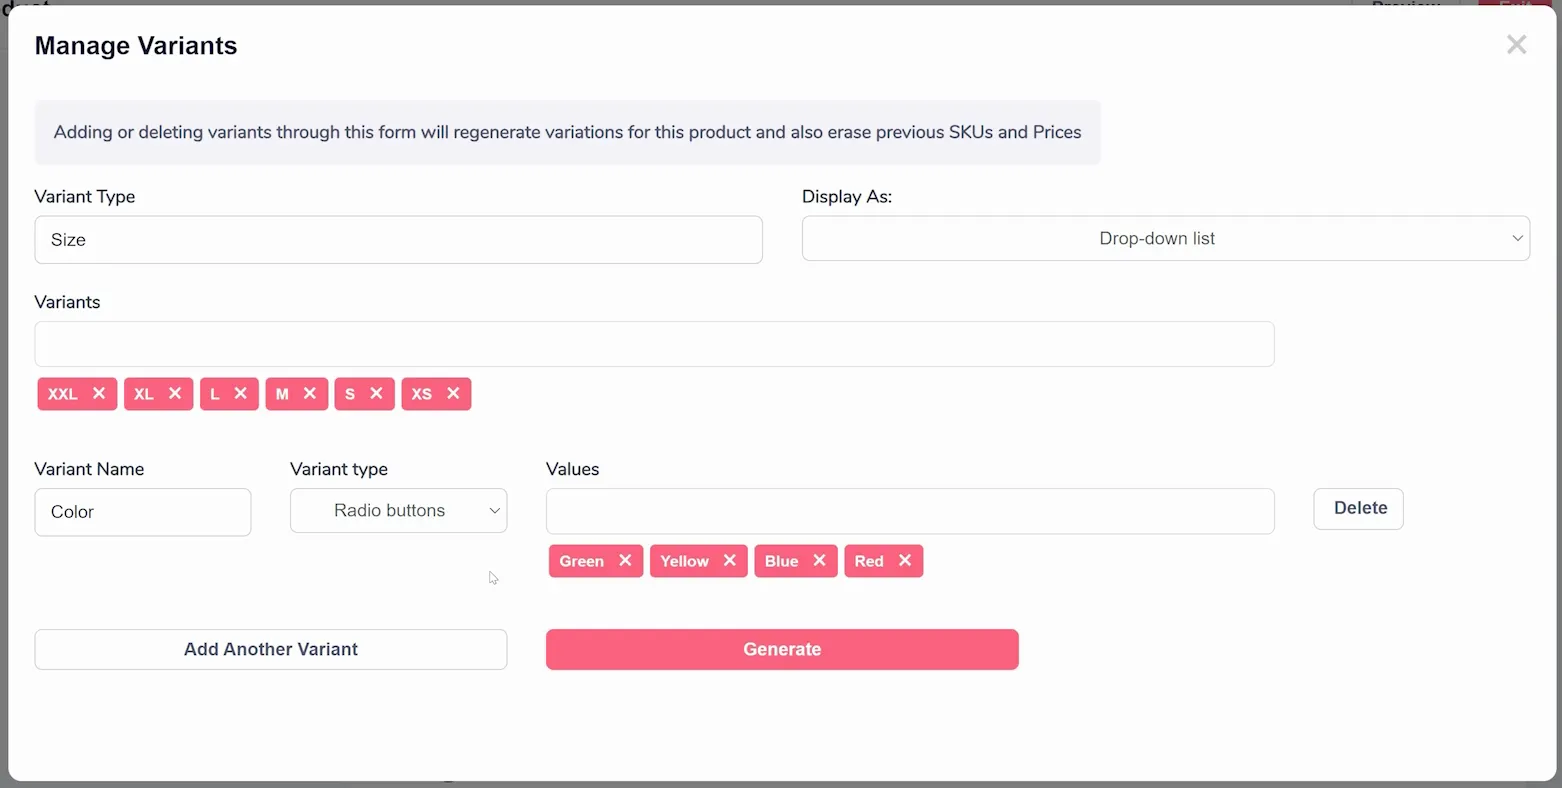
If your product comes in different variations (such as sizes or colors), you can manage them efficiently using the next area for "Variants". Click the "Manage Variants" button to open a window (shown above) with variant settings, including:
- Variant Type - The type of variation you want to create (e.g., size, color, style).
- Display As - "Drop-down List" or "Radio Buttons" to determine how the variants are presented to customers.
- Variants - the specific variants for your product (e.g., Small, Medium, Large; Red, Blue, Green) and press Enter to add each.
- Add Variant Button - Click this button to add more variants as needed.
After adding all variants, click "Generate" to create unique combinations of all the variations you added (as shown below).
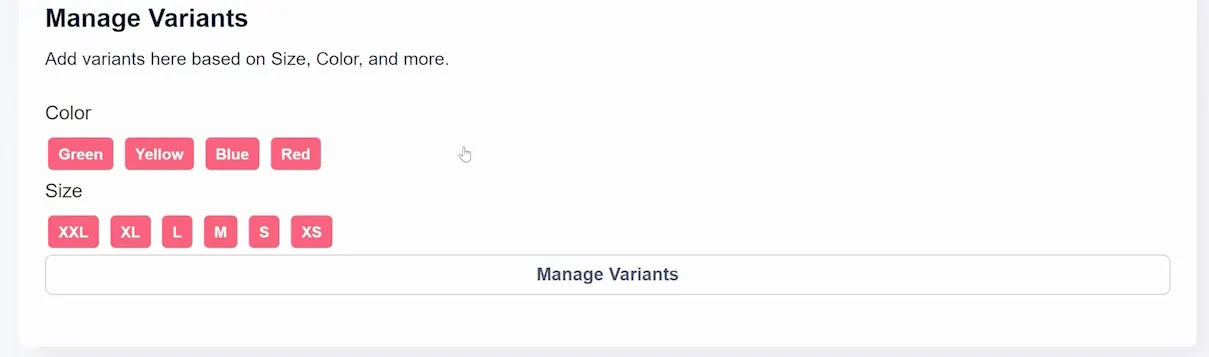
You can even customize the price for specific variants (as shown below) and choose a default to display.
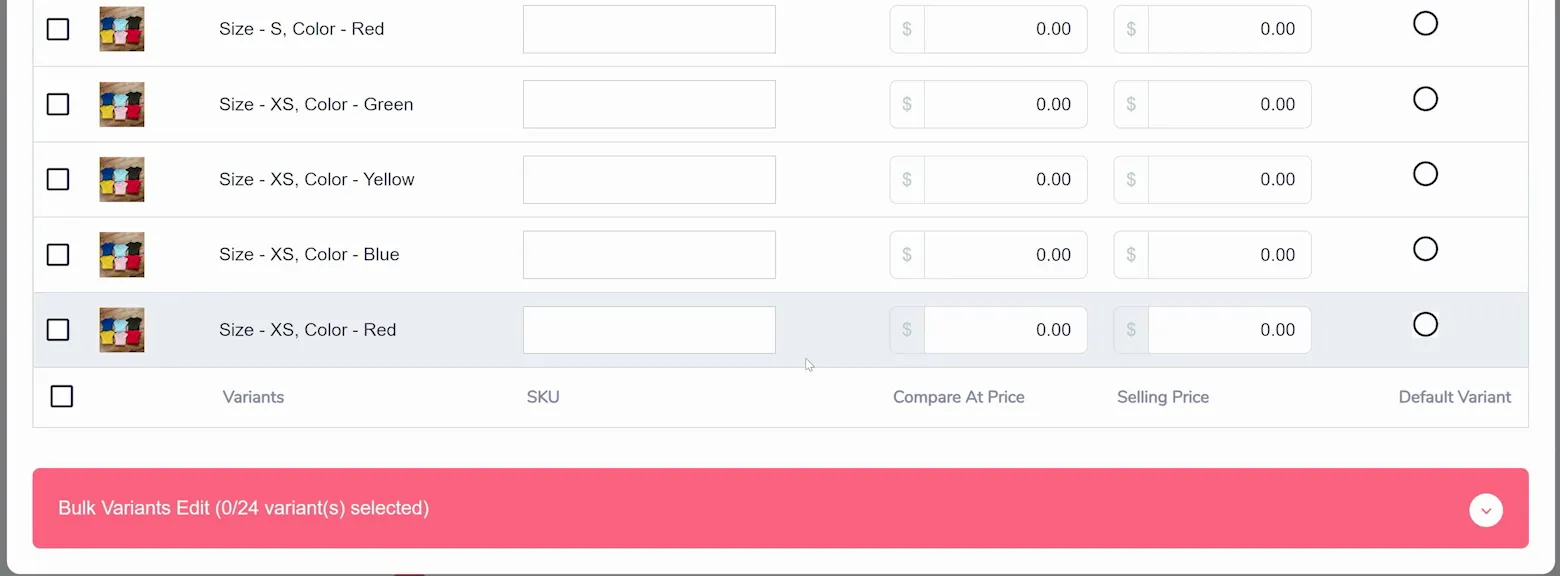
Using variants helps customers choose the exact product they want, leading to a tailored shopping experience.
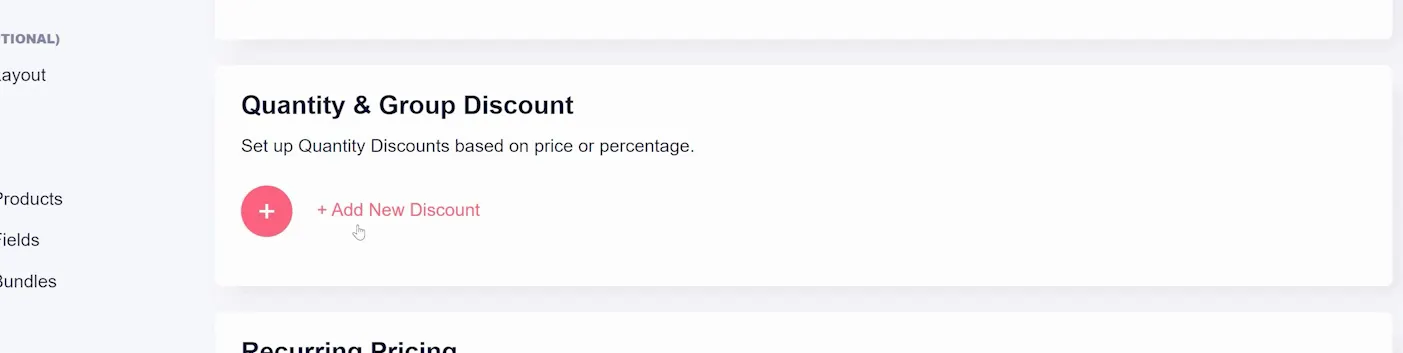
Quantity Discounts
Offering discounts based on quantities purchased or specific customer groups can incentivize more sales and enhance customer loyalty. You can set up quantity-based discounts for your product by clicking the "+ Add New Discount" link (as shown below).
This will open a settings window for adding a new discount (as shown below). There will be a couple of options. First is the Group dropdown which allows you to choose to apply the discount to: All Groups, Visitors, Guests, or Customers.
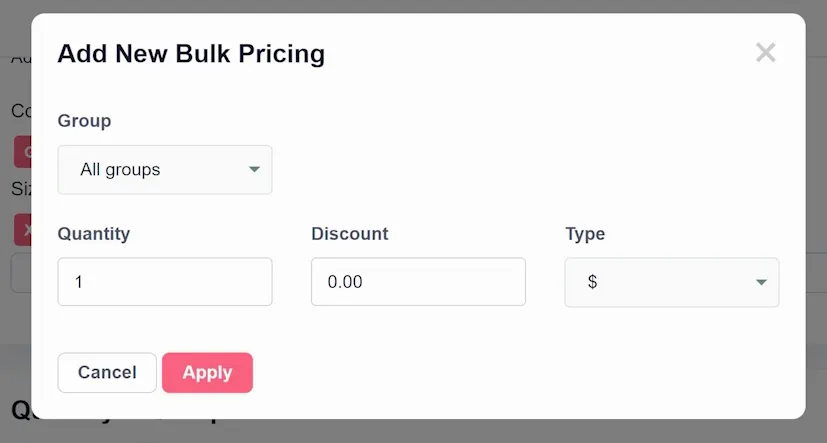
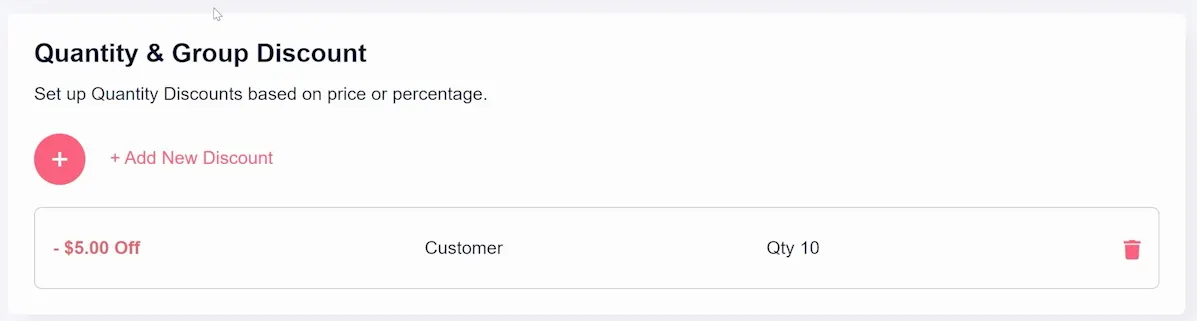
Next is the minimum quantity that needs to be purchased to qualify for the discount, the discount amount, and whether the discount is a specific dollar amount ($) or a percentage (%). Click Apply and the discount is added (as shown below).
Recurring Pricing
Publishing Options
The Publish area of your product setup gives you specific control over where your product appears on your store's website. There are a few options (as shown below), but the first toggle is possibly the most important. Display Product On Website makes your product visible on your website (otherwise, it will only be viewable by link).
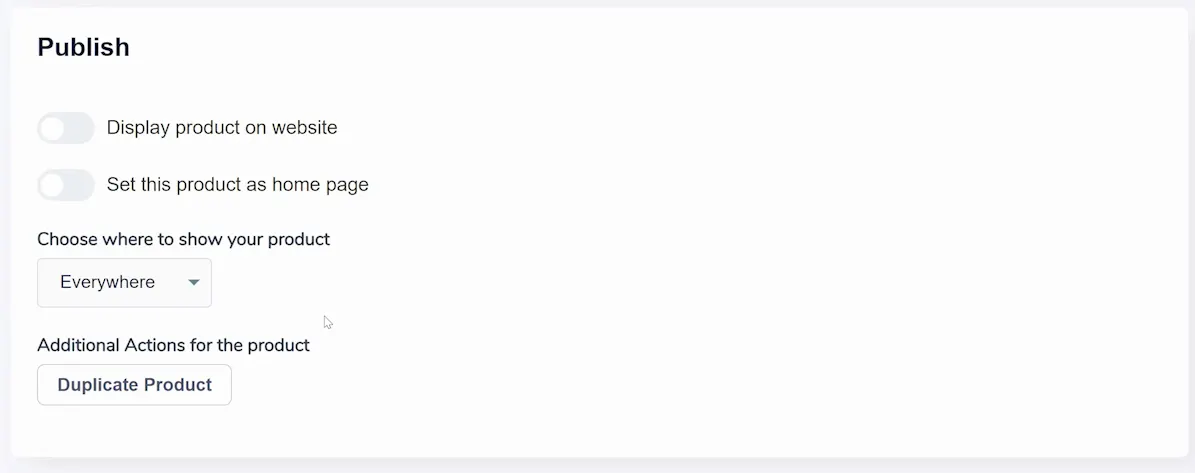
Set This Product As Home Page sets the home page for your store as this product page.
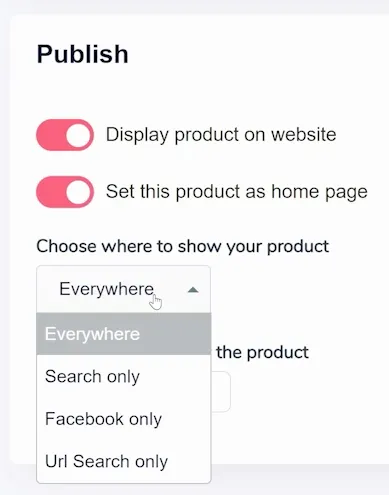
Choose Where to Show Your Product: Select from the dropdown (shown above) options where you want your product to appear:
- Everywhere
- Search only
- Facebook only
- URL search only
Finally, there is a Duplicate Product button. Click this button to create a duplicate copy of the product. This can be useful when you want to offer similar items without starting from scratch.
Marketing Options
Page Layouts and Templates
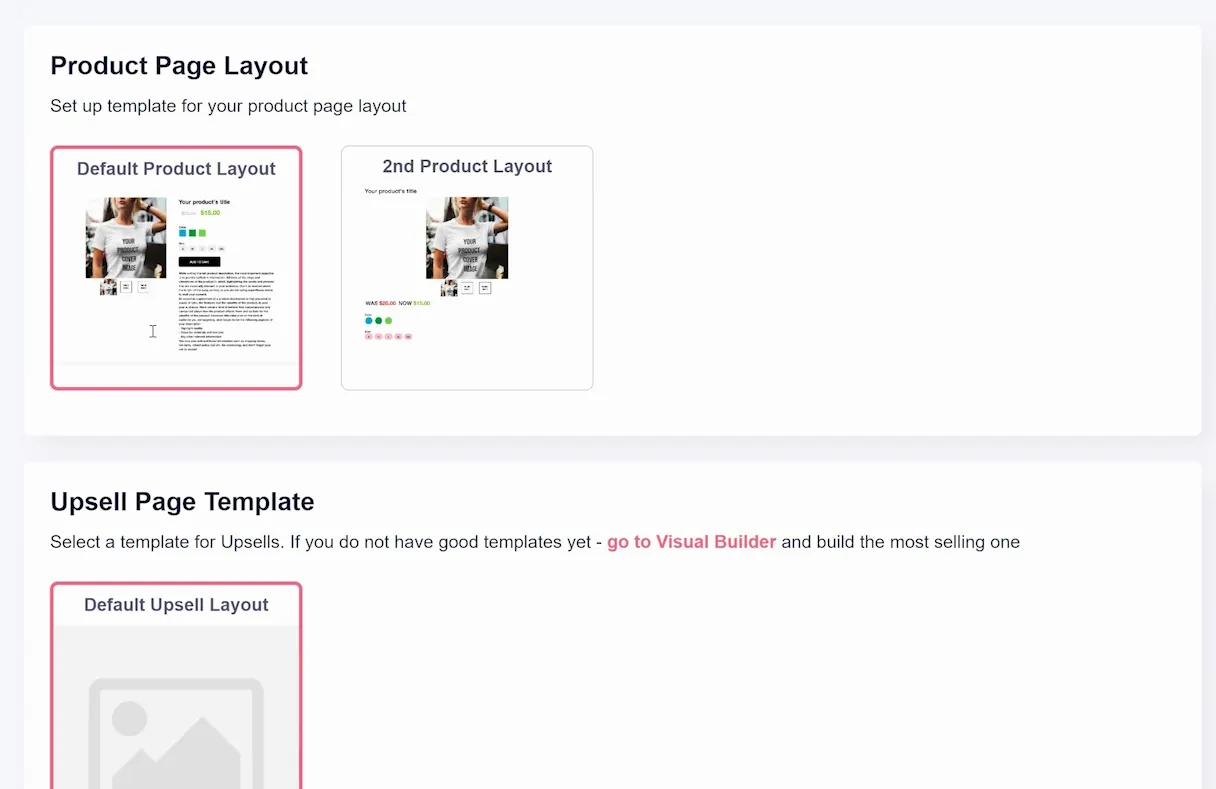
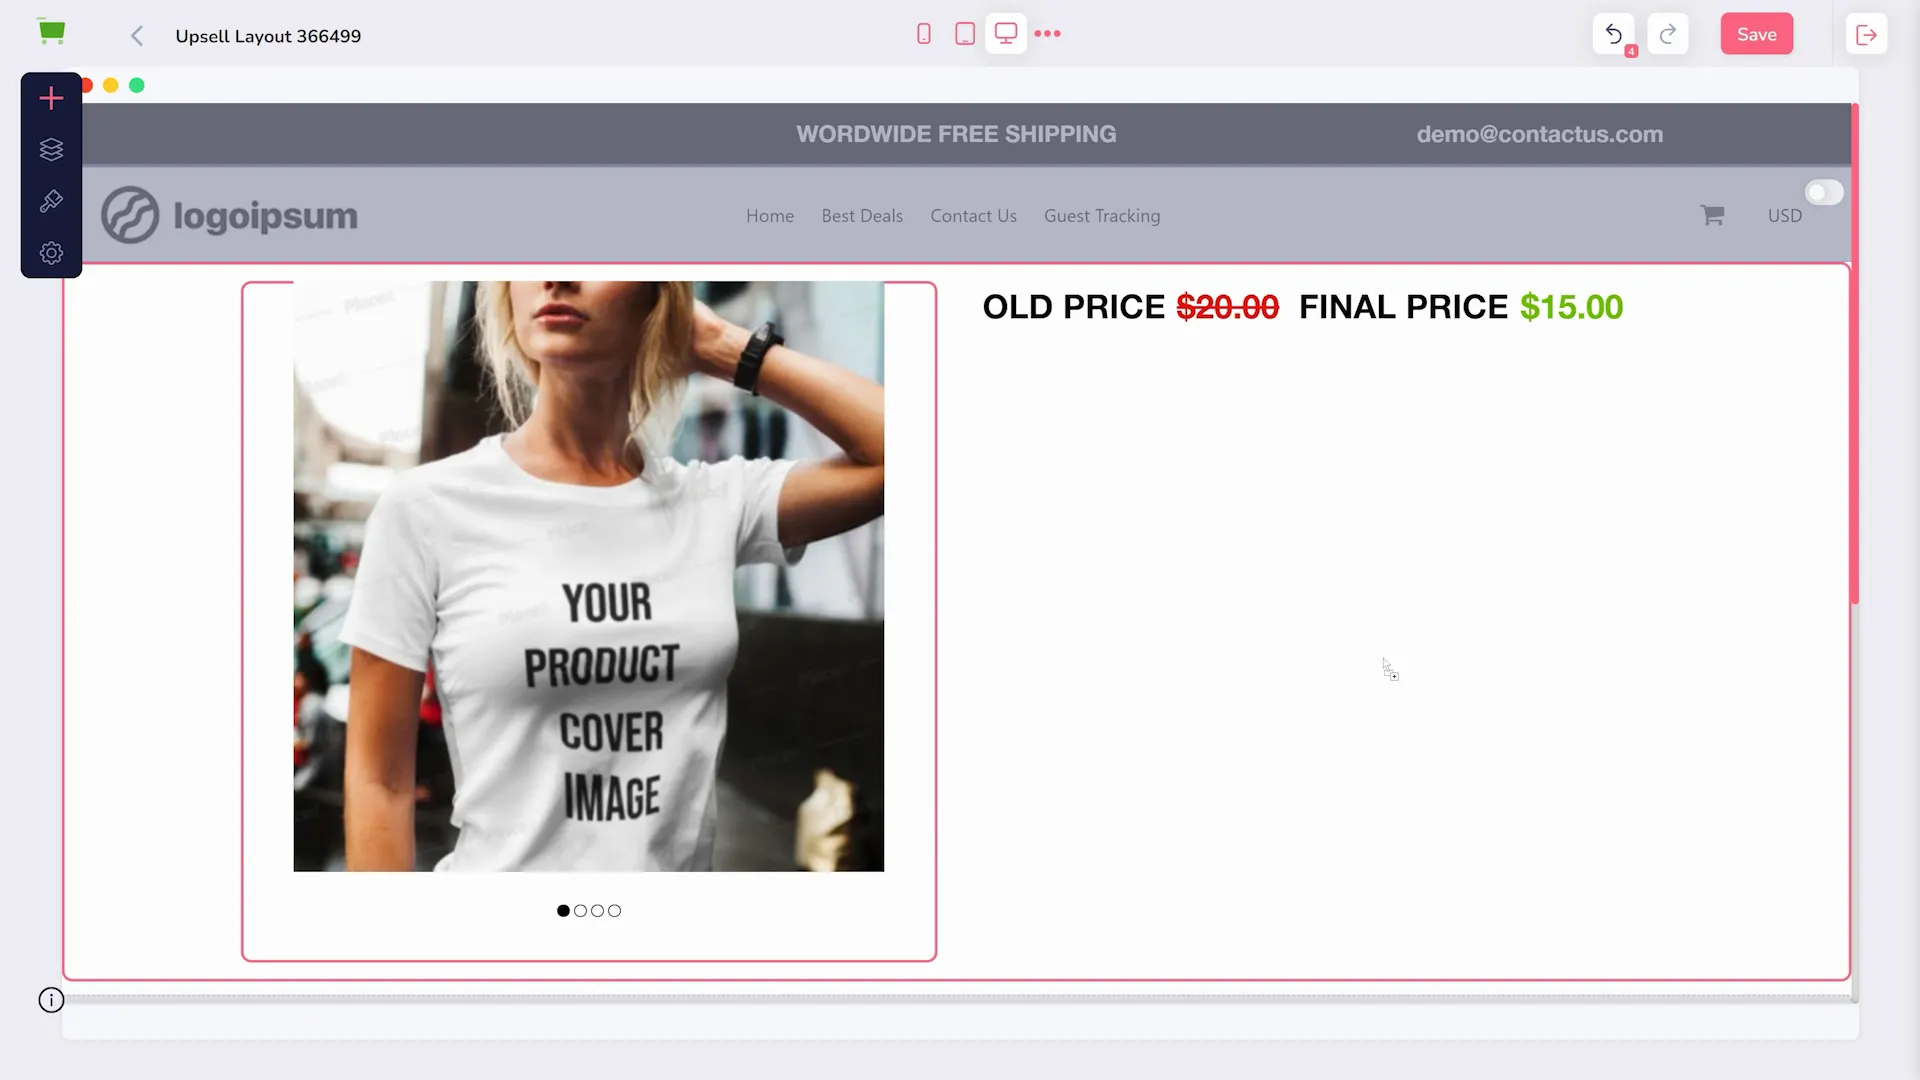
Page layouts, both for your product page and upsell page can be selected in your product setup (as shown below).
However, you cannot create them here. Instead, these are created in the store builder (as shown below).
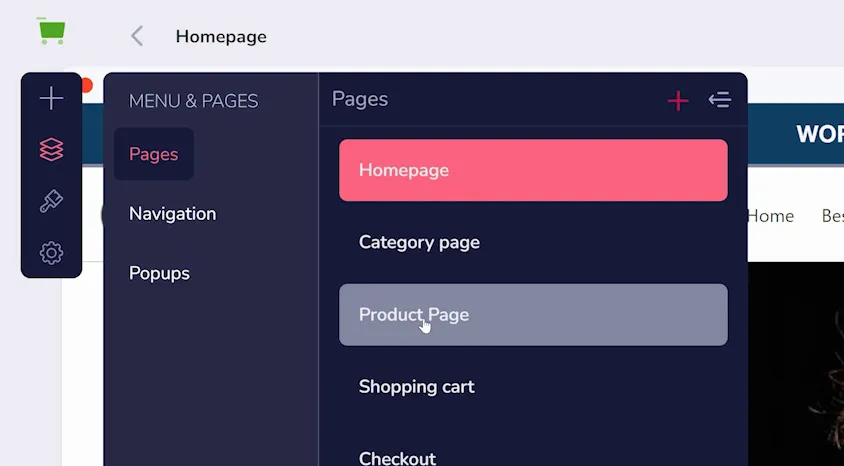
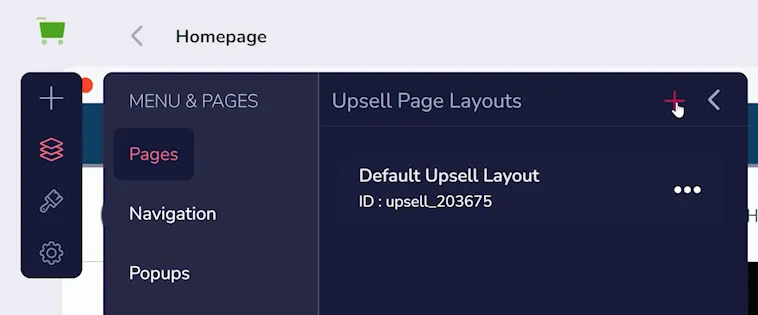
Click Pages icon in the left menu, choose Pages, and select either Product Page (as shown above) or your Upsell Page. Then, click the pink + button to add a new layout (as shown below).
Page layouts are built using elements. Simply drag and drop elements into the page where you would like them to be. Product Elements (such as the product image slider shown below) are automatically replaced with the right information when visitors view product pages.
Once you click to Save, your new layout will appear in Product Setup.
Upsell Products
An upsell product is a marketing technique used by online stores to encourage customers to purchase a higher-priced or premium version of a product they're already interested in buying. The idea is to convince customers to spend more money by showing them the added value or benefits they can get from upgrading to a better version or a related product.
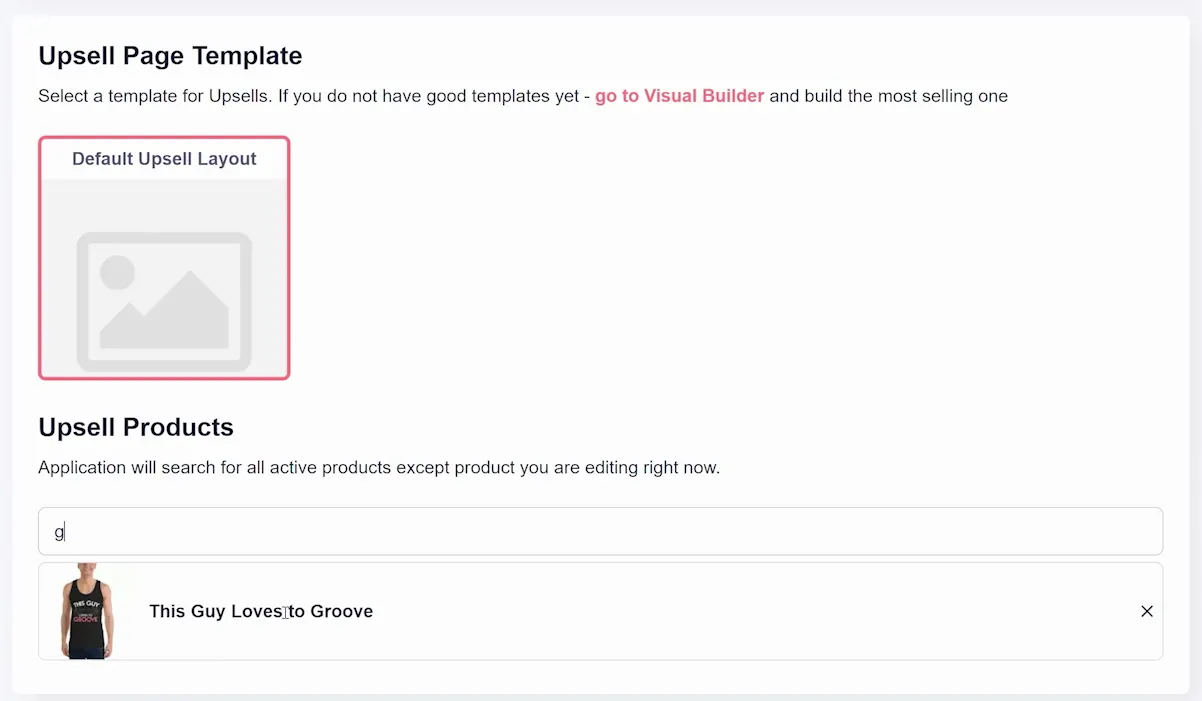
Adding Upsell products to your GrooveKart Products is done through your product setup. Simply scroll down to the Upsell Page Template area (shown above) and type in the name of the Upsells you want to add. From the search results, click the ones you want. You can add multiple here if you wish.
Order Bumps
A bump offer is a product that a customer might add to their order. By strategically placing bump offers throughout the customer journey, you can increase the average order value and provide customers with valuable add-on options.
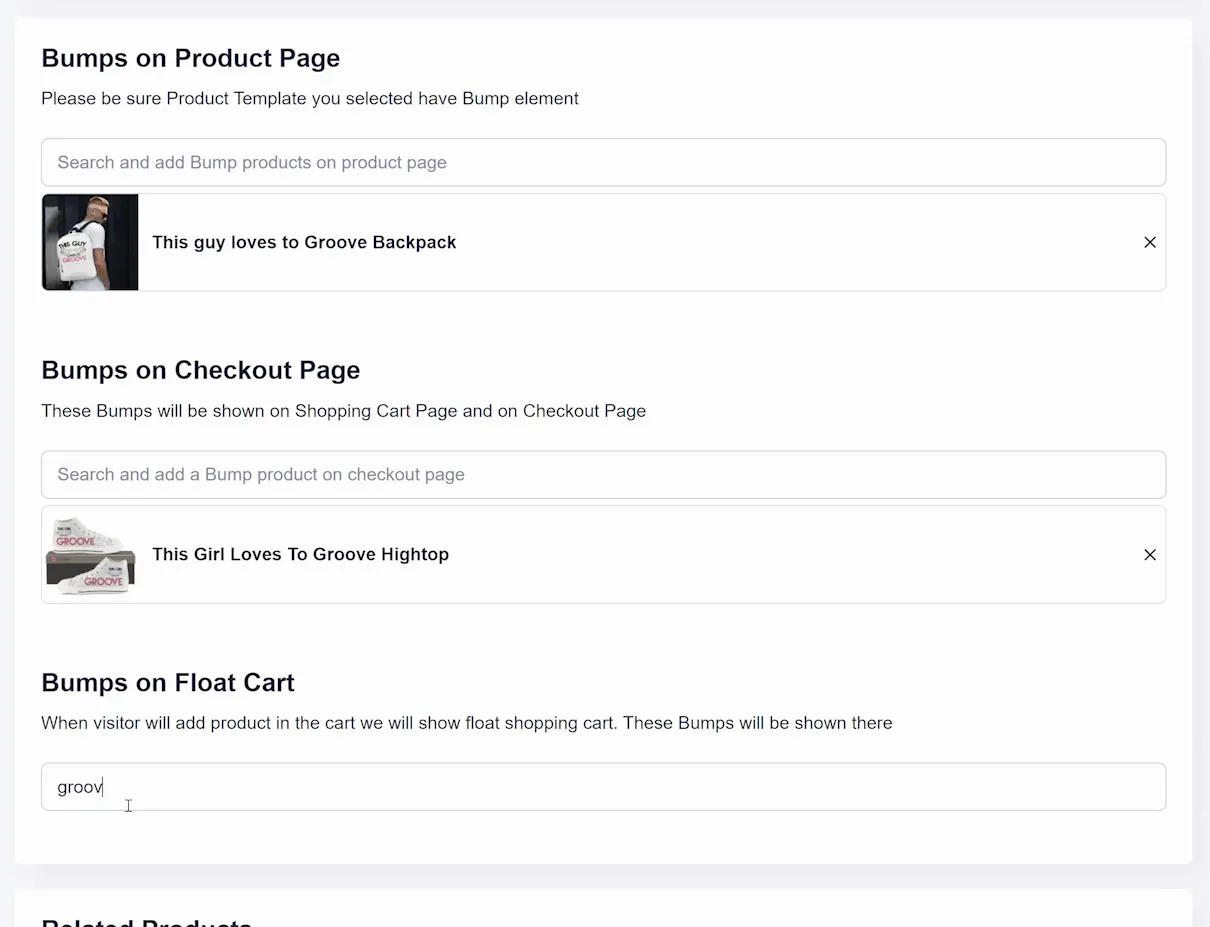
You can add products to three areas (shown above) of the customer journey: the Product Page, the Checkout Page, and the Float Cart (the shopping cart that appears when someone adds a product to their cart). All you need to do is type the name of the product you want, and click it in the search results.
Related Products
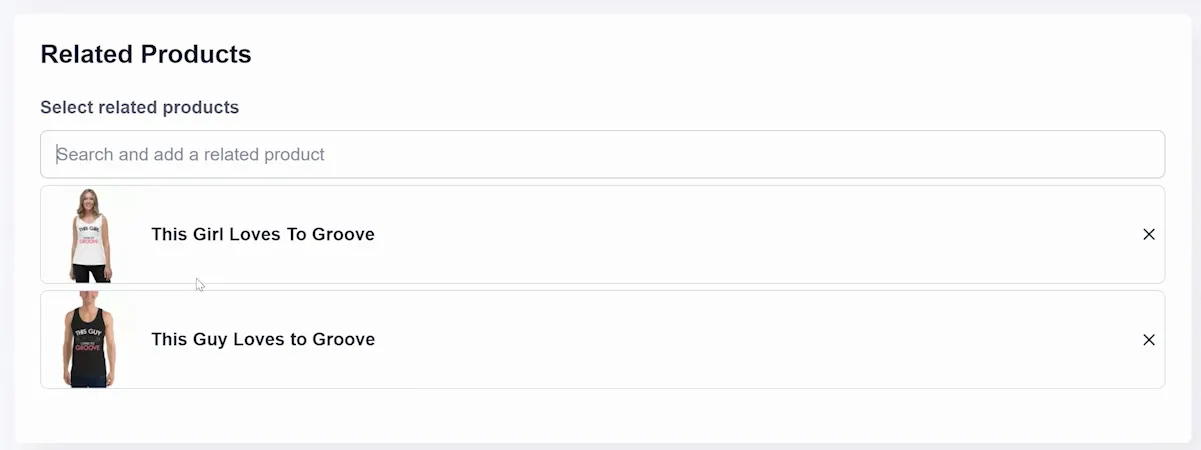
You can enhance your customers' shopping experience by suggesting related products that complement their selections. By suggesting related products, you can encourage customers to explore more options and potentially increase their order value.
During product setup, scroll down to the Related Products area. Here you can simply type and select any products you want to show as related to this one.
In order to show these products on the product page, you have to ensure your layout includes a related products element. You can find this under the Product Elements area in the store builder.
Custom Fields
You can give your products personalization by allowing customers to add text or custom image files. By offering customization fields, you're providing an interactive and personalized shopping experience for your customers. In your product setup, scroll down to Custom Fields (as shown below) and click "Add A Customization Field" to begin.

A few options appear, first of which is the Label. This should describe the purpose of the customization field to the customer (e.g. "Caption for Your T-Shirt" or "Upload an image for your candle").
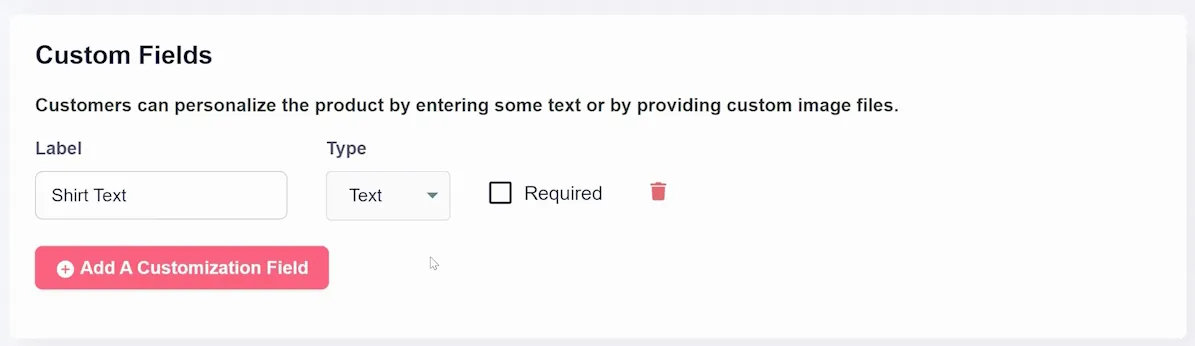
Next, choose between "Text" or "File" from the dropdown options. Select "Text" if customers should input text (as shown above), and "File" if they should upload image files (as shown below).

Finally, check the Required box if you want to make the customization field mandatory for customers to checkout.
Product Bundles
Product bundles can incentivize customers to purchase related items together and enjoy attractive discounts. By providing product bundles, you can stimulate customers to explore a collection of related items while benefiting from appealing discounts.
The first area "Available Bundle Discounts for this Product" (shown below) lists all bundles that this product is already included in.
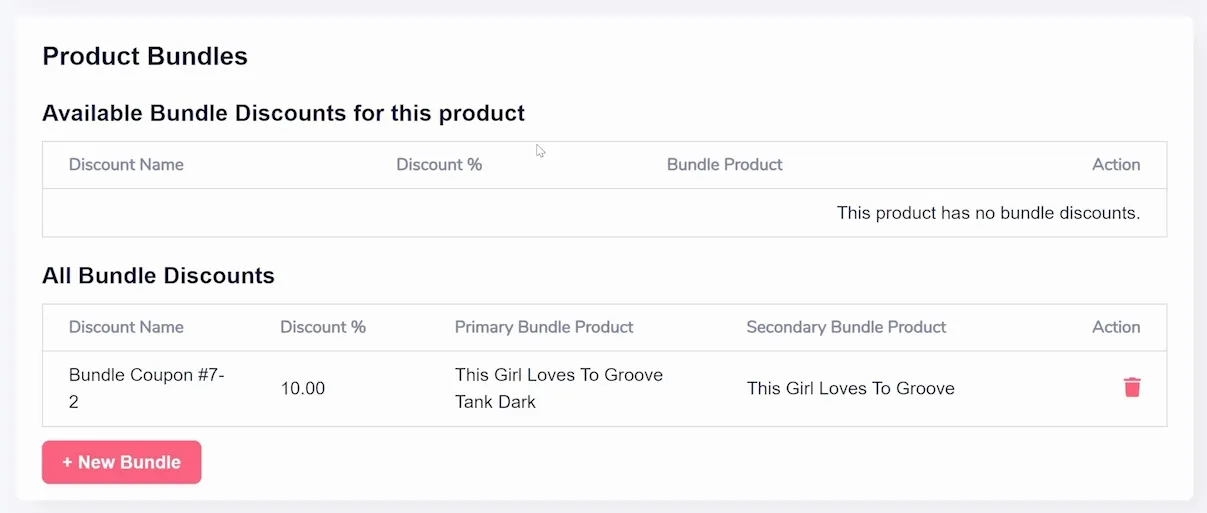
The second area, "All Bundle Discounts" (shown above) is a list of all the bundle discounts available across your store's product range. Click the "+ New Bundle" button to initiate the creation of a new bundle (shown below).
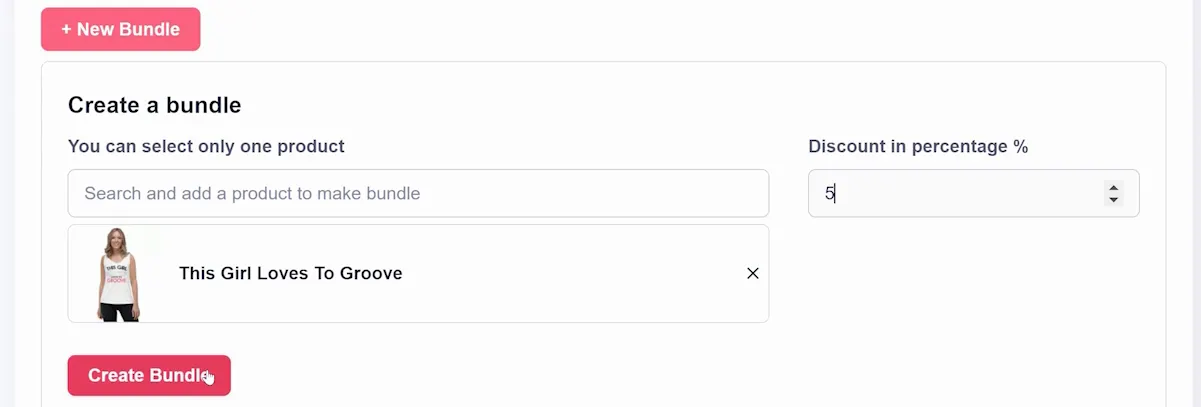
Type and search for products to add to your bundle and add the discount in Percentage % (as shown above). Click "Create Bundle" and the bundle will be added to the first area as well as the second.
Optimizing SEO
Search Engine Optimization (SEO) can significantly improve the discoverability of your product. Optimizing these SEO elements can greatly improve your product's visibility across search engines and social media platforms, driving more traffic and potential sales.
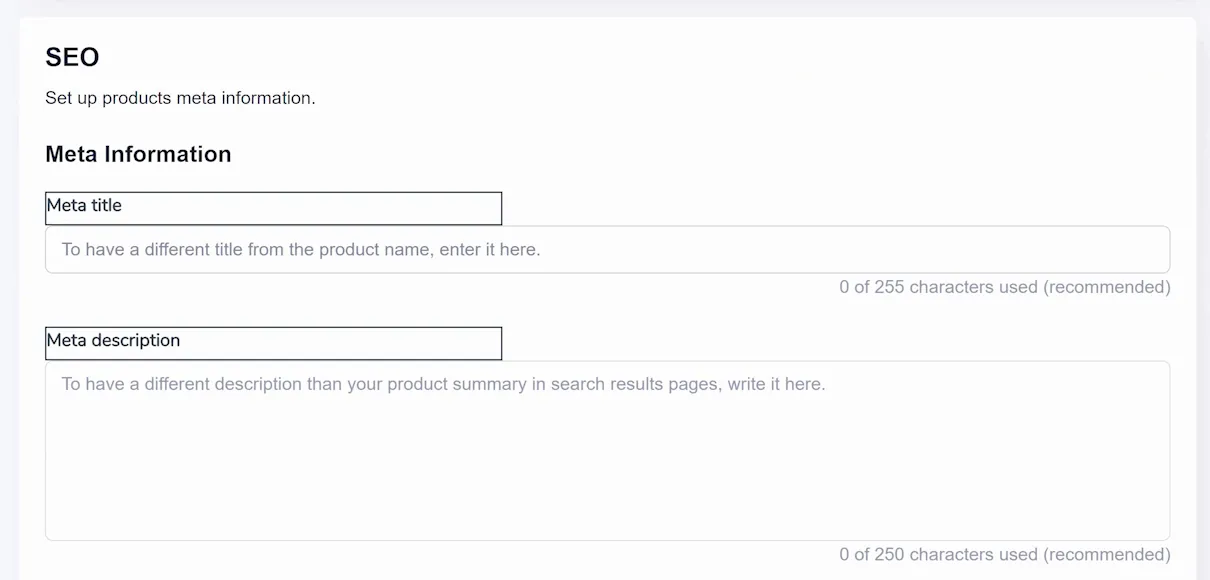
The first two areas, Meta title and description (shown above), are specifically used by search engines. Compose a title and concise desciption that encapsulates the essence of your product, making it relevant and engaging.
The Friendly URL (shown below) is a user-friendly and descriptive URL for your product. Add something here that incorporates relevant keywords and product information, but is also short and easy to read.
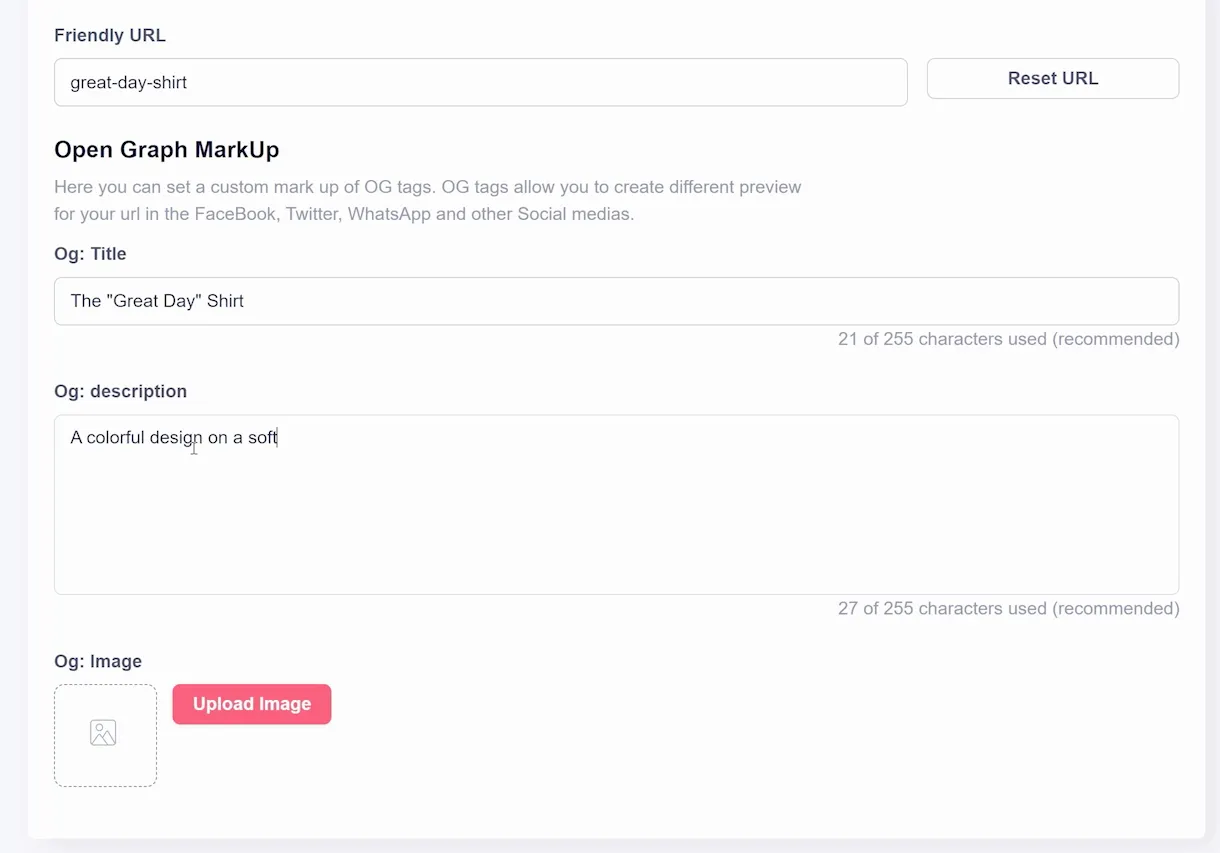
Open Graph (OG) Settings (shown above) are used to enhance how your product appears when shared on social media platforms. You can choose a title, description, and upload an image for the preview.
Embedding Your Product on Third-Party Sites
The Add to Cart button is a vital tool for online merchants using GrooveKart, allowing customers to effortlessly add products to their shopping cart. Whether using a third-party embed or a native in-app button, both options support variations, which means a dropdown menu can be included for products with different sizes, colors, or other attributes. Here's how you can implement both types of buttons.
Third-Party Embed Button
First, navigate to your products and click to edit the product you want a button.
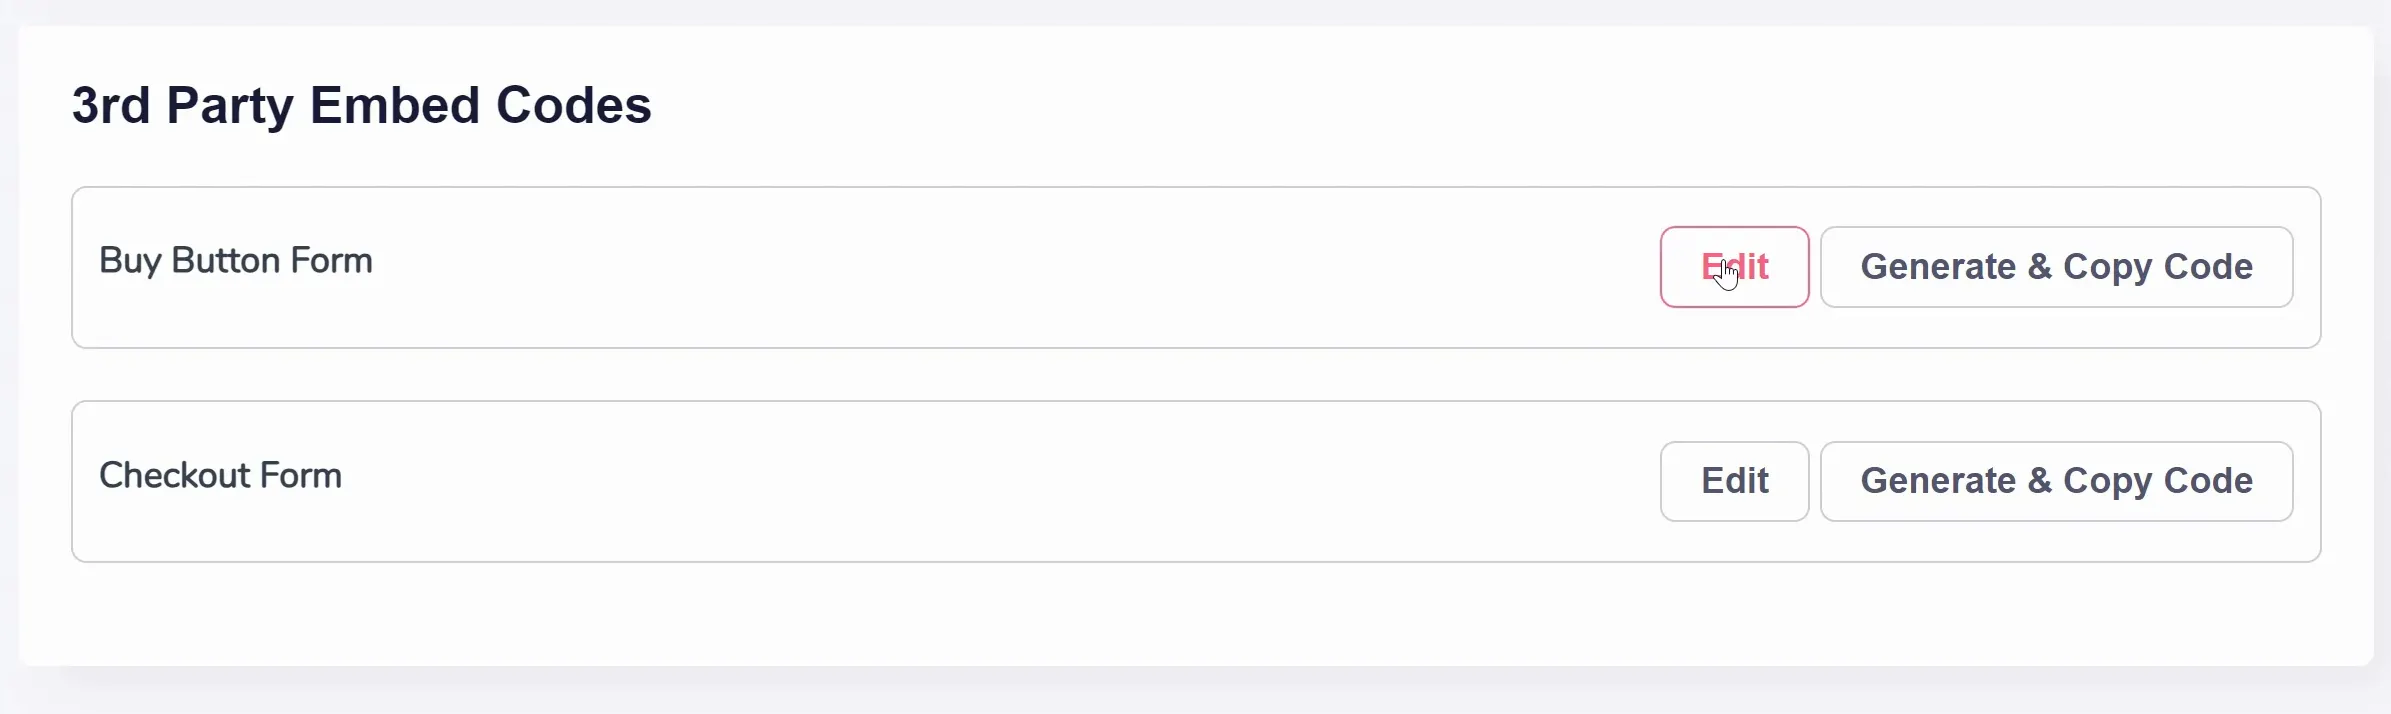
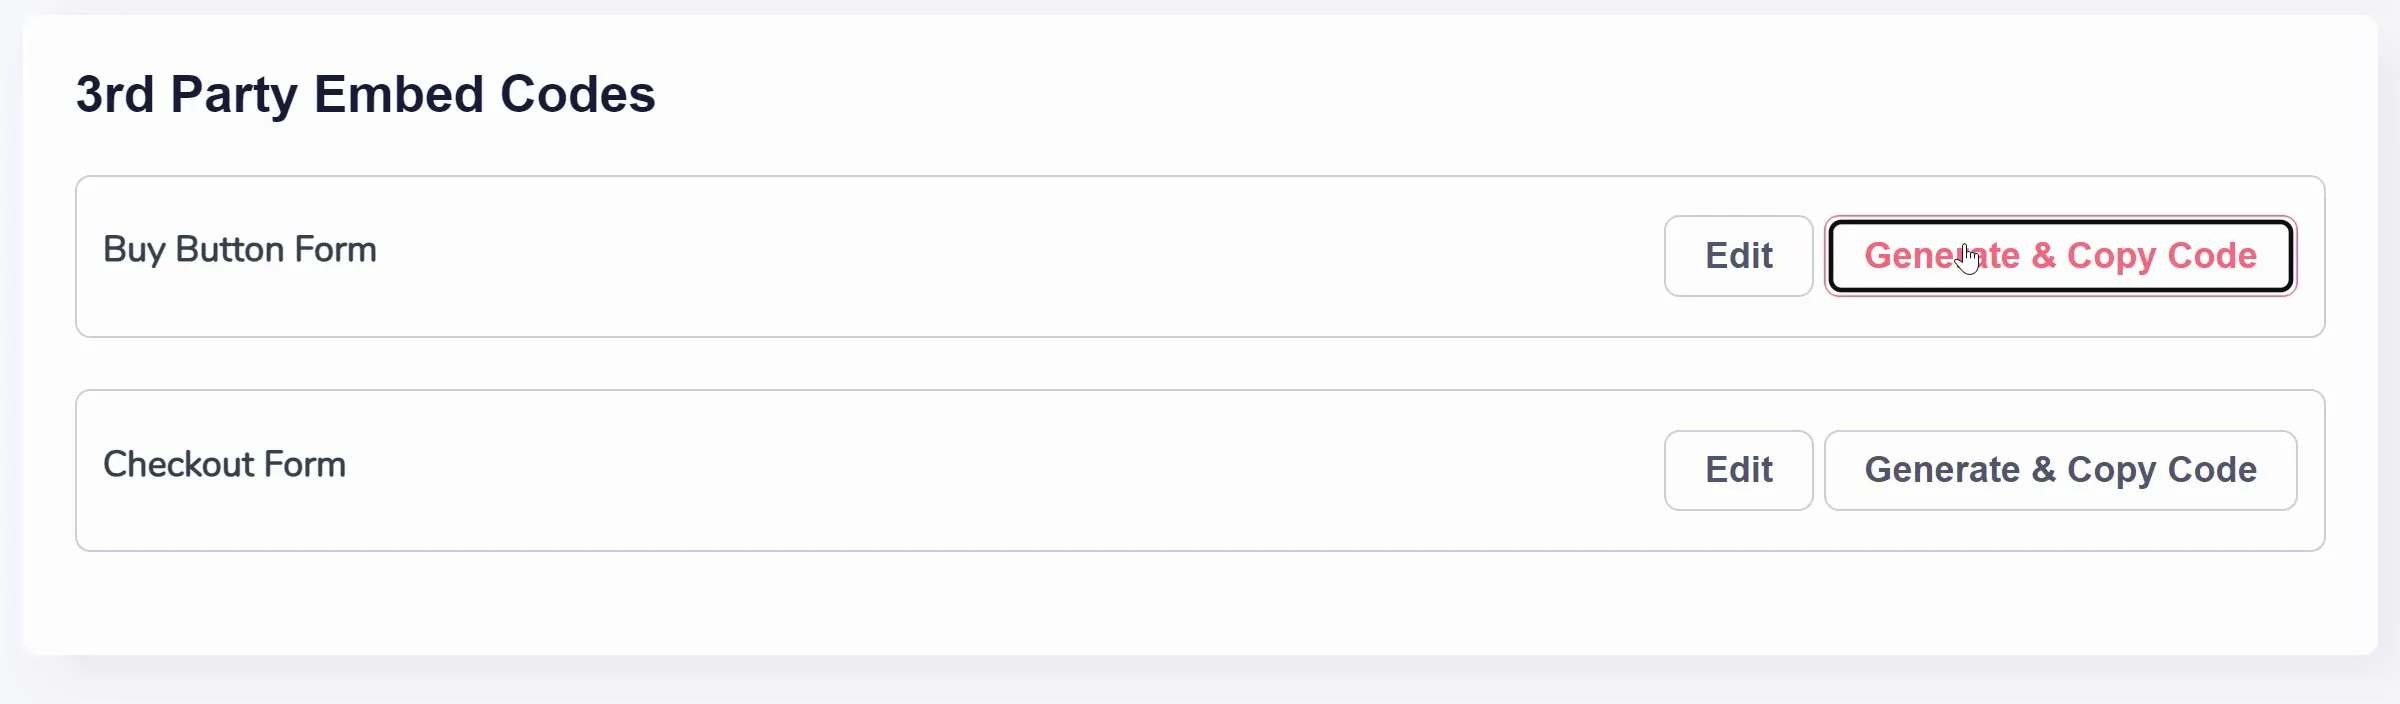
Scroll down to 3rd Party Embed Codes and click "Edit" to the right of "Buy Button Form" (shown below).
You can customize the button's functionality and appearance, including Button Text, Button Text Color, Button Background Color, Button Border Radius in Pixels, and various toggles for features like Show Product Name, Show Product Image, and more.
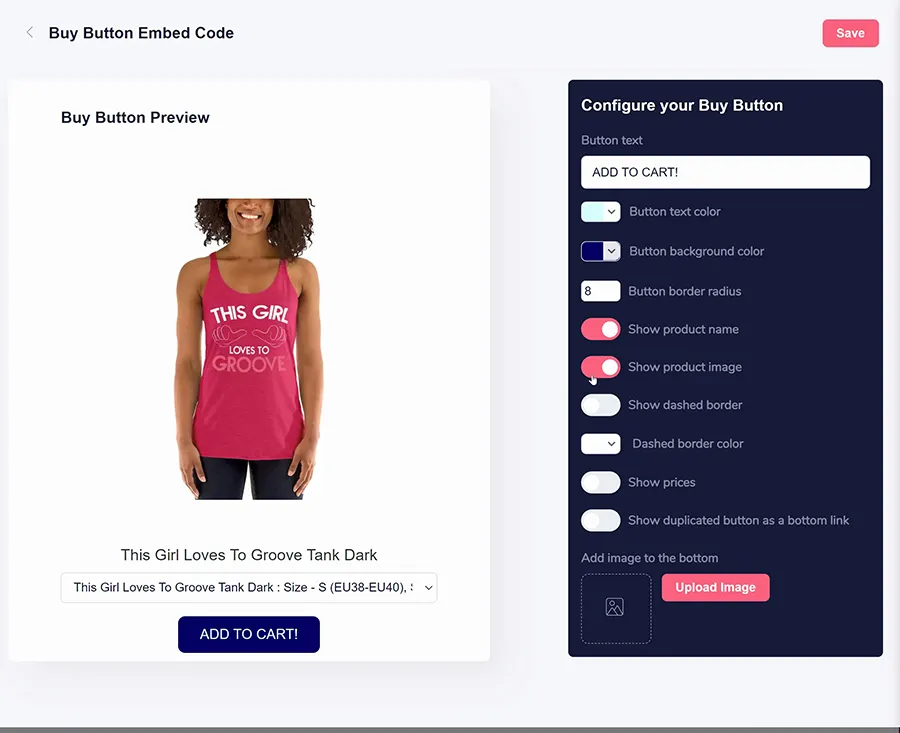
After making your selections, click "Save." You'll be brought back to the product settings. Click "Generate & Copy Code" next to the Edit button you clicked earlier. You can now paste the generated code where needed on any site, enabling the third-party Buy Button.
Native In-App Button
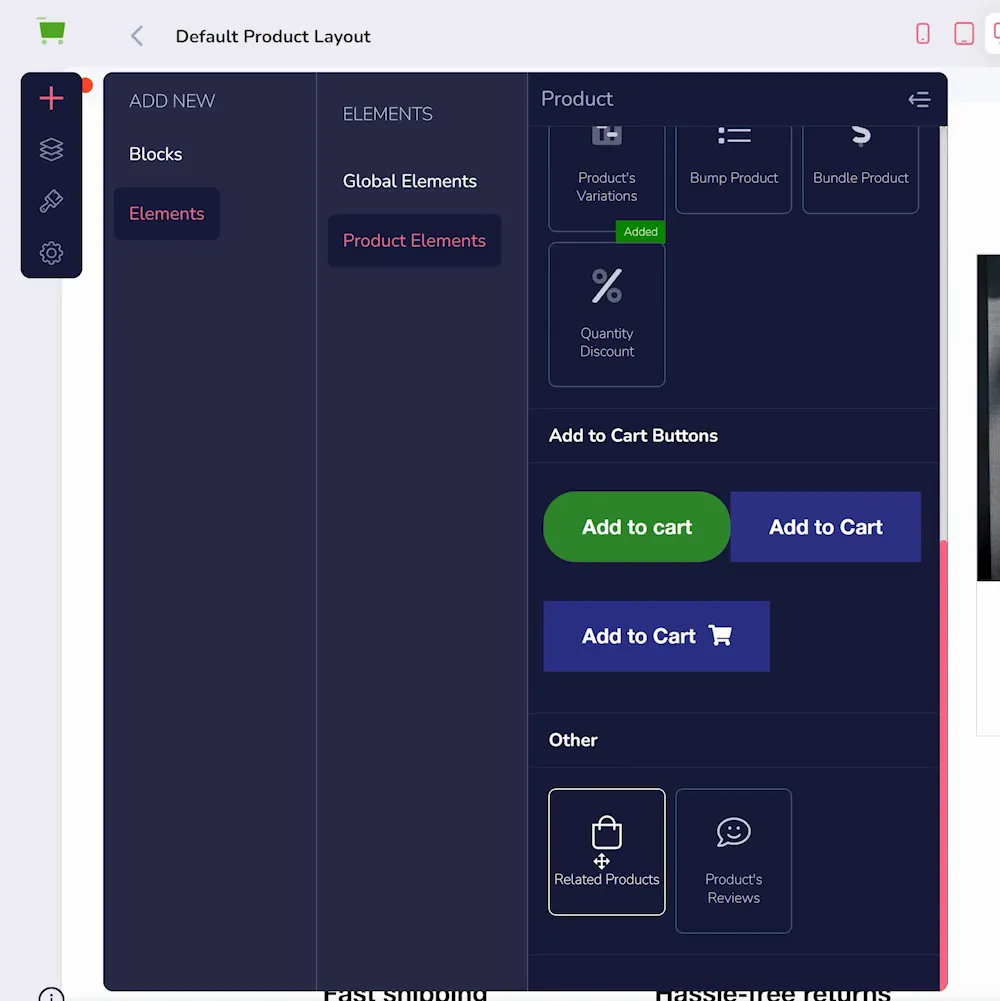
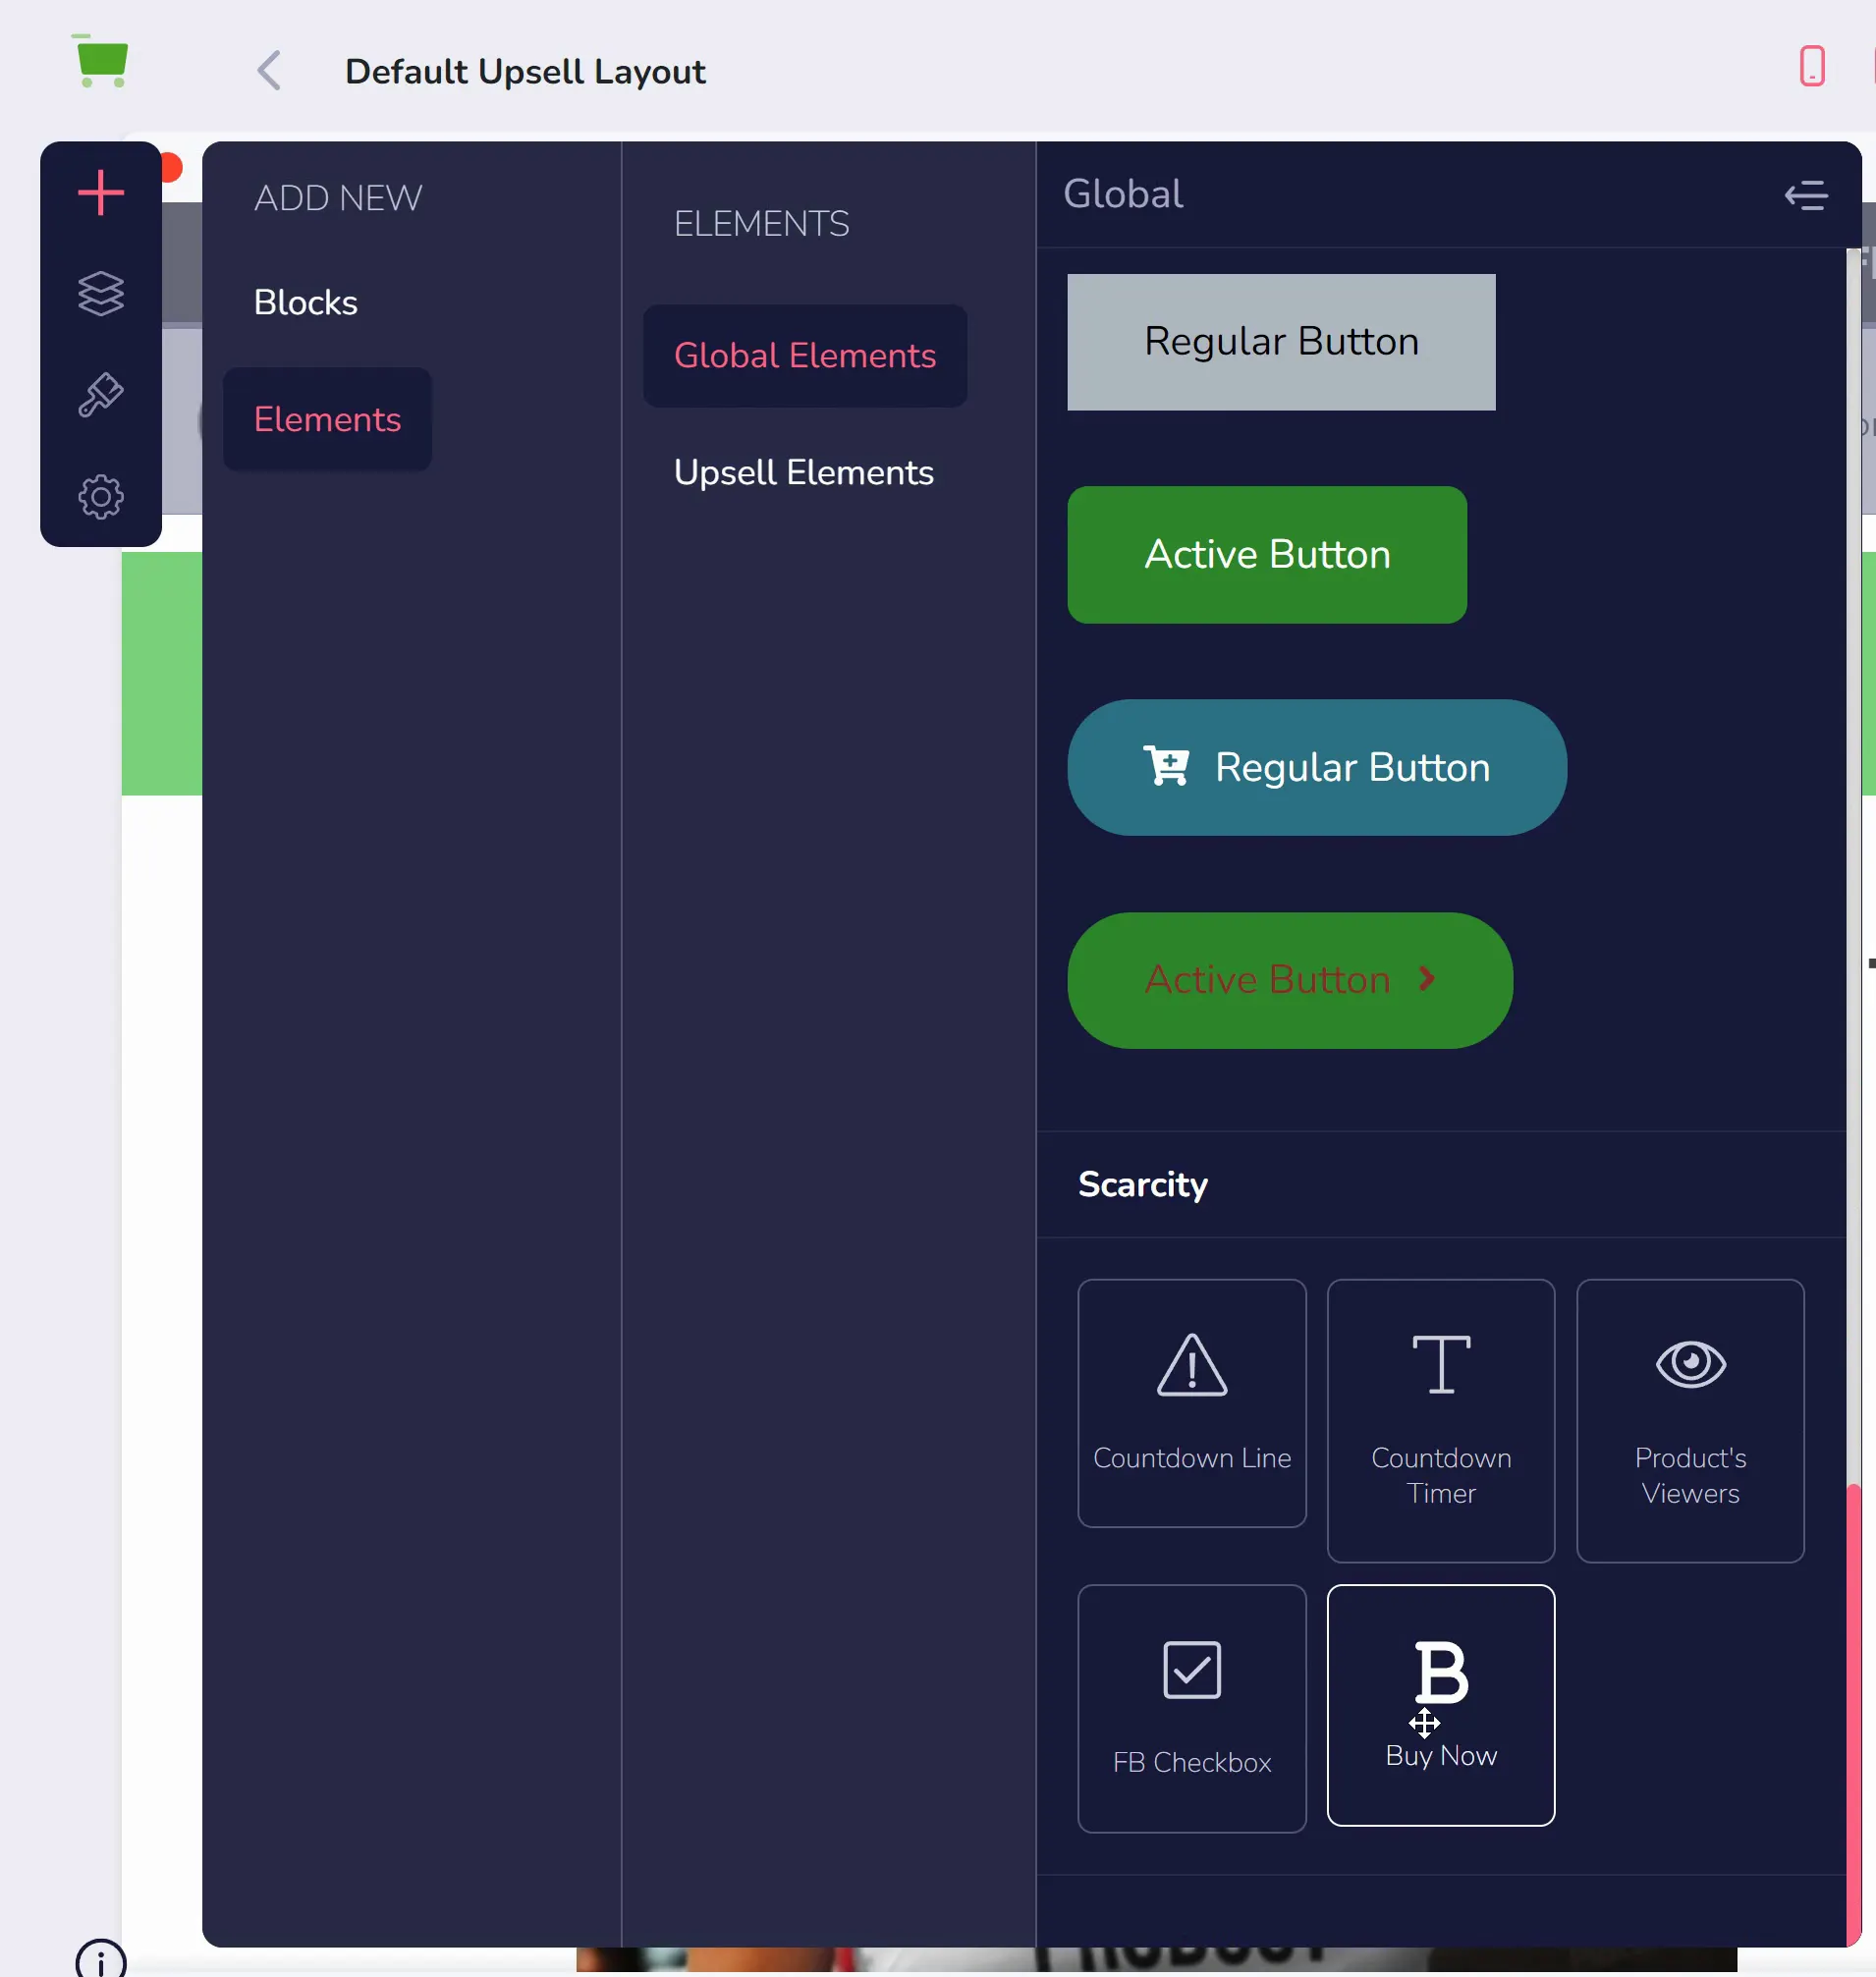
First, launch the store builder in GrooveKart. Click the plus + button in the left sidebar, navigate to Elements, scroll down to Scarcity, and click/drag the Buy Now element onto the desired location on the page.
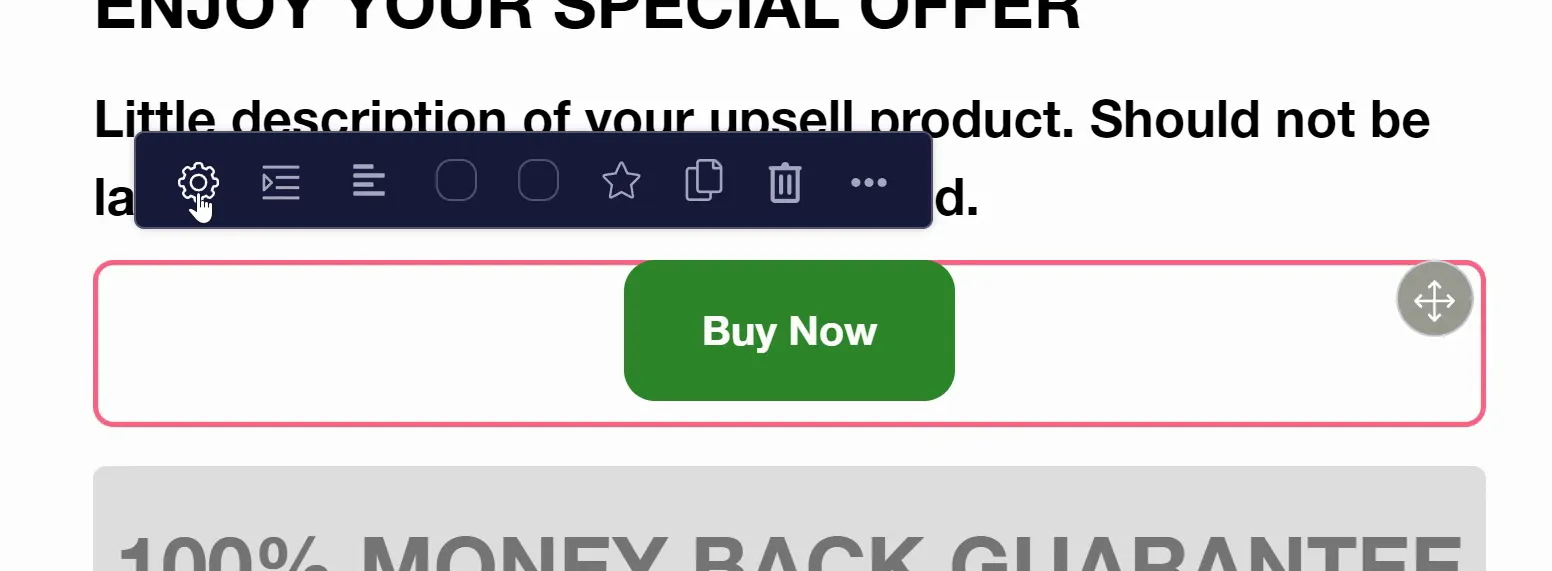
Click the settings gear icon to set up the button (shown below).
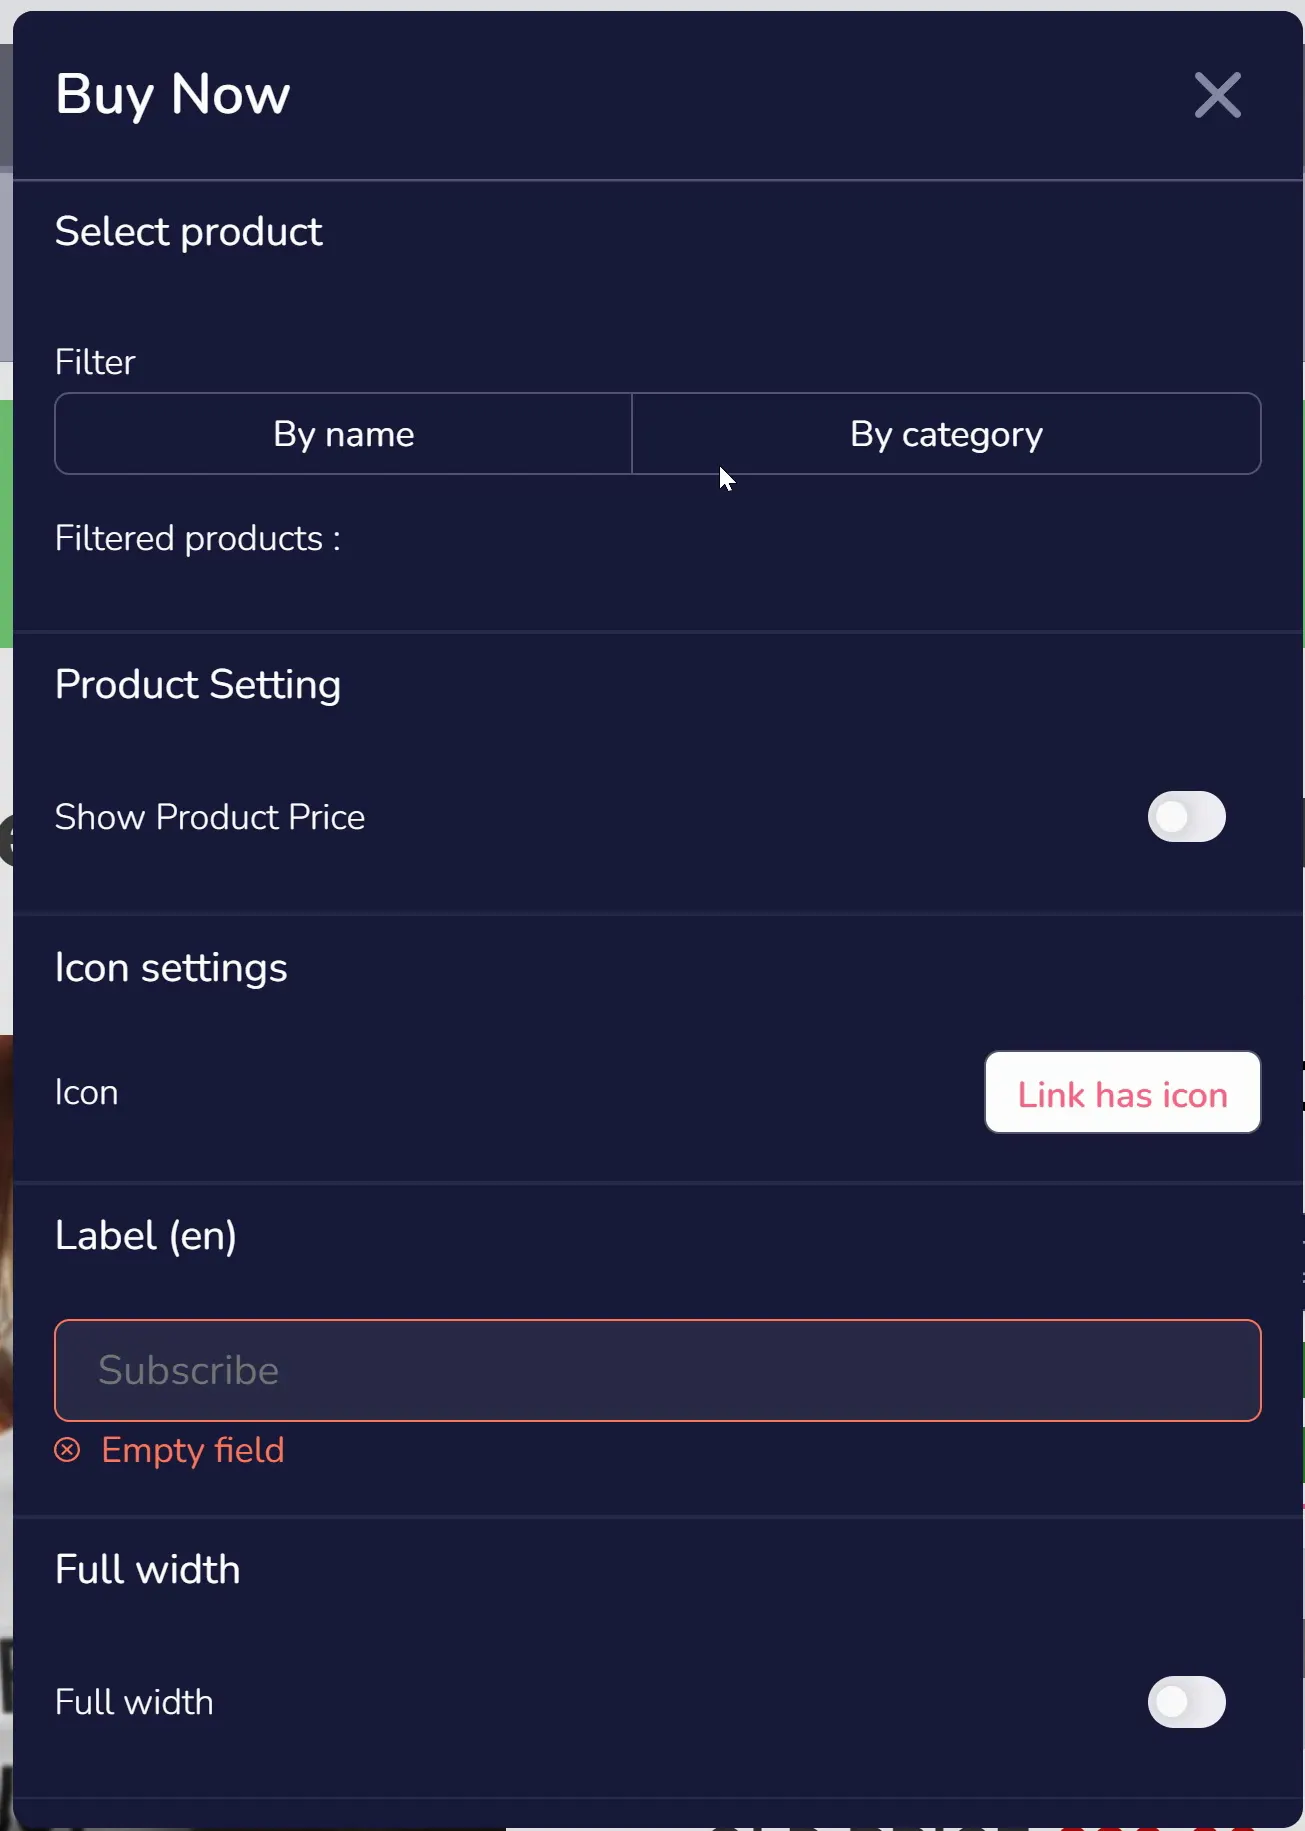
You can choose the product, toggle "Show Product Price," set up the Icon, Label, and Full Width toggle.
Category Products Element
In the Category Page within the store builder, click to select the "Category Products" element.
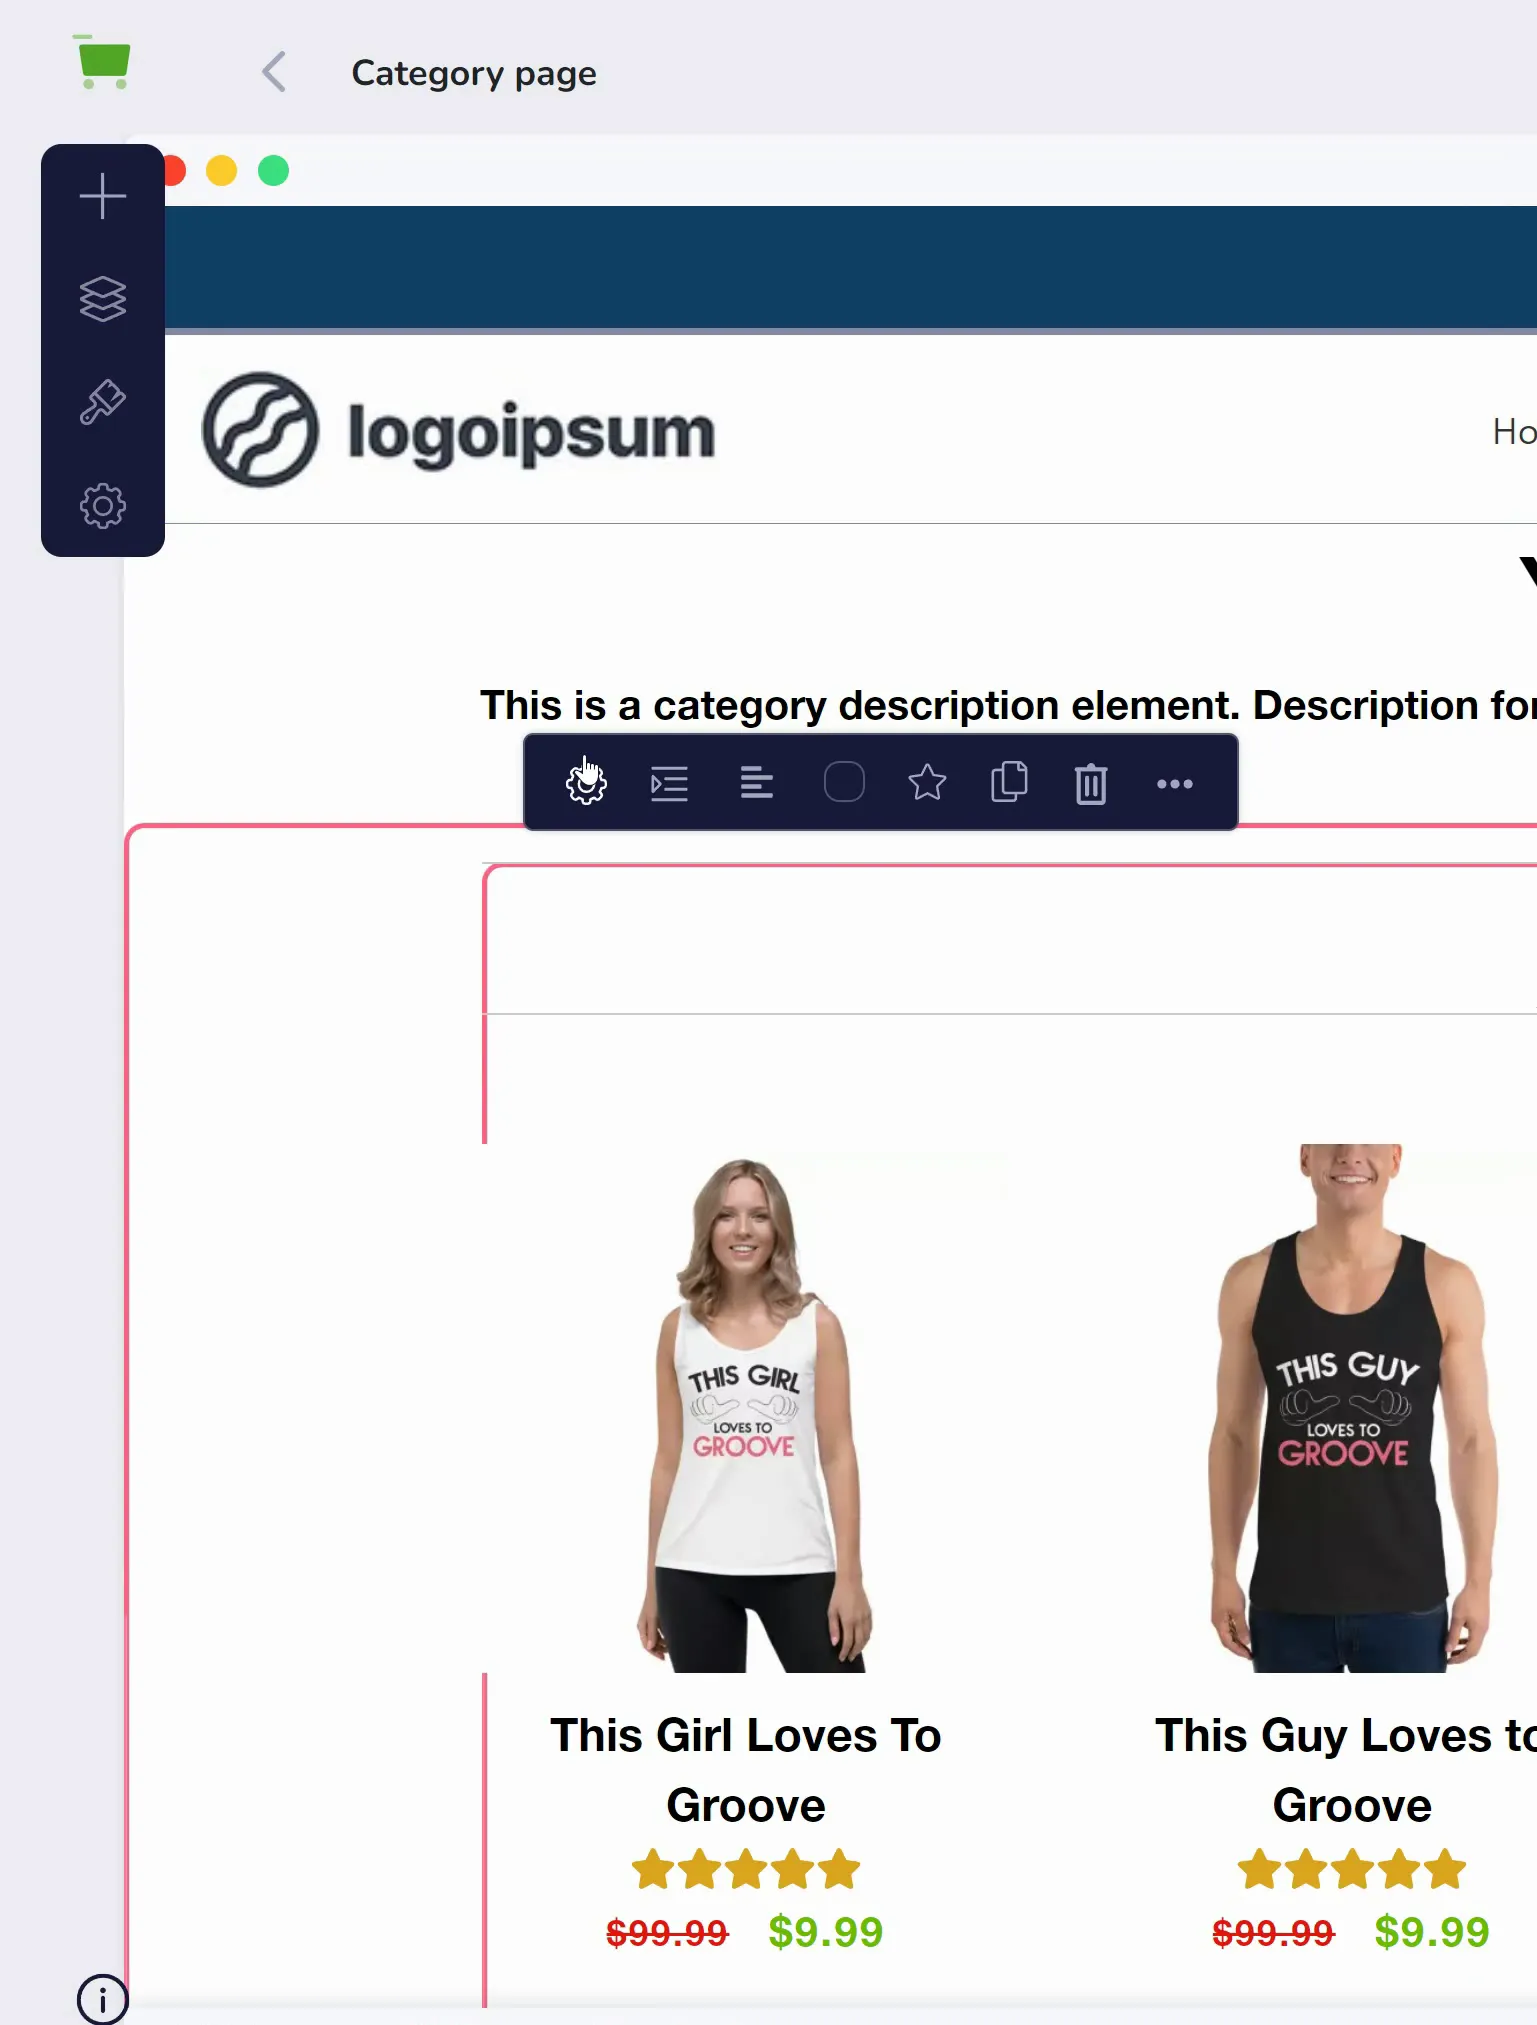
Click the settings gear, then in the popup settings window, click the dropdown for "Add to Cart Settings," and toggle "Show Button."
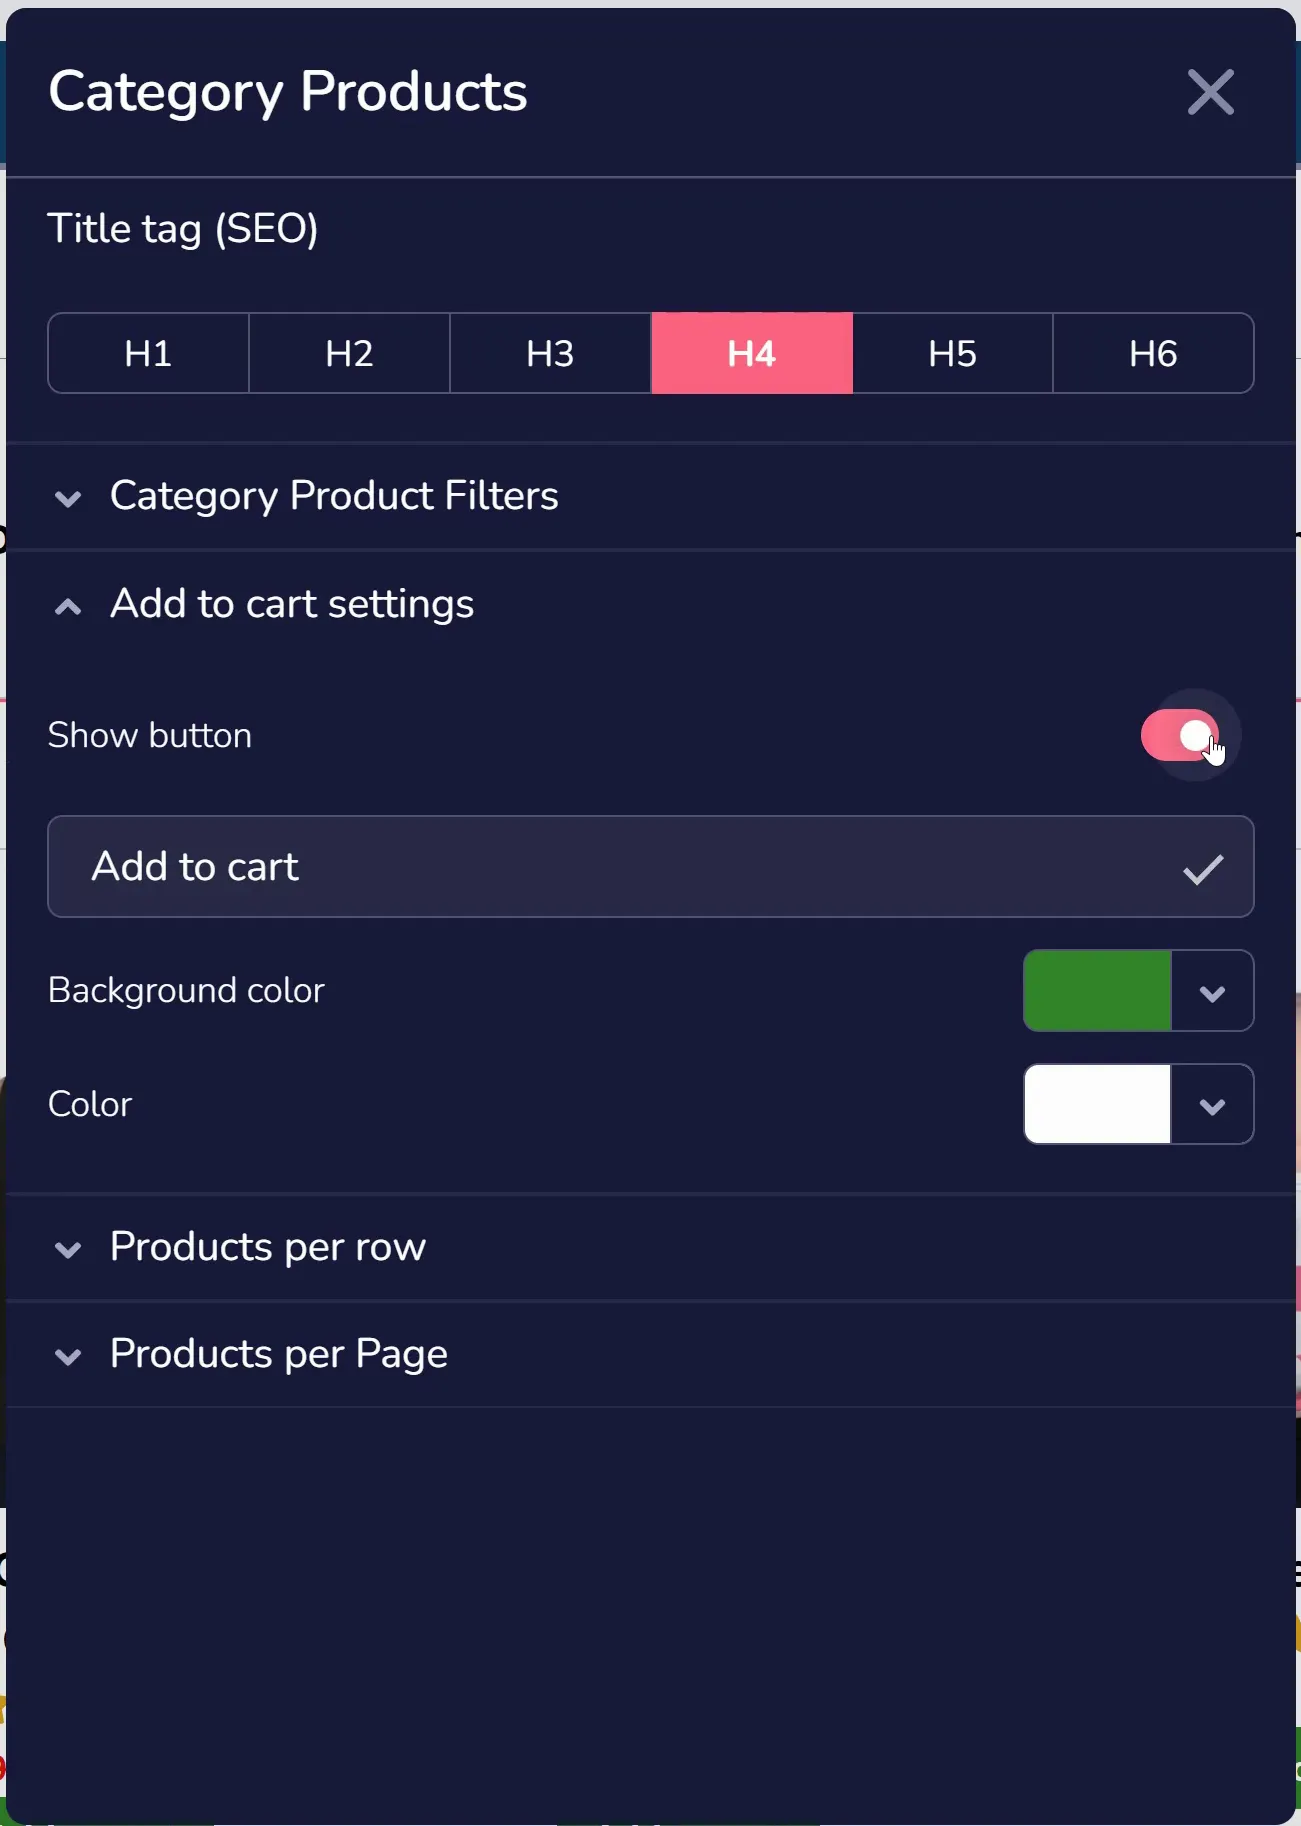
The Add to Cart button offers robust flexibility in GrooveKart, whether you prefer to use a third-party solution or the platform's native elements.