GrooveKart: Store Details/Information
Log in to your GrooveKart account and click on "Add Store Details" from the checklist located on the left-hand side of the dashboard (shown below).

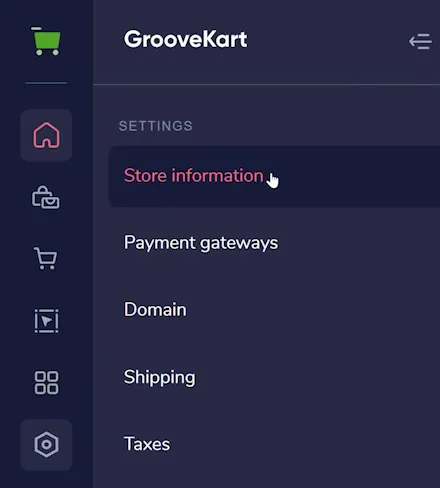
Alternatively, you can also access this feature by clicking on "Settings" and then selecting "Store Information" (shown below). We'll use this area for this tutorial.
Once you're on the "Store Details" page, you'll see several fields that you need to fill out to complete your store's information. Let's start with the first three options (shown below): Desktop Logo, Mobile Logo, and Favicon. Click on the Upload buttons to upload each. Note that the logo must be in either jpg or png format, and the maximum width/height should not exceed 500 pixels.
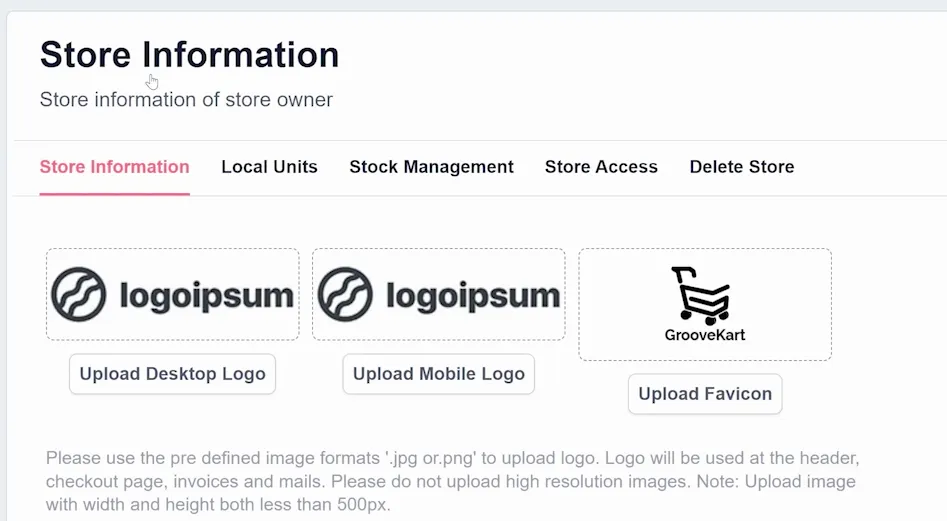
The favicon is the small icon that appears in the browser tab when someone visits your store. Like the logo and mobile logo, the favicon must be in either jpg or png format, but in this case we recommend it to be 16x16 pixels.
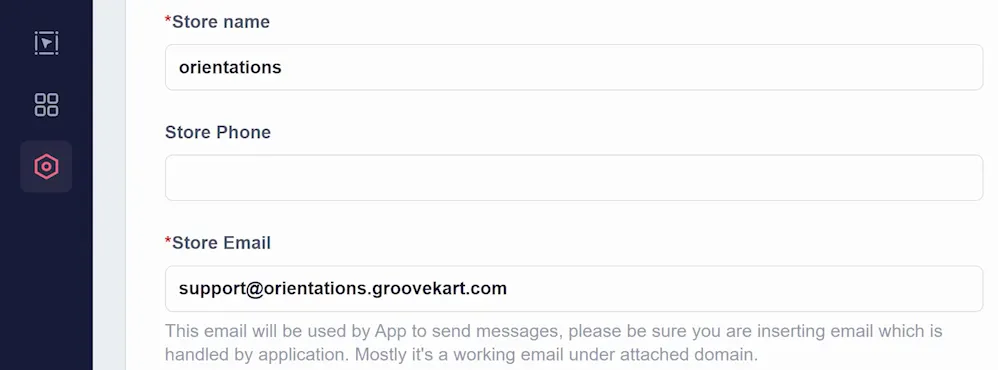
Shown below, the next fields are for your store's name, phone number (optional, but displayed on the store), and store email (used for all communication related to your store).
Next, enter any email you wish to notify of new orders, low stock quantity (discussed more below), and/or a request for return/refund. You can enter multiple email addresses, just add one per line (shown below as the "Notification Emails" field).
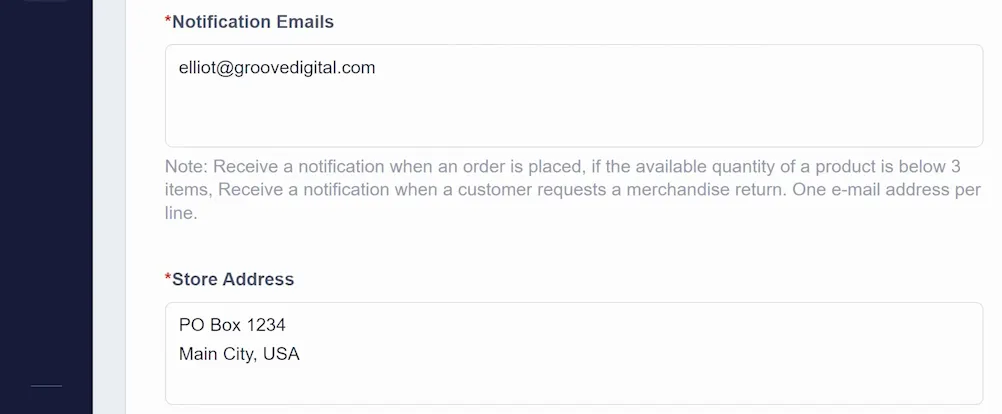
You will also enter your store's address in the "Store address" field (shown above). This can be your physical address, or a P.O. box if you don't have a physical store.
And that's it! You've now successfully added store details to your GrooveKart store. It's important to have accurate and up-to-date information on your store's details, as this can help build trust with your customers and improve your store's visibility in search engine results.
There are more settings available here, however. You can also create a Store Contact Page (as shown below), but this will require a Google ReCaptcha account. These are free and can be created here.

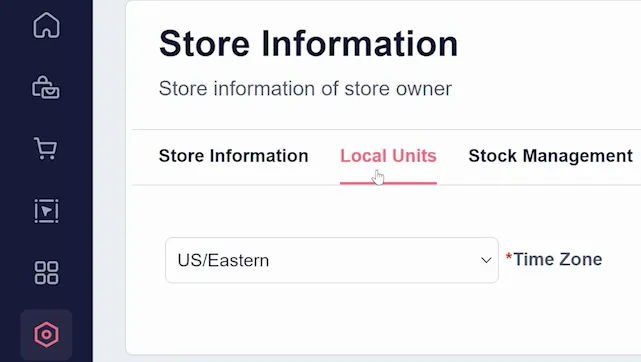
The next tab of your Store Information settings (shown below) is Local Units. This is where you set what Time Zone your store is based in, so that sales information is displayed in the correct time format for you and your customers.
Following that tab, you can turn on "Stock Management" in the next. This is used when you have physical stock to manage which may affect availability of a product. The toggle (shown below as the first toggle "Stock Management") is off by default. When you turn this on, you can decide whether to allow customers to order out-of-stock products, and whether you should receive a notification when stock is low. You can set what quantity counts as "low stock" or "out of stock" using the bottom field.

The Store Access tab (shown below) allows you to temporarily restrict access to your store in various ways. This can be helpful for maintenance and special events. If you need to make changes to your store, it can be helpful to make sure customers don't see the unfinished product. The first toggle allows you to block access to anyone trying to visit your store.
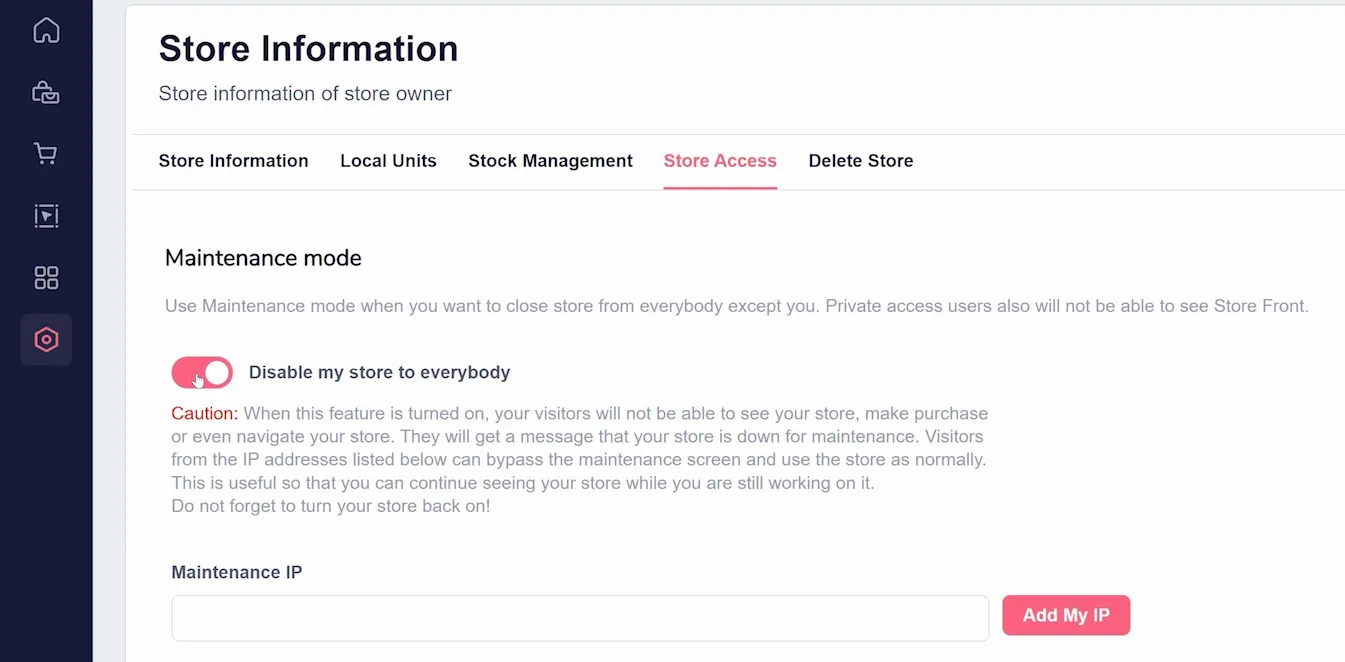
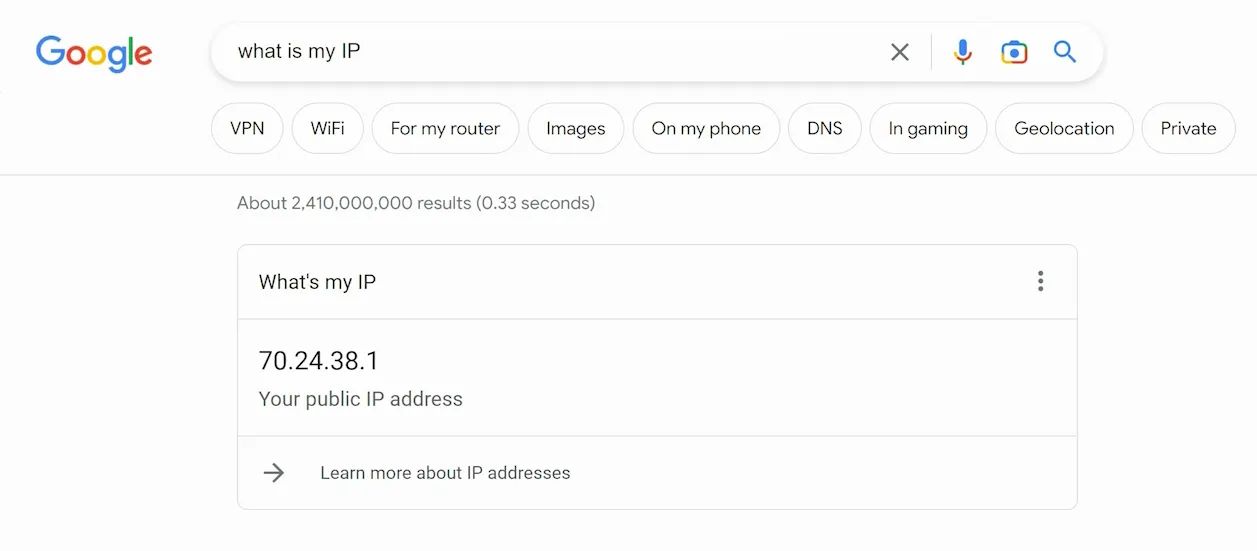
Below that toggle, you can add specific IP addresses which are still allowed to view the store. Before disabling your store to everybody, you will want to add your IP address (and any IP address for anyone working on your store with you) to this setting. If you do not know your IP address, you can search on Google "What is my IP address?" and use the numbers shown to you there (shown below).
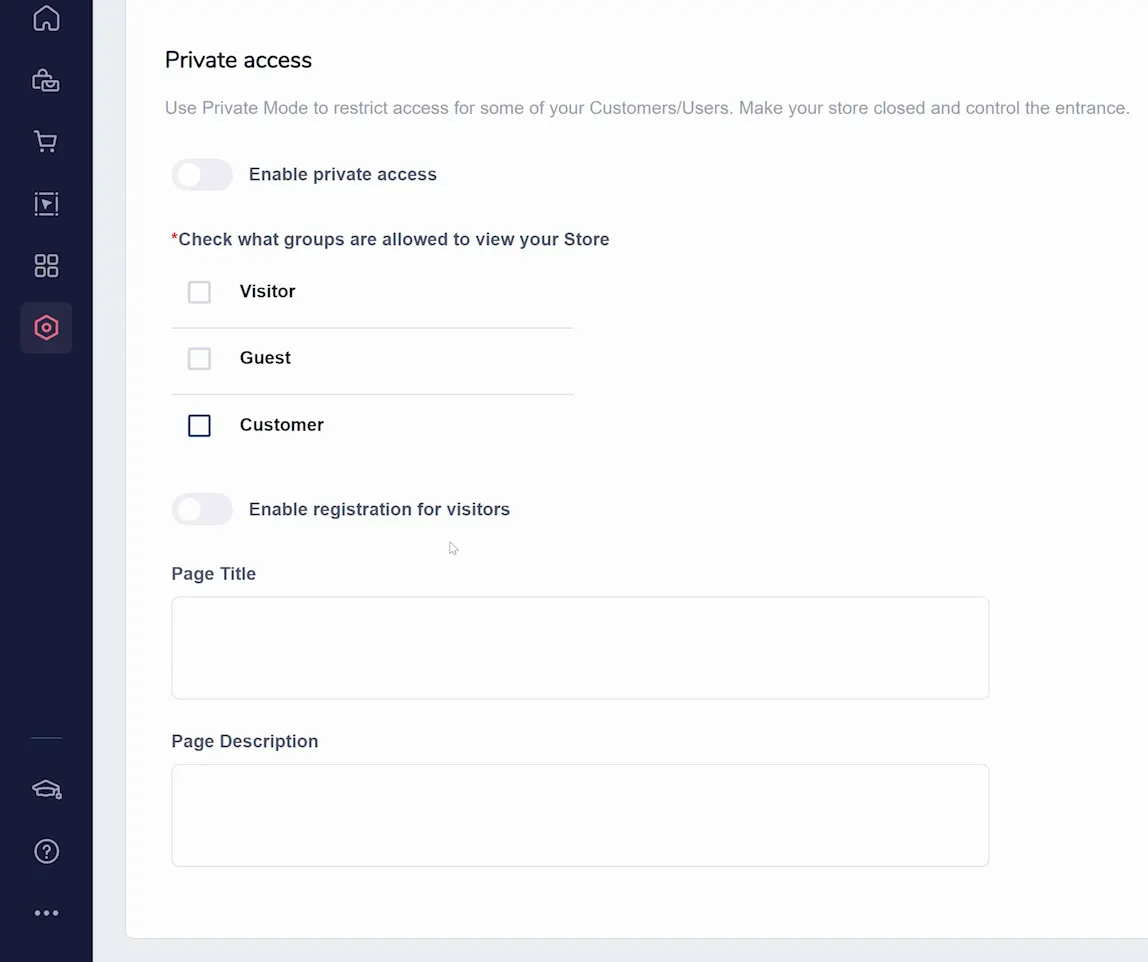
You can also restrict access to your store for only previous customers by using the Enable Private Access toggle or require visitors to register to view the page (both shown below).
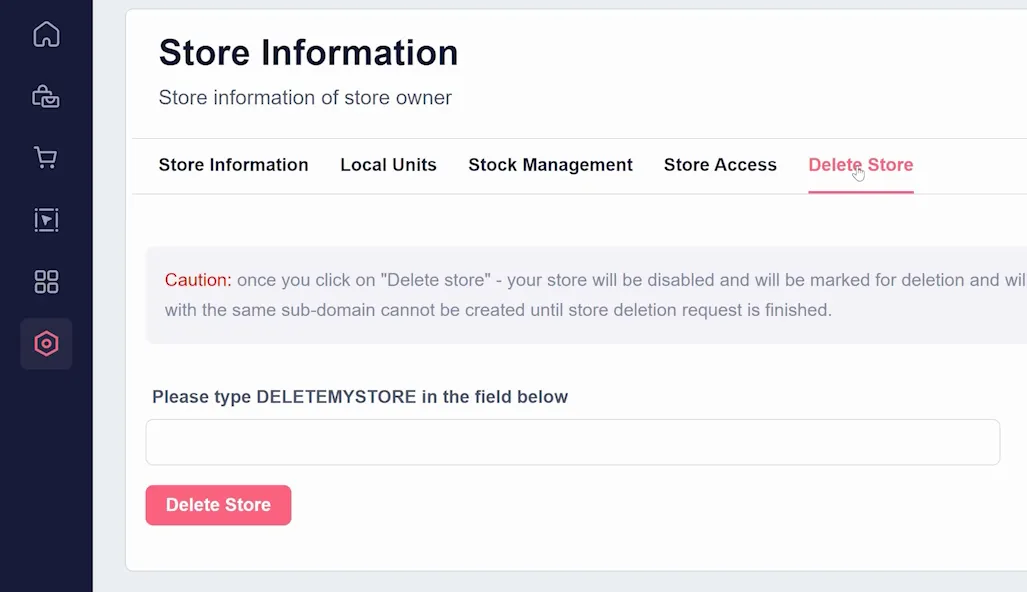
The final tab is to allow you to Delete your Store entirely. Do not do this unless you are not using your store ever again. It may be possible for support to restore your GrooveKart store within 7 days of deletion, but this is NOT guaranteed.