Membership Courses: Step-By-Step
Creating a New Course
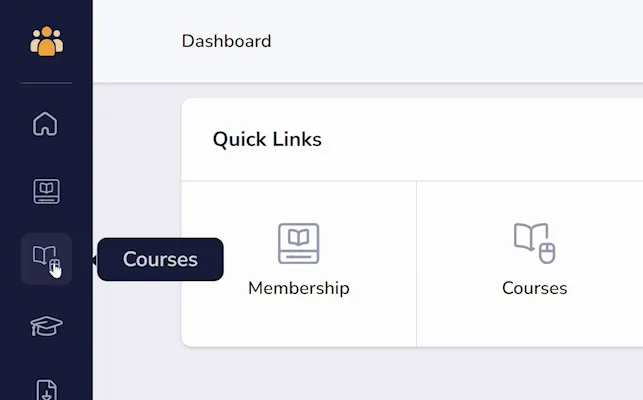
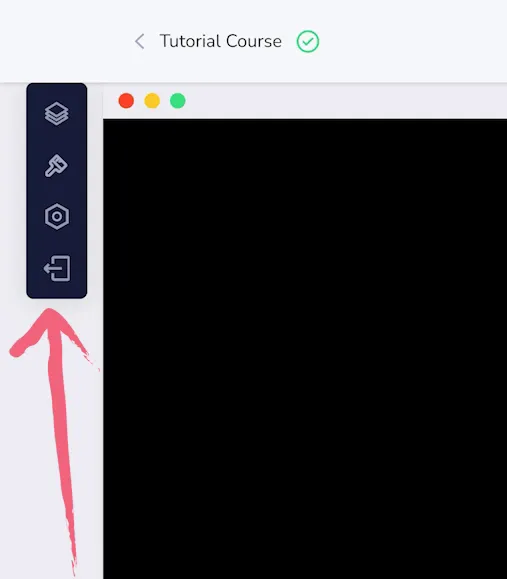
To create a course in GrooveMember, click "Courses" shortcut in Quick Links or on sidebar (as shown below).
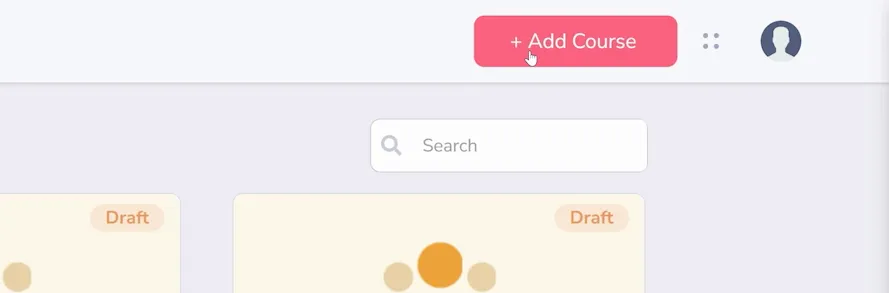
Next, click the pink "+ Add Course" button in the upper right (as shown below).
A window will appear (as shown below) with the following settings:
- Title (this is the title for the course, shown to your members)
- Description (this is also shown to your members)
- Sales Page (this is the URL for the sales page to your course. If your course is only sold as a part of a specific membership, you can use that link.)
- Instructor (a dropdown menu with all previously created Instructors, you can select multiple with checkmarks)
- Category (this is for your organization and isn't shown to members)
- Featured image (Recommended size 720px X 405px)
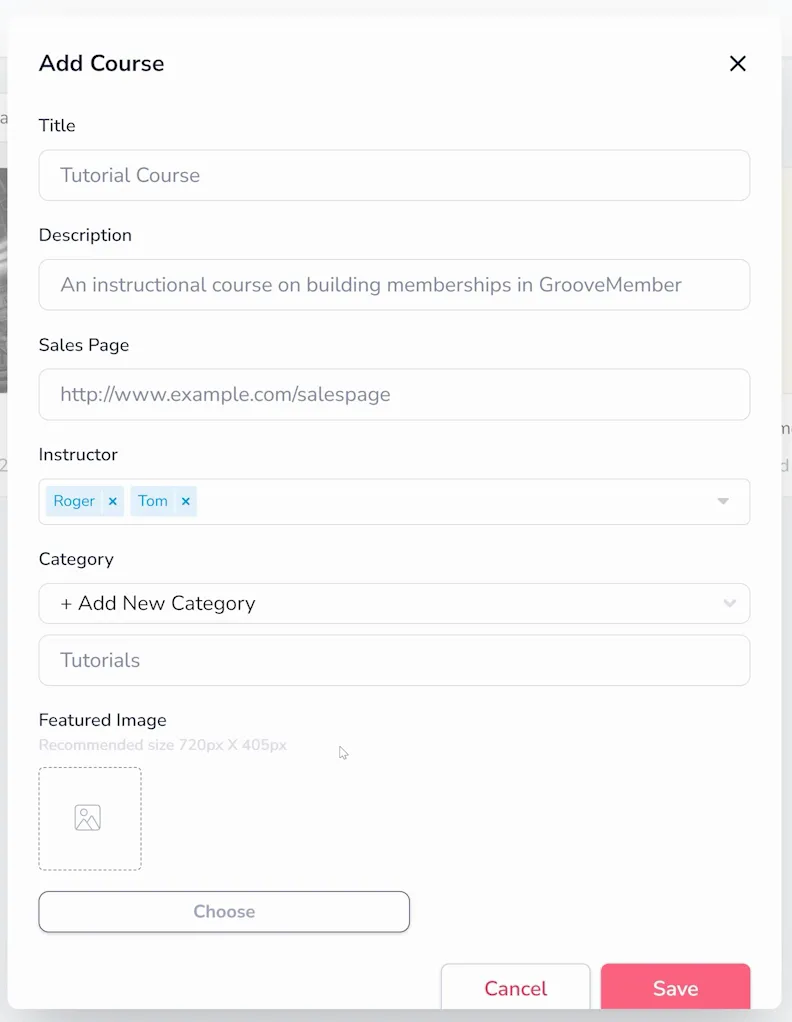
Once you add these settings, you can click Save and begin creating your course.
Understanding the Course Builder
The course builder has three important areas. First is the sidebar, where you can customize and change settings (pointed out below).
Next is the canvas where you build and view your course (shown in the center below).
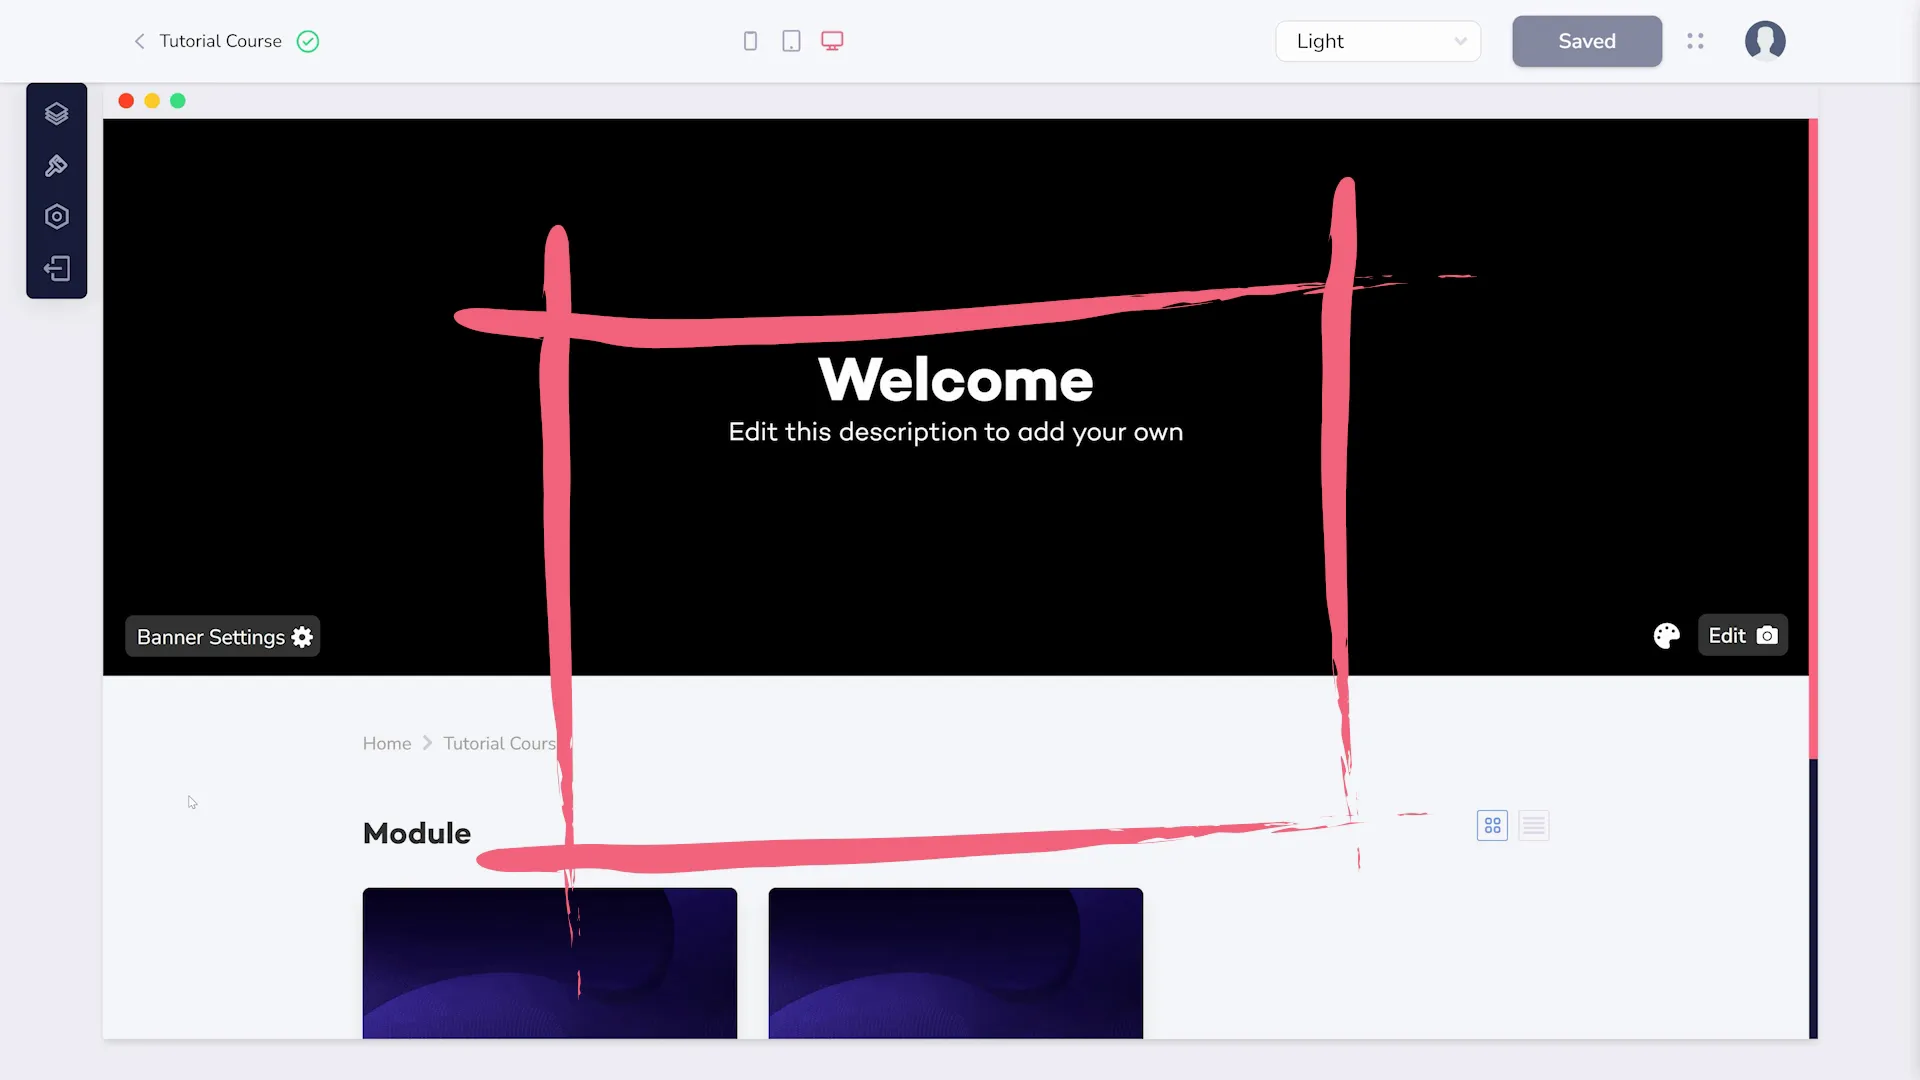
Finally is the header, where you can change the view and, importantly, save your changes (shown below).

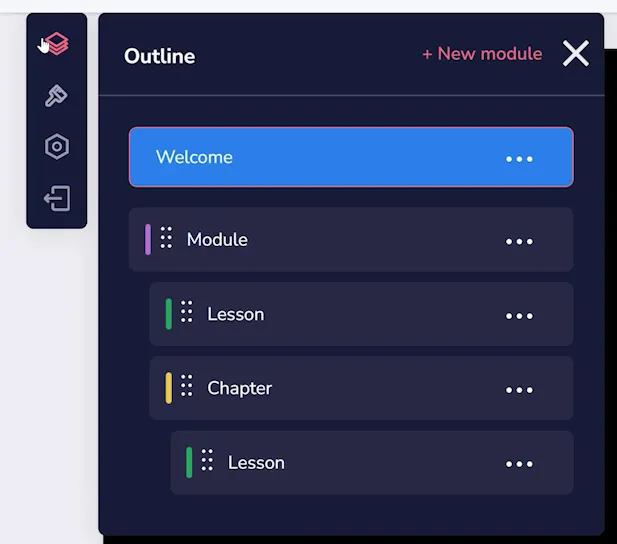
The sidebar has four sections, starting with the Outline which allows you to structure your course and add lessons.
Templates gives you choices between available layouts (as shown below).

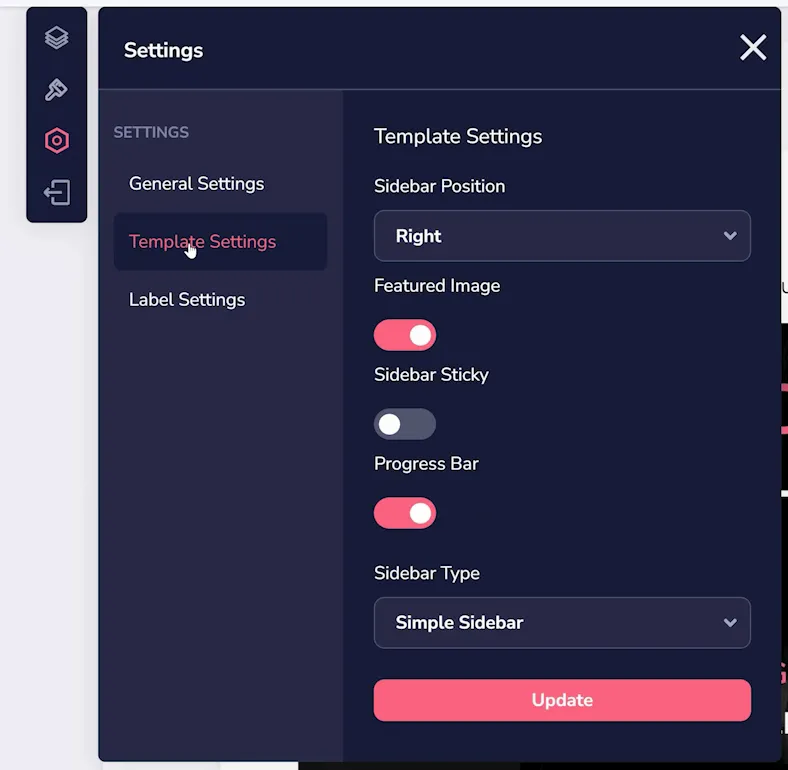
The Settings option has a few additional menus. One for general settings regarding your course (as shown below).

Next are template options such as positioning and elements you want visible (as shown below).
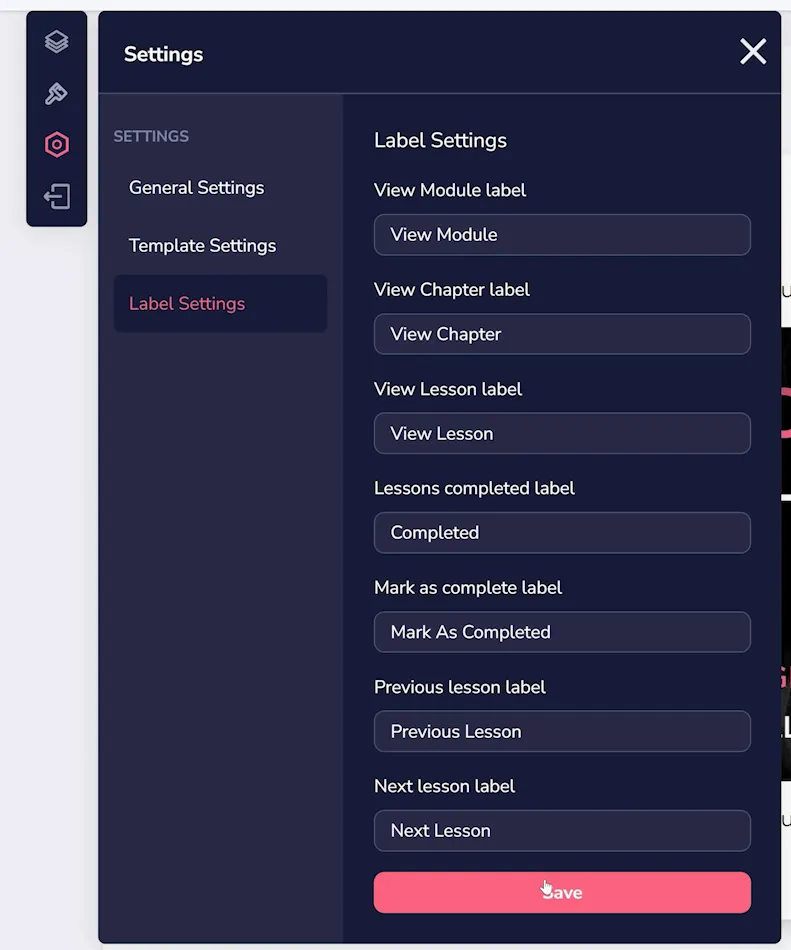
The Label Settings allow you to customize things like button text (shown below).
Finally, at the bottom of the sidebar is the Back button which returns you to your GrooveMember dashboard.
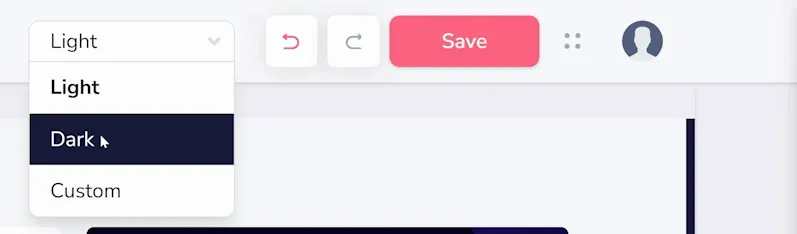
Any time you change something in the sidebar, your your changes are shown instantly in the canvas. Similarly, if you use the dropdown in the upper right (shown below) to change the colors of your course, those changes will immediately appear in the canvas.
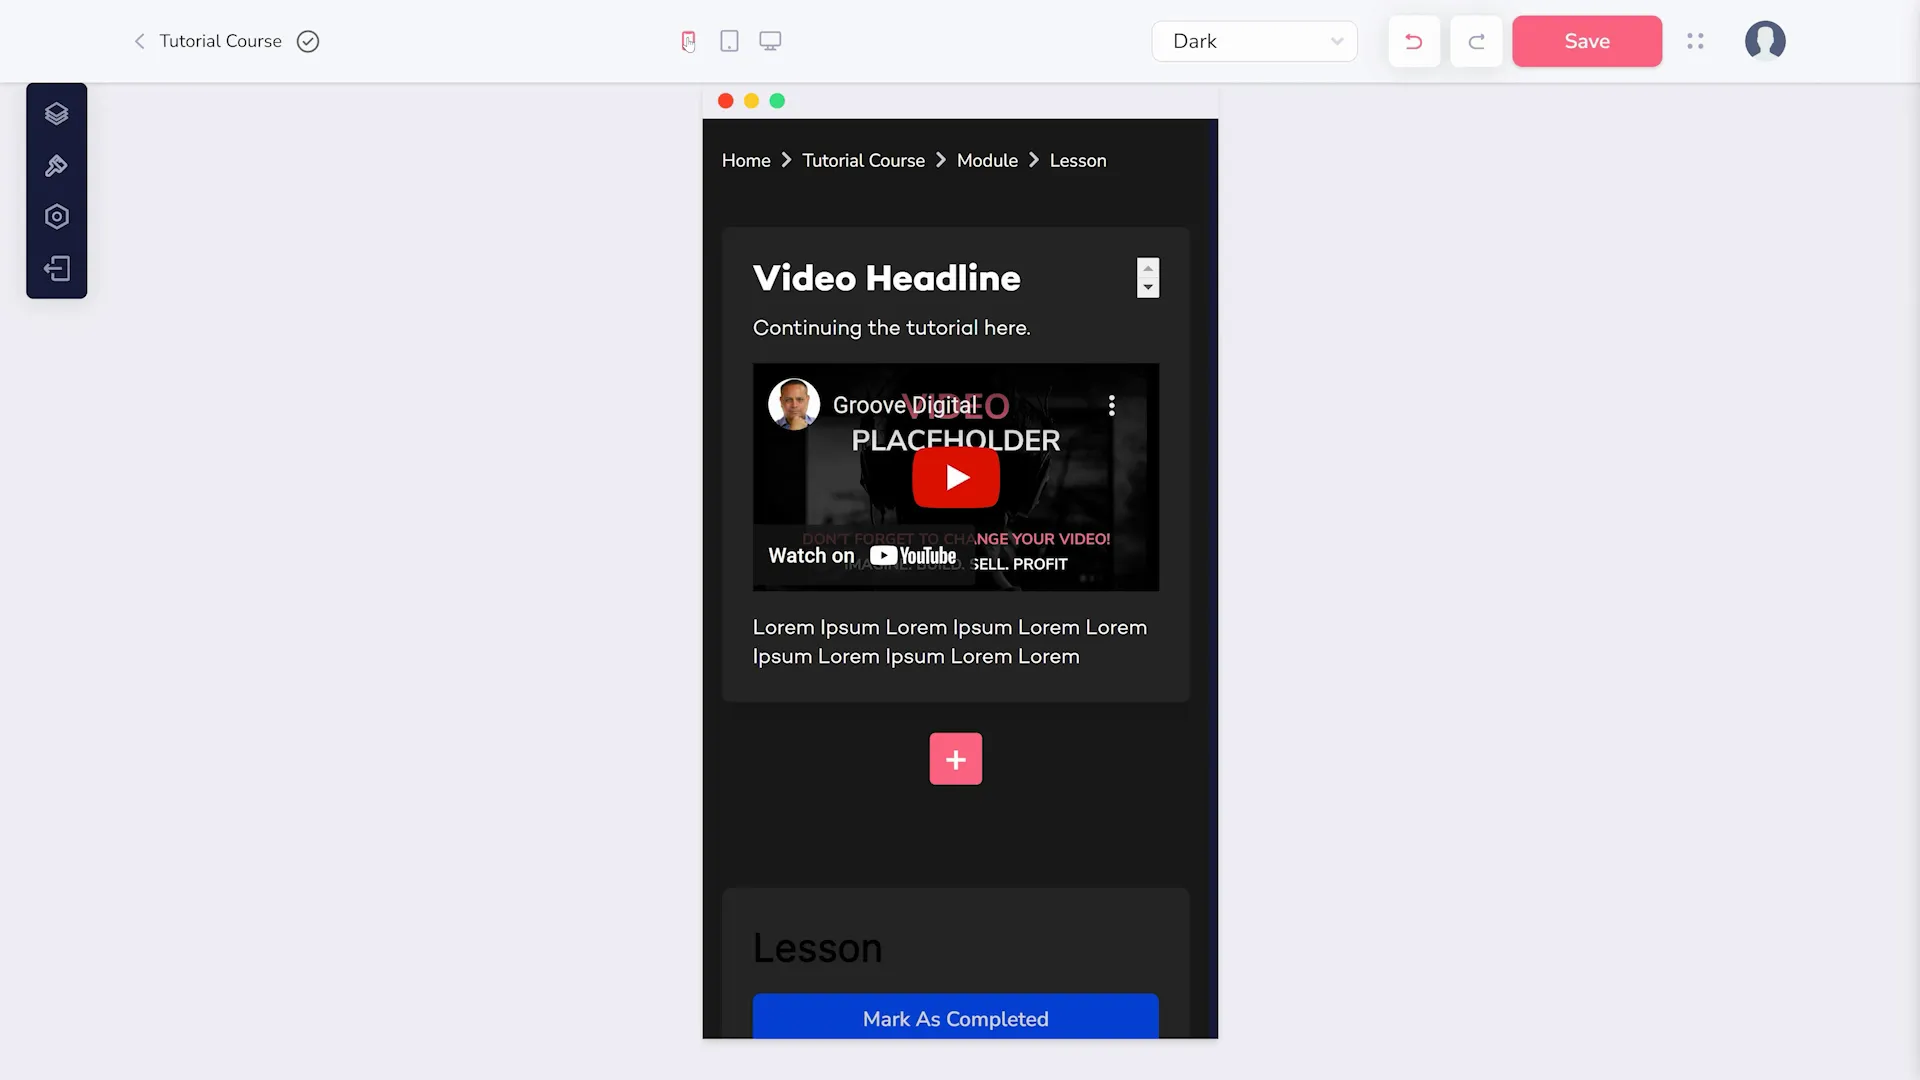
If you like your changes, you can click to Save them. However, before you do so, it is important to use the three device icons at the top center so you can preview the course as if on mobile (as shown below), tablet, or desktop.
Using Course Outlines
Outline (shown selected below) is possibly the most important area to understand, because this is where you create the structure of your membership course.
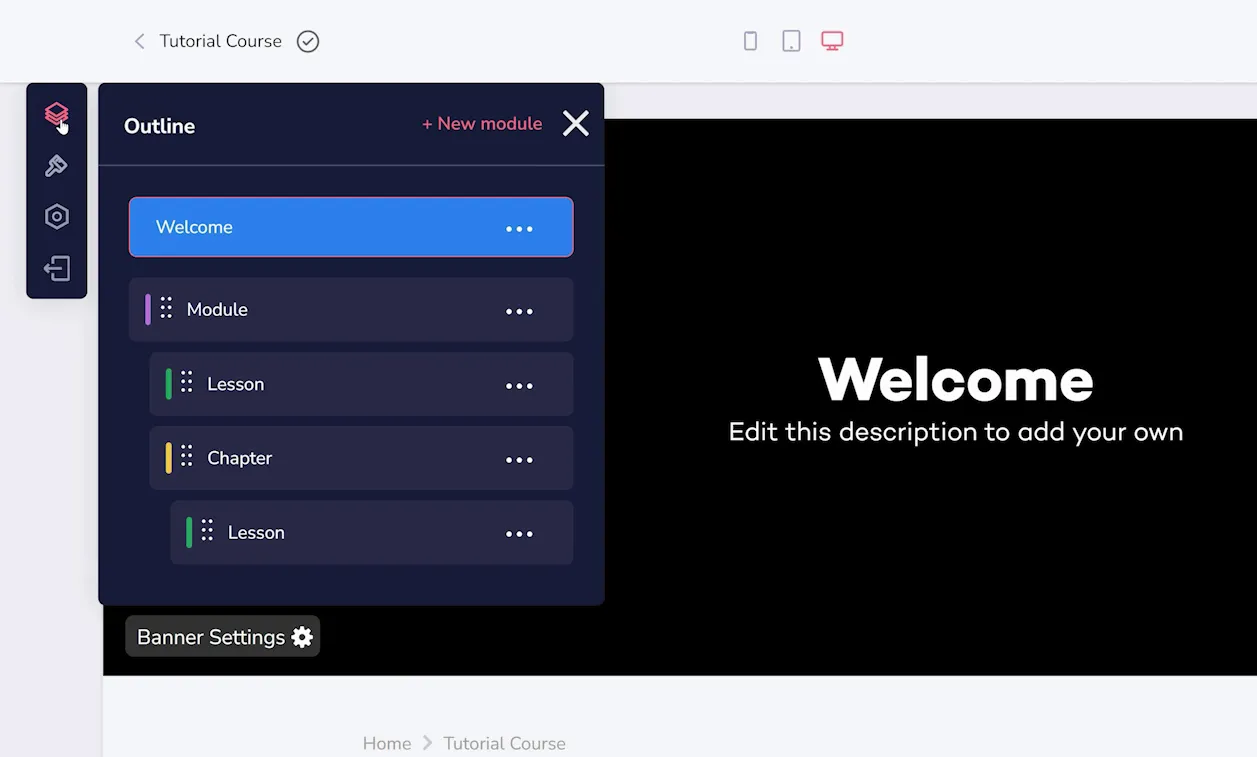
You'll find four elements here:
- Welcome
- Module
- Chapter
- Lesson
The Welcome page is the first thing members see when they log in. It is also the first thing shown to you on the Canvas.
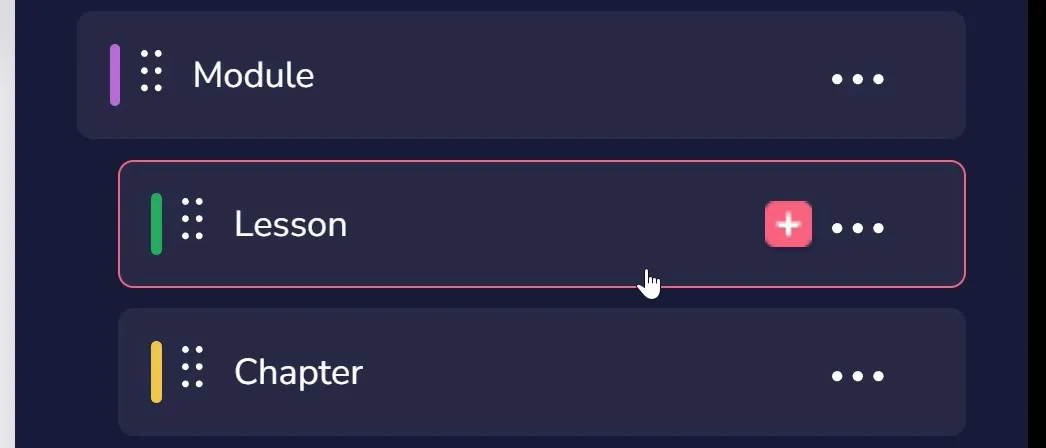
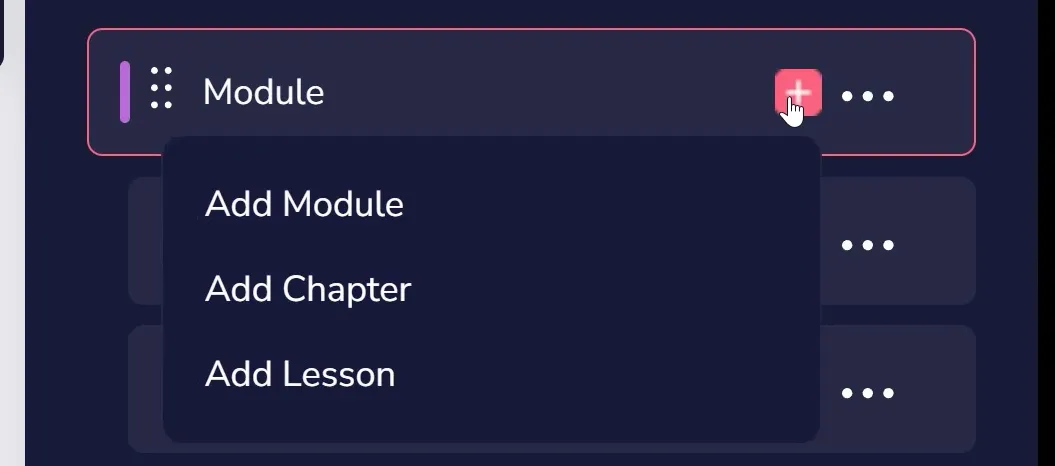
You can think of Modules, Chapters, and Lessons as if they were Categories, Subcategories, and Posts on a blog. When you hover over any of these (as shown above), you will see a pink + icon. Click this to add a new part to your Course; a new lesson when clicking the icon on an existing lesson, a new chapter AND lesson when the icon is on a chapter, or any of the three when on a module (as shown below).
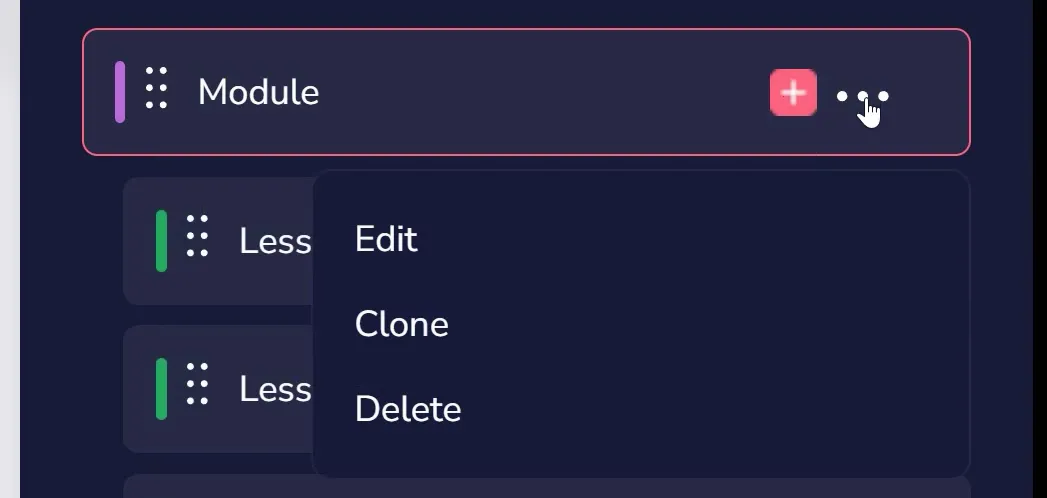
You can also click the three dots on the right of any of these (as shown below) to edit their settings, clone it, or delete it.
The settings include a title, description, and some formatting or image options depending on the page you are editing (Lesson settings shown below).