Using Amazon-SES in GrooveMail
To integrate GrooveMail to use Amazon SES, you'll need a few items:
- Username
- Password
- Server name/SMTP Endpoint
- Configuration Set
- Webhook URL (this will be copied into AWS SES)
Before doing any of this, you will need to login to the Amazon AWS Console (which you can find by clicking here).
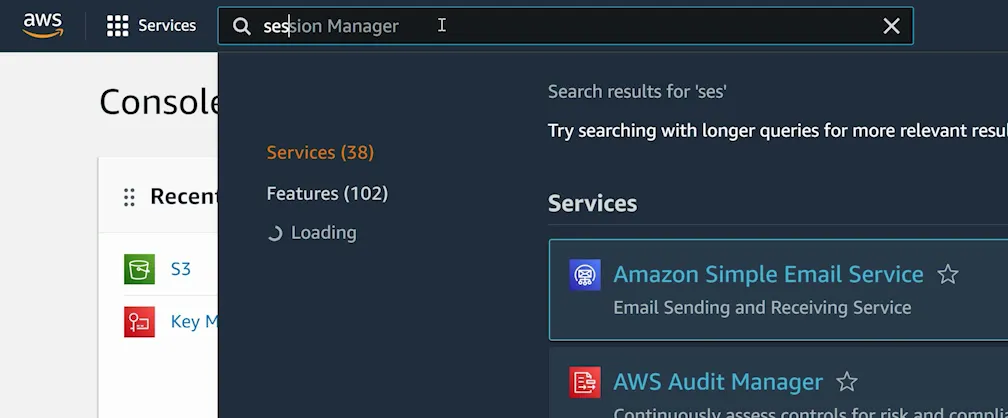
In the search bar (shown above), type in SES to find and open "Amazon Simple Email Service".
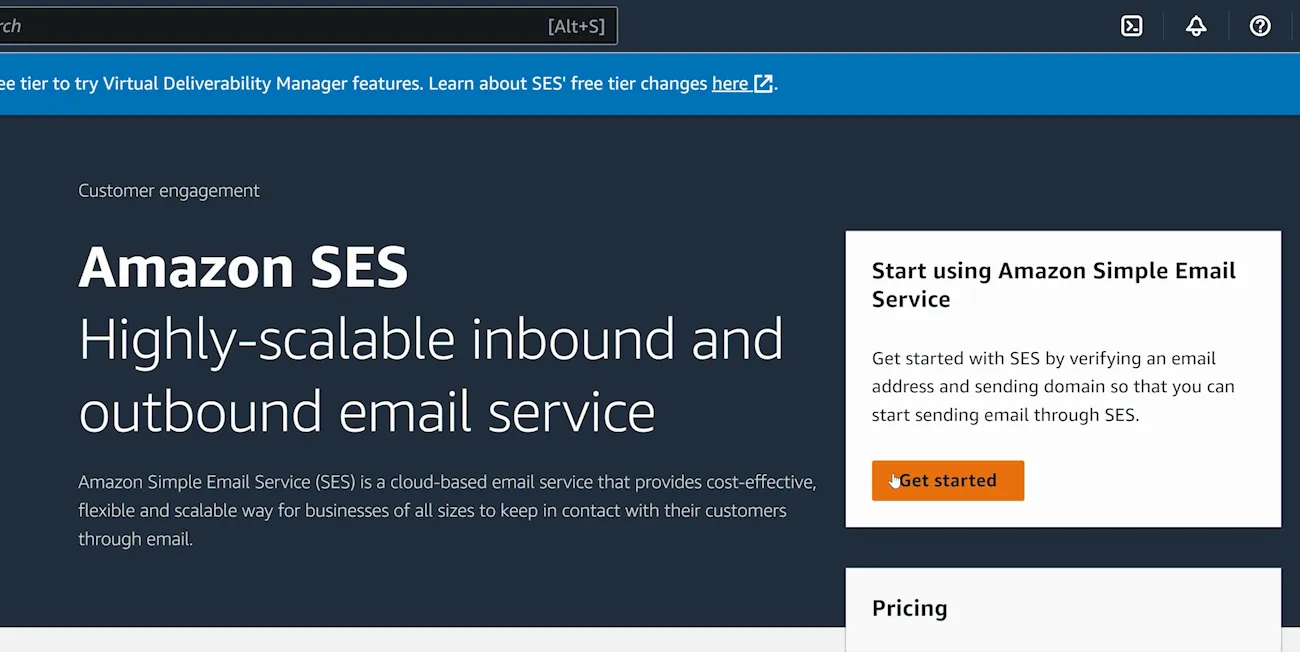
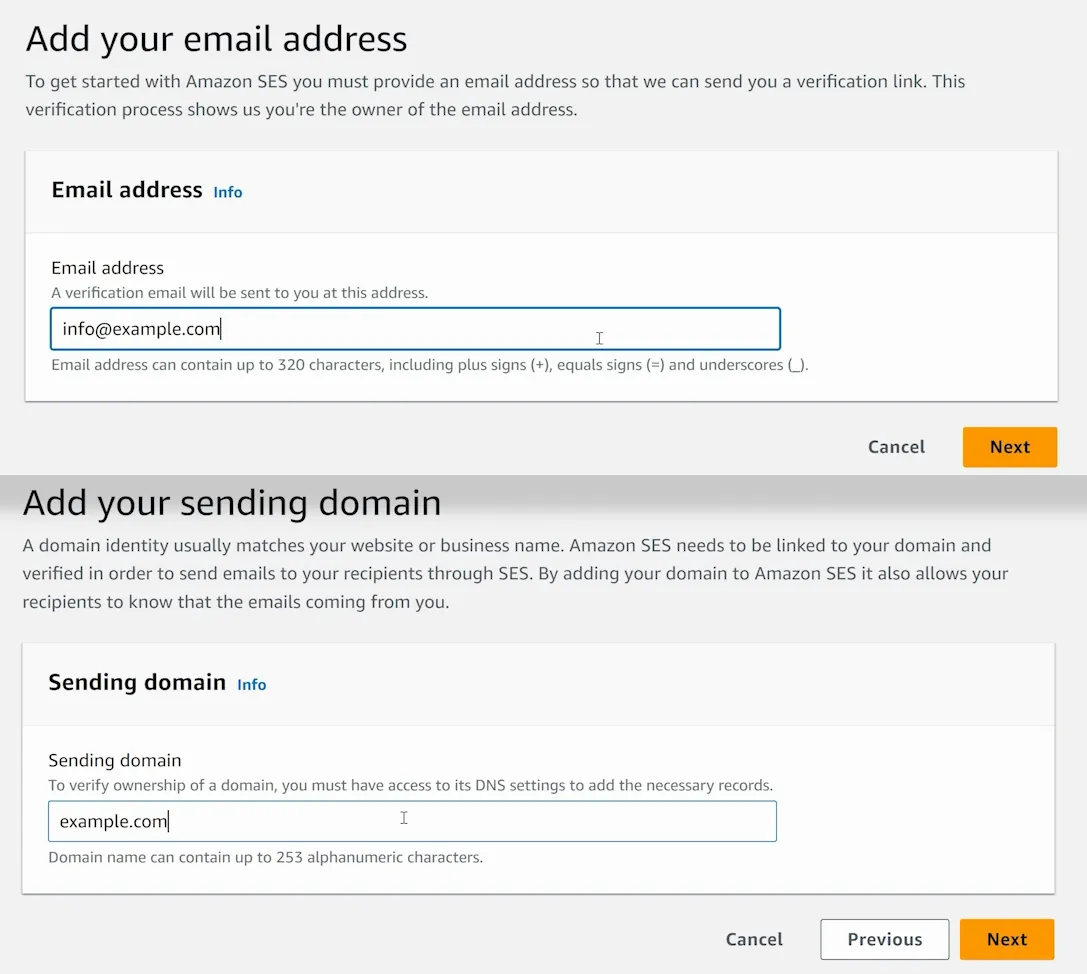
If you don't have SES set up yet, you will need to click "Get Started" on the right side (shown above). Then (as shown below) you can enter the email address you want to use with SES, and a domain name that you will be sending email from (this would be your business's domain). You will need to verify both of these before you can use Amazon SES.
Once you're on the AWS SES dashboard, to get the SMTP Endpoint and create a Username/Password, click the SMTP Settings link in the left menu (shown below).

You'll find the SMTP Endpoint immediately listed under your settings (highlighted above). You can copy this into your GrooveMail settings. But to create a Username and Password you'll need to click Create SMTP Credentials (the yellow button shown above).
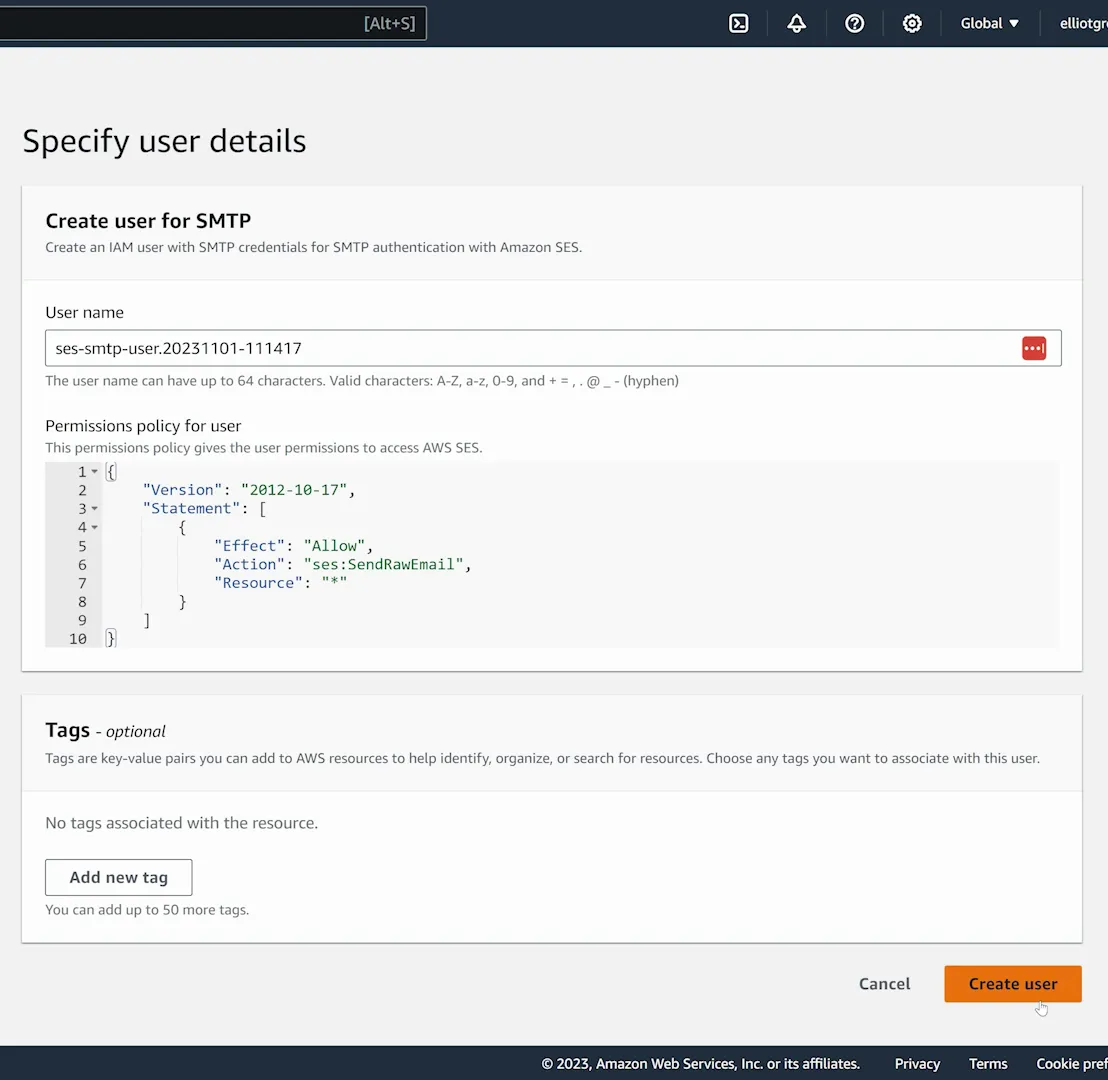
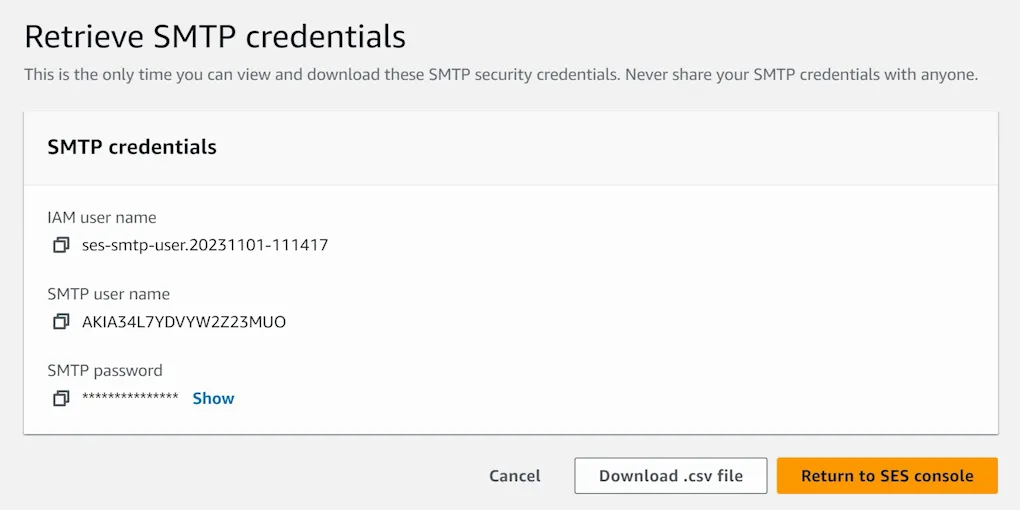
You can use the default values here and simply click "Create User" in the bottom right (shown above). Copy the SMTP Username and SMTP Password given to you (as shown below), and enter these into your GrooveMail settings.
Next, you will need a Configuration Set, which can be found under the Configuration Set option in the left menu. Click the Create Set button to begin (shown below). 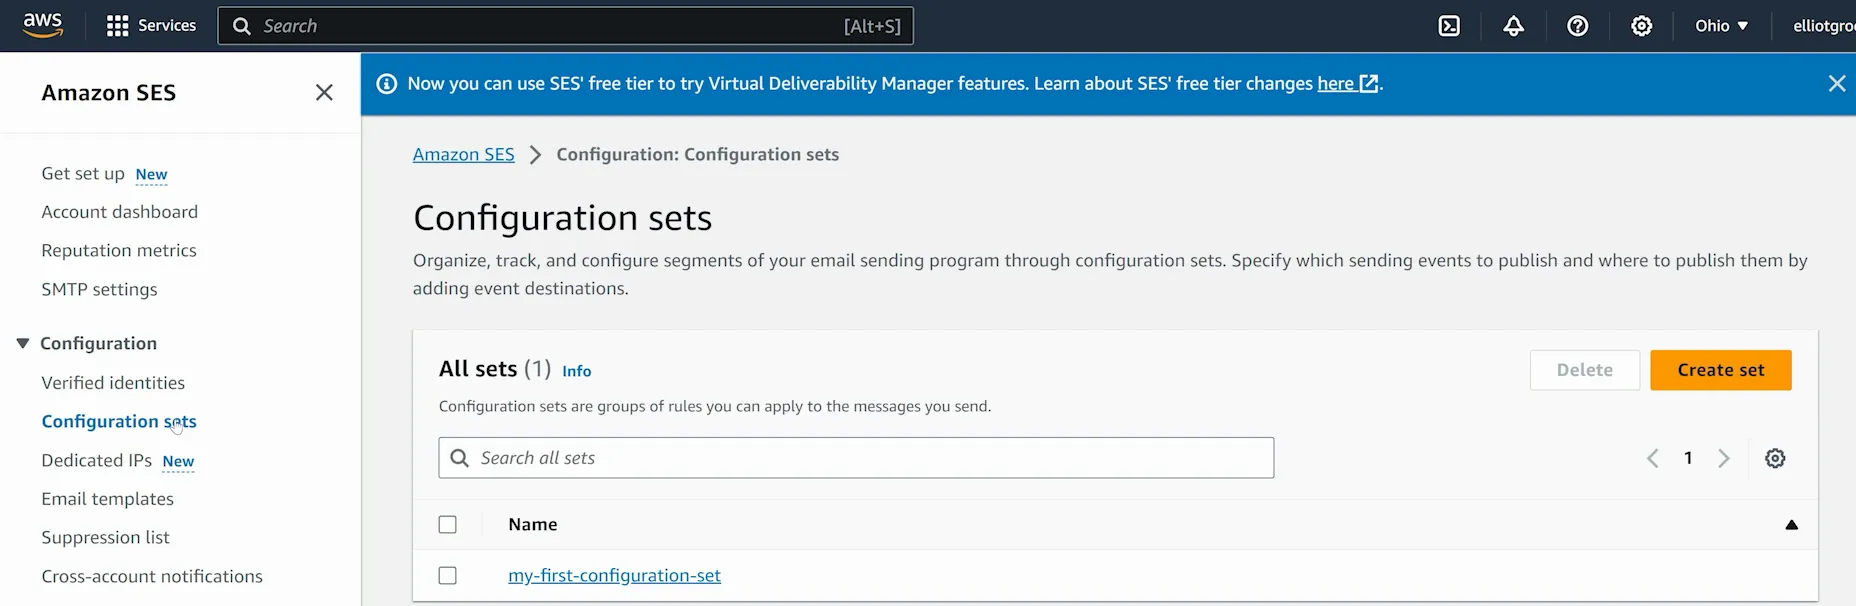
All you need to do is give it name as per your choice. Then scroll down and click Create Set (shown below).
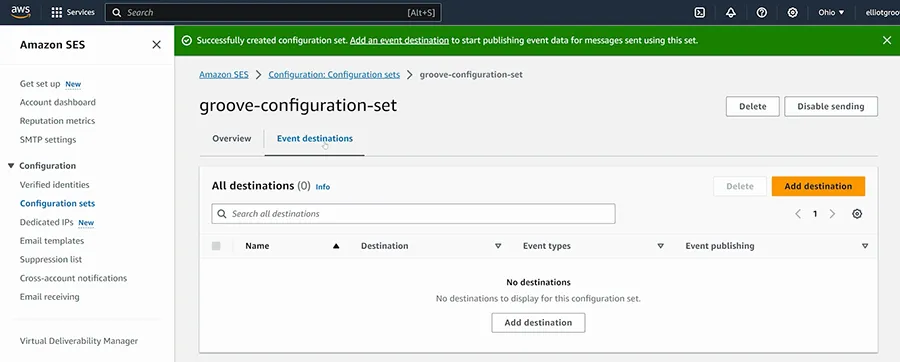
You'll be brought to the settings for the Set you just created (shown below). Select the "Event destinations" tab and click on Add Destination.
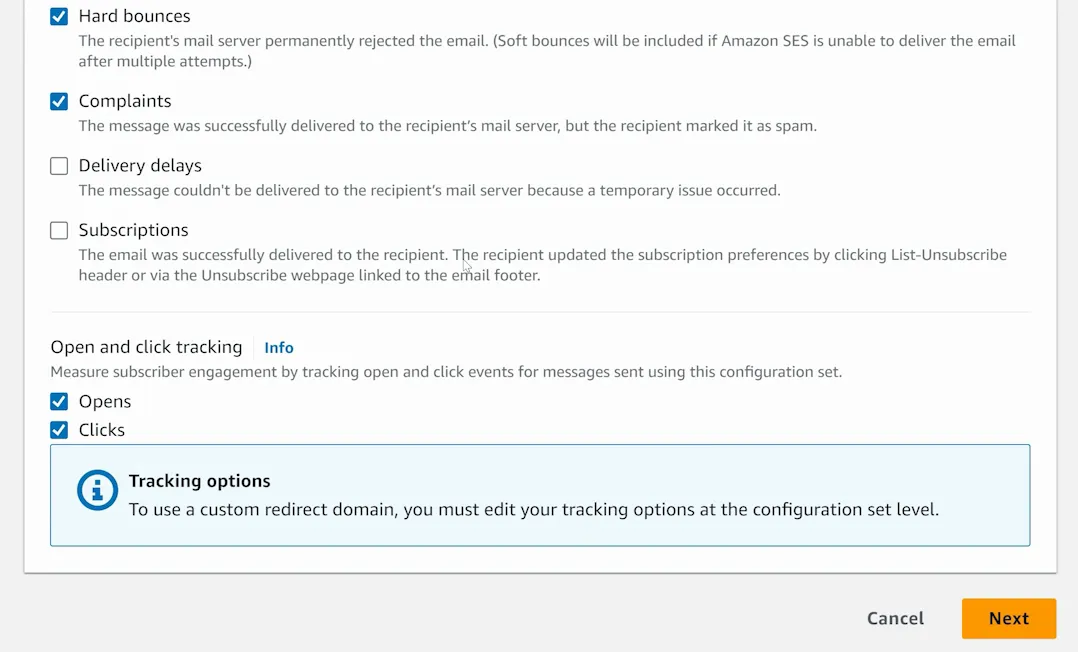
Select the events to be tracked (we recommend clicking Opens, Clicks, Hard Bounces, and Complaints) and click next (shown below).
For the Destination Options, select "Amazon SNS" and give it a name (shown below).
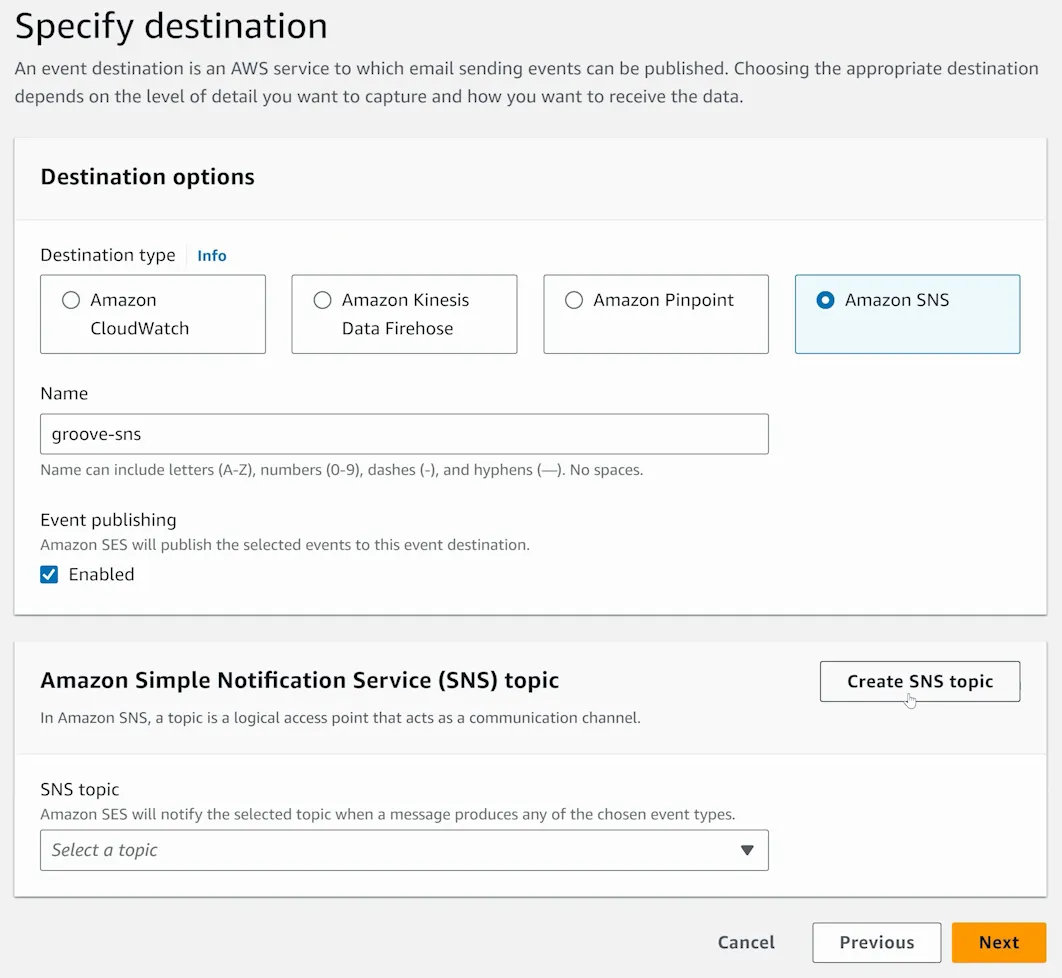
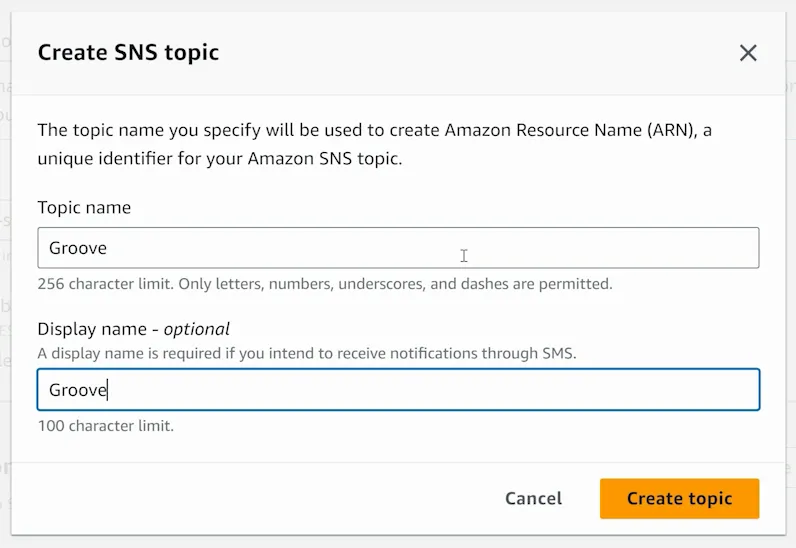
You will also need to click Create SNS Topic (shown above). You can name this Topic however you choose (shown below).
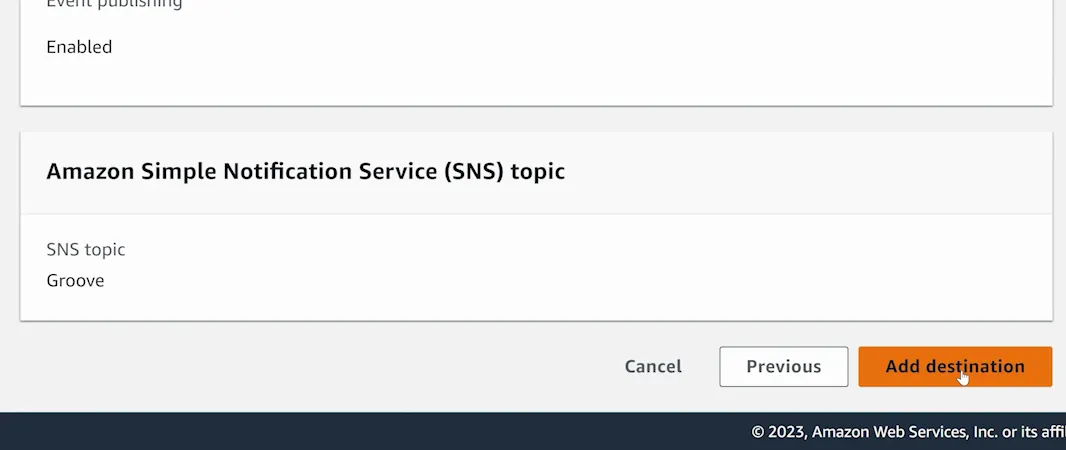
Select your newly created topic from the dropdown, then click Next. You'll review the settings and click "Add Destination" (shown below). Enter the name of your Configuration Set into your GrooveMail settings.
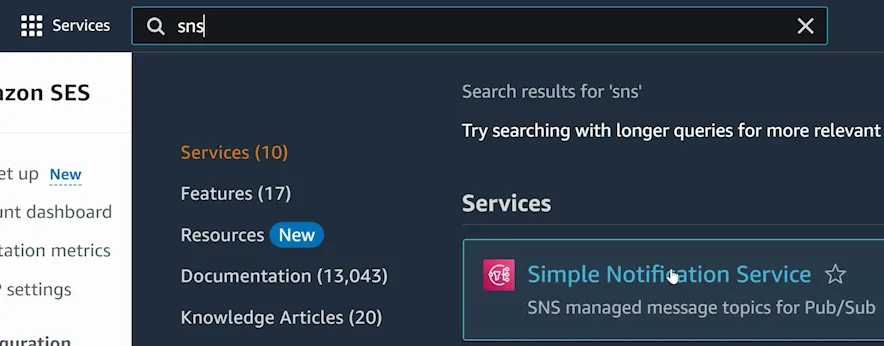
Finally, copy the Webhook URL from your GrooveMail settings and return to the Amazon Console. Search for SNS in the top (shown below) and select "Simple Notification Service".
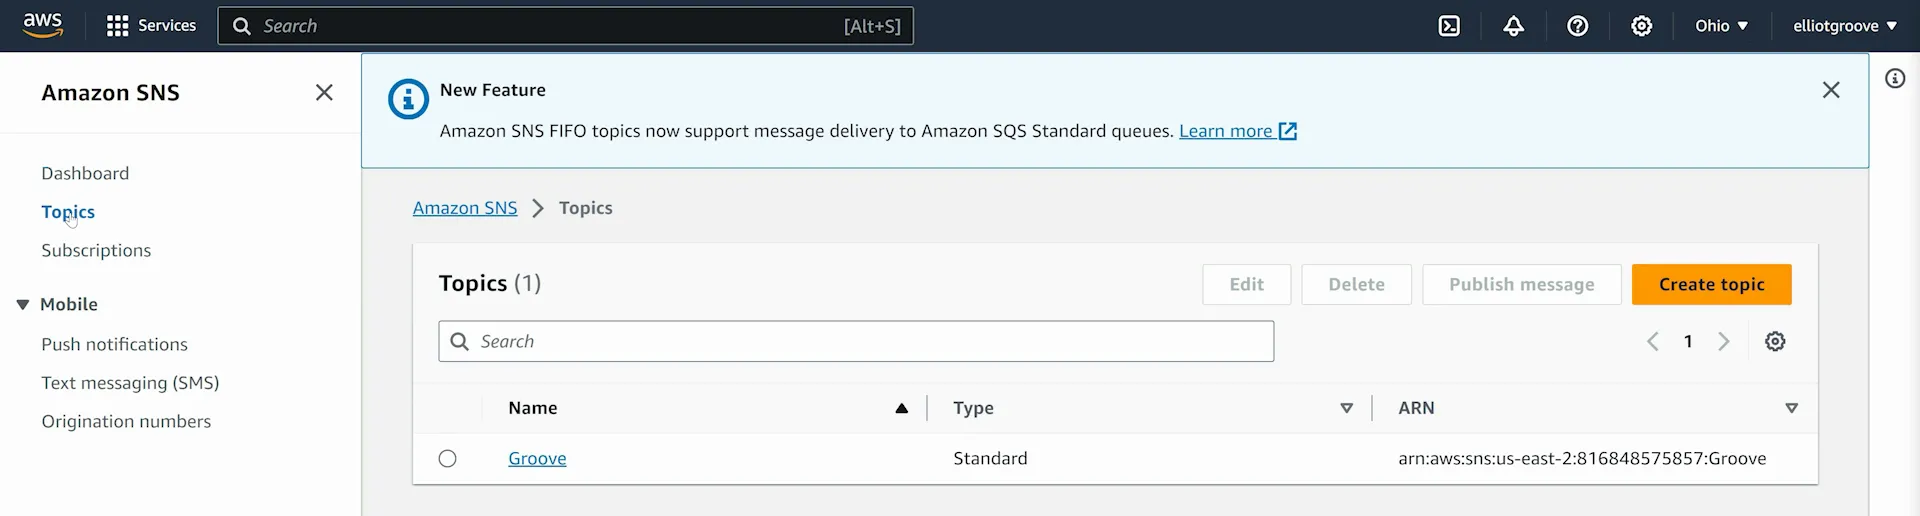
Select the "Topics" option from left menu (shown below) and open the topic you created earlier.
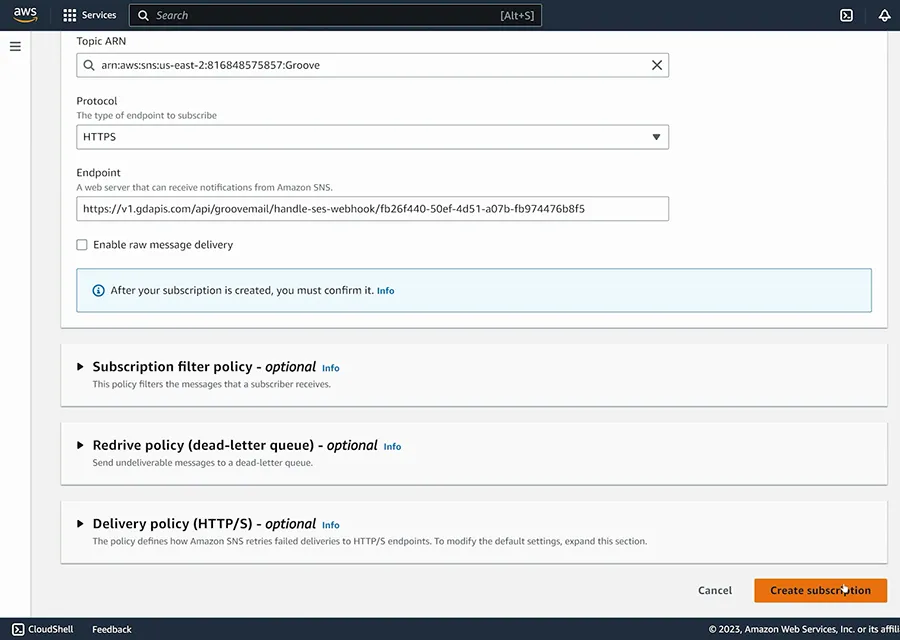
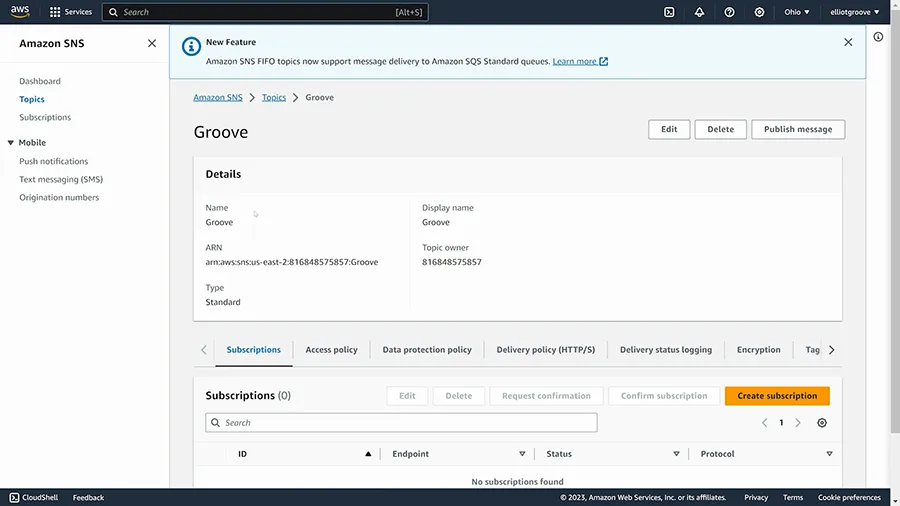
Click the yellow Create Subscription button (shown below).
For the Protocol (shown below), select HTTPS and for the endpoint enter the Webhook URL from GrooveMail. Once you click Create Subscription, you will be ready to use Amazon SES with GrooveMail.