Using the GrooveKart Store Builder
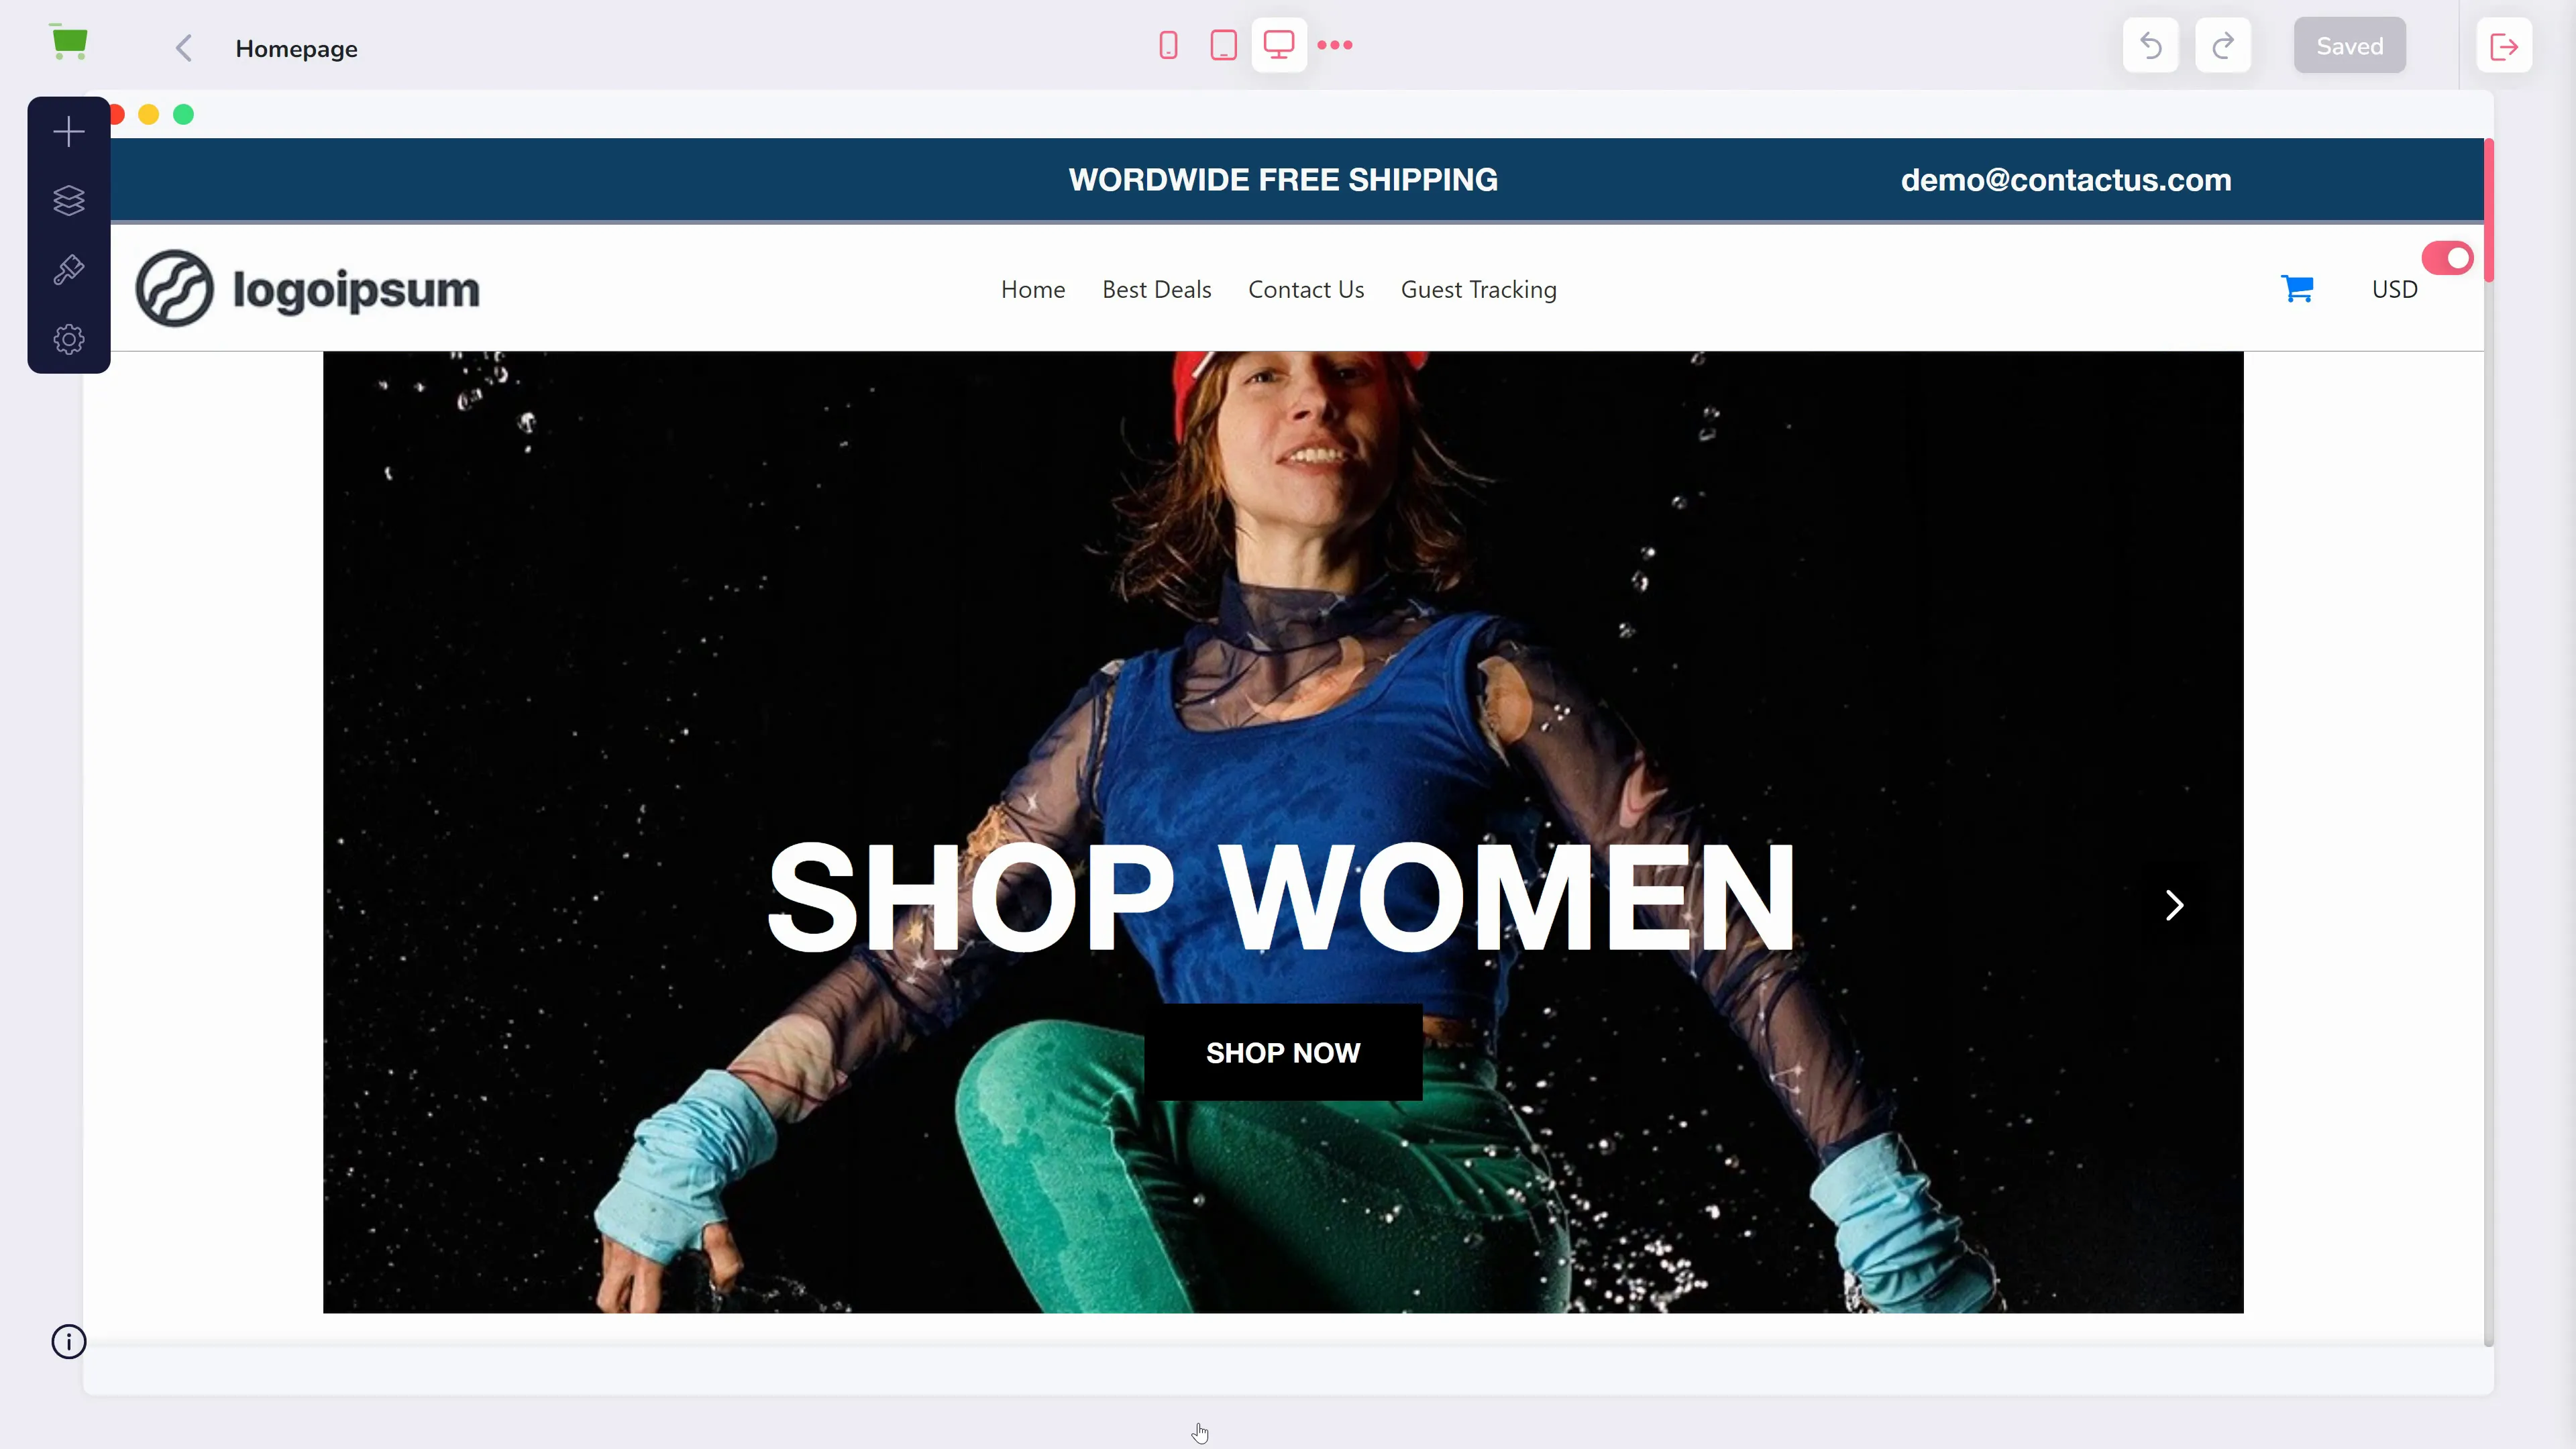
Editing the appearance of your GrooveKart store is done by using the Builder.

You can find this in the left side menu (shown above) or, if you have just created your store, via a shortcut on the admin dashboard (shown below).
First, at any time while editing your store's appearance you can use the pink buttons at the top center to preview how the page looks on a variety of devices. However, the main tools are found in the left-hand sidebar (all shown below).
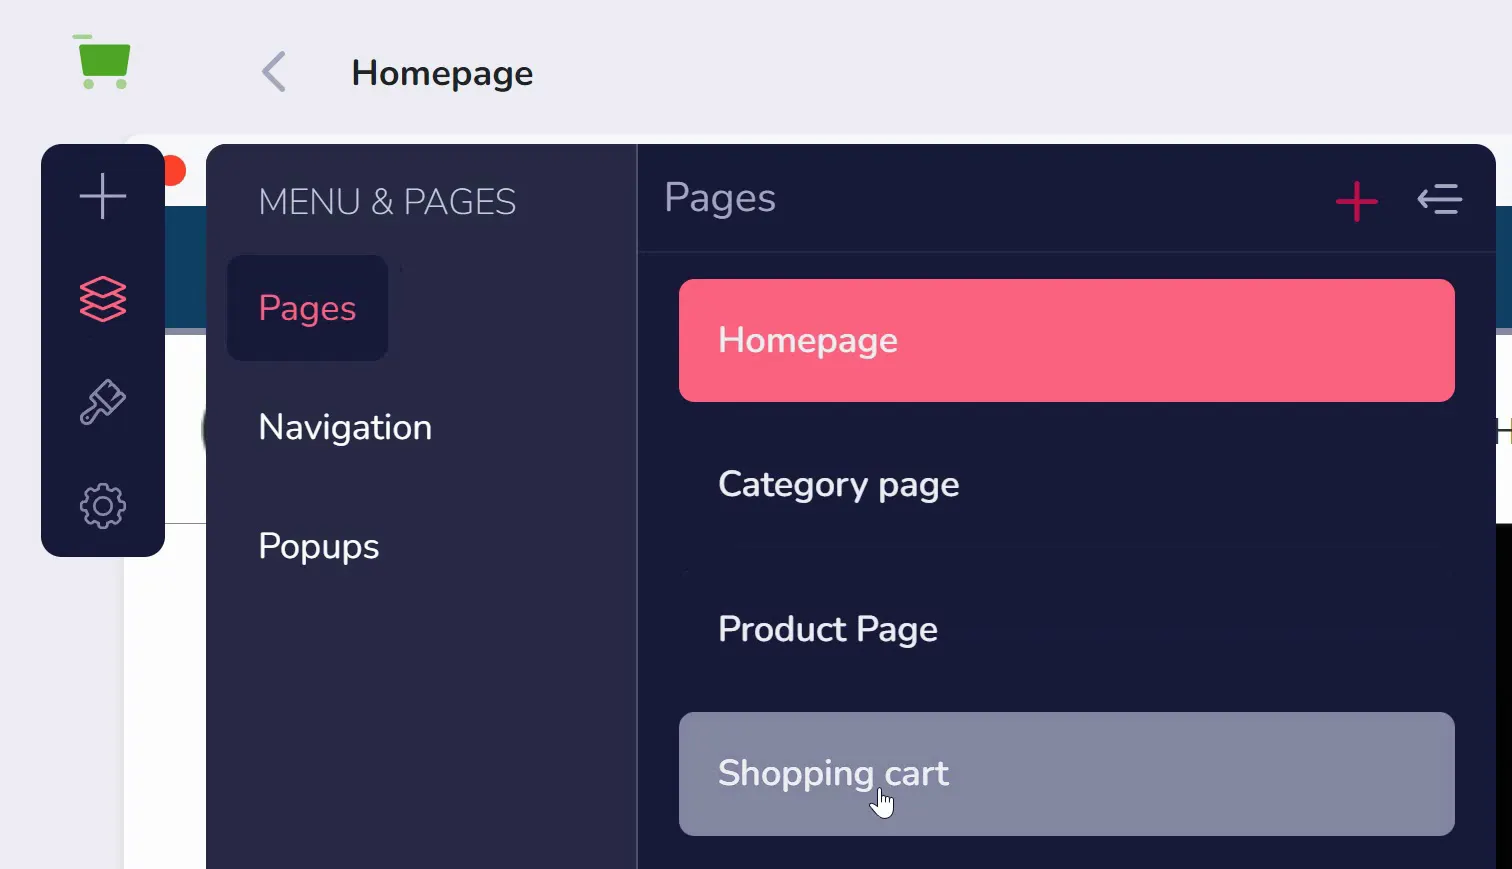
There are four options, but we'll take a look at "Pages" first (shown selected below). This is a list of all your store's pages. You can click one to view and edit it, or use the pink + button in the upper right to add a new one.
The navigation section (shown below) shows what links are available in the top menu bar of your store. You can click the pink + button to add a new link.
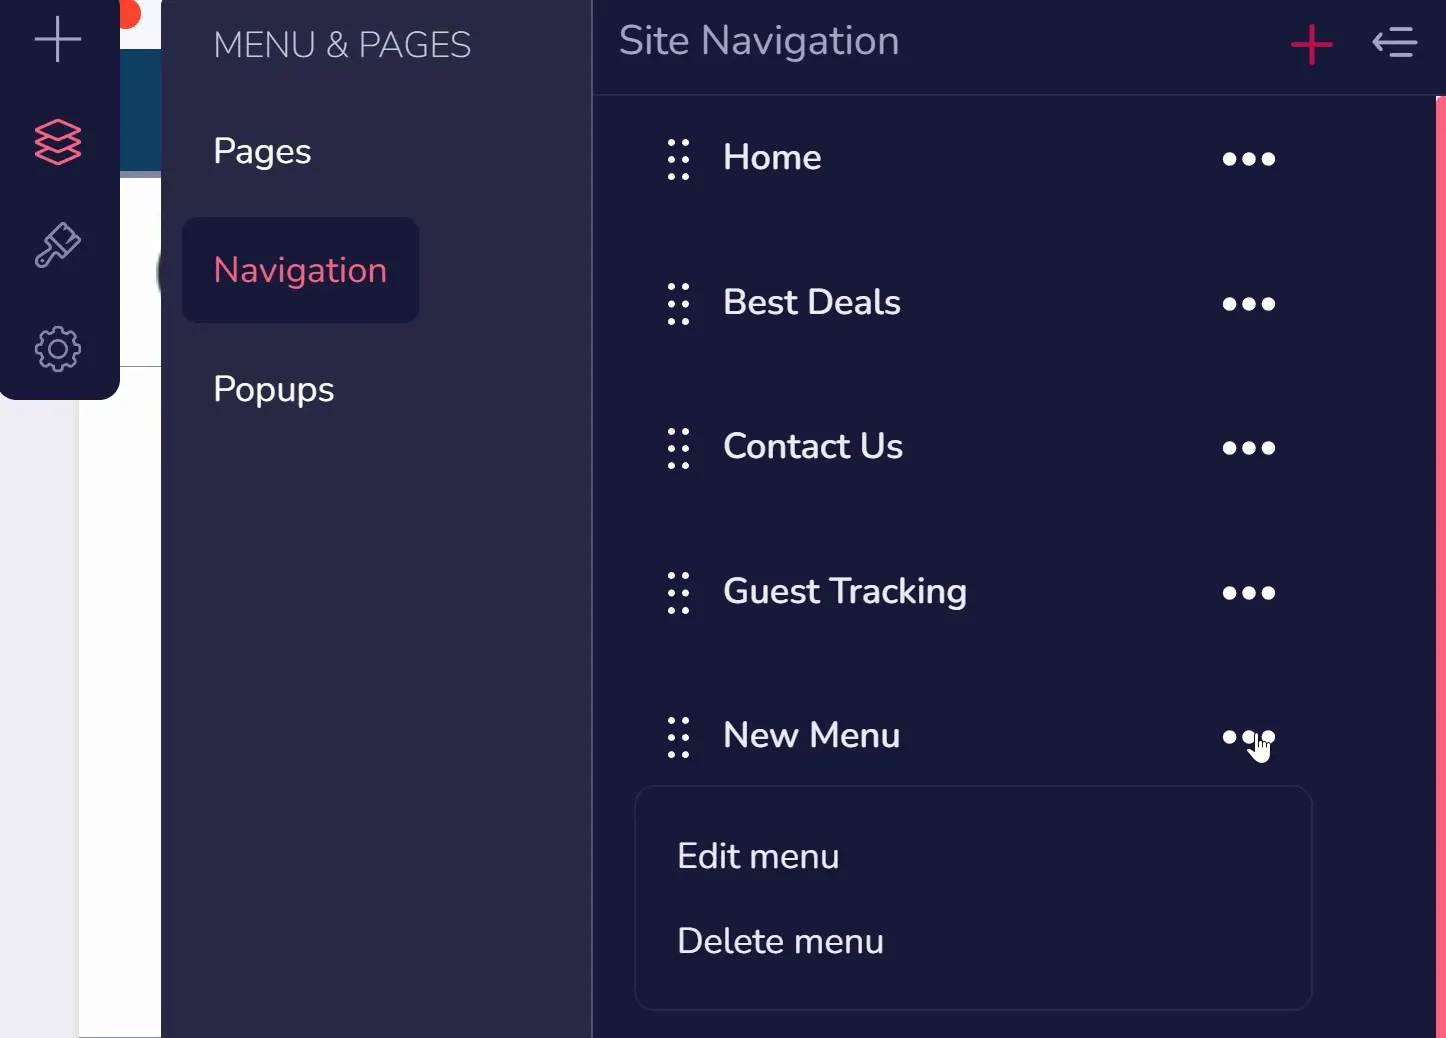
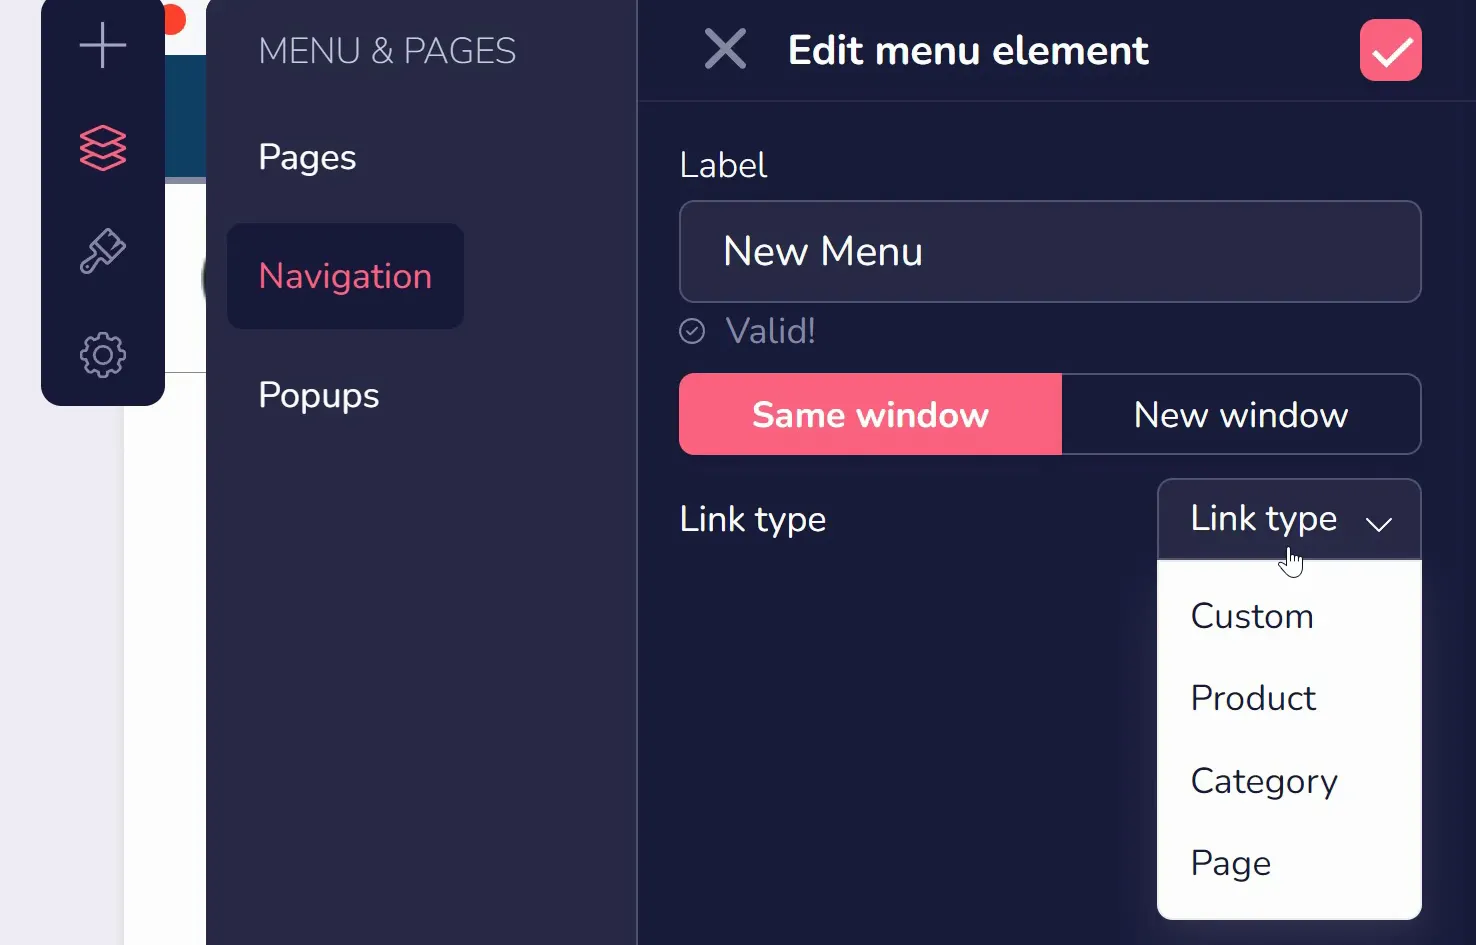
Click the three dots to edit your new link (as shown above), and use the dropdown menu (shown below) to choose where that link leads.
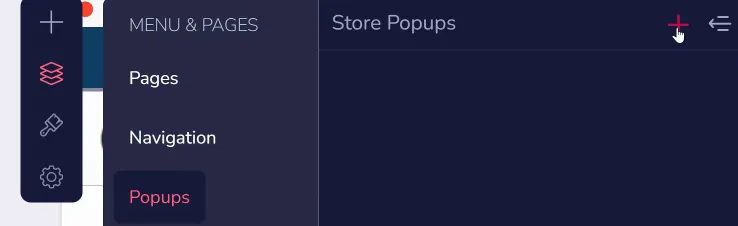
Popups can also be added in the Menu & Pages area (as shown below). Click the pink + button to add one.
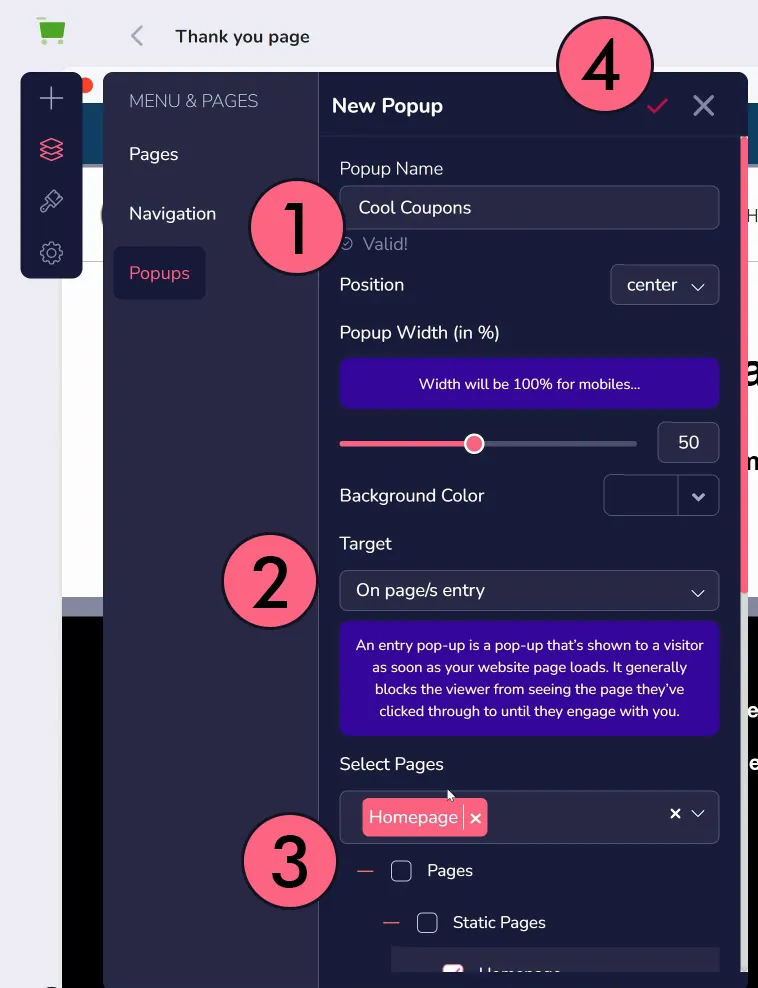
There are a few options (shown below), but primarily you'll want to ensure you title it (marked 1 below), and choose a target from the dropdown menu (2 below), which is when the popup appears and where. If you choose On Page Entry or Exit, you will then choose what pages it should appear (3 below). Click the pink checkmark to save it (4 below).
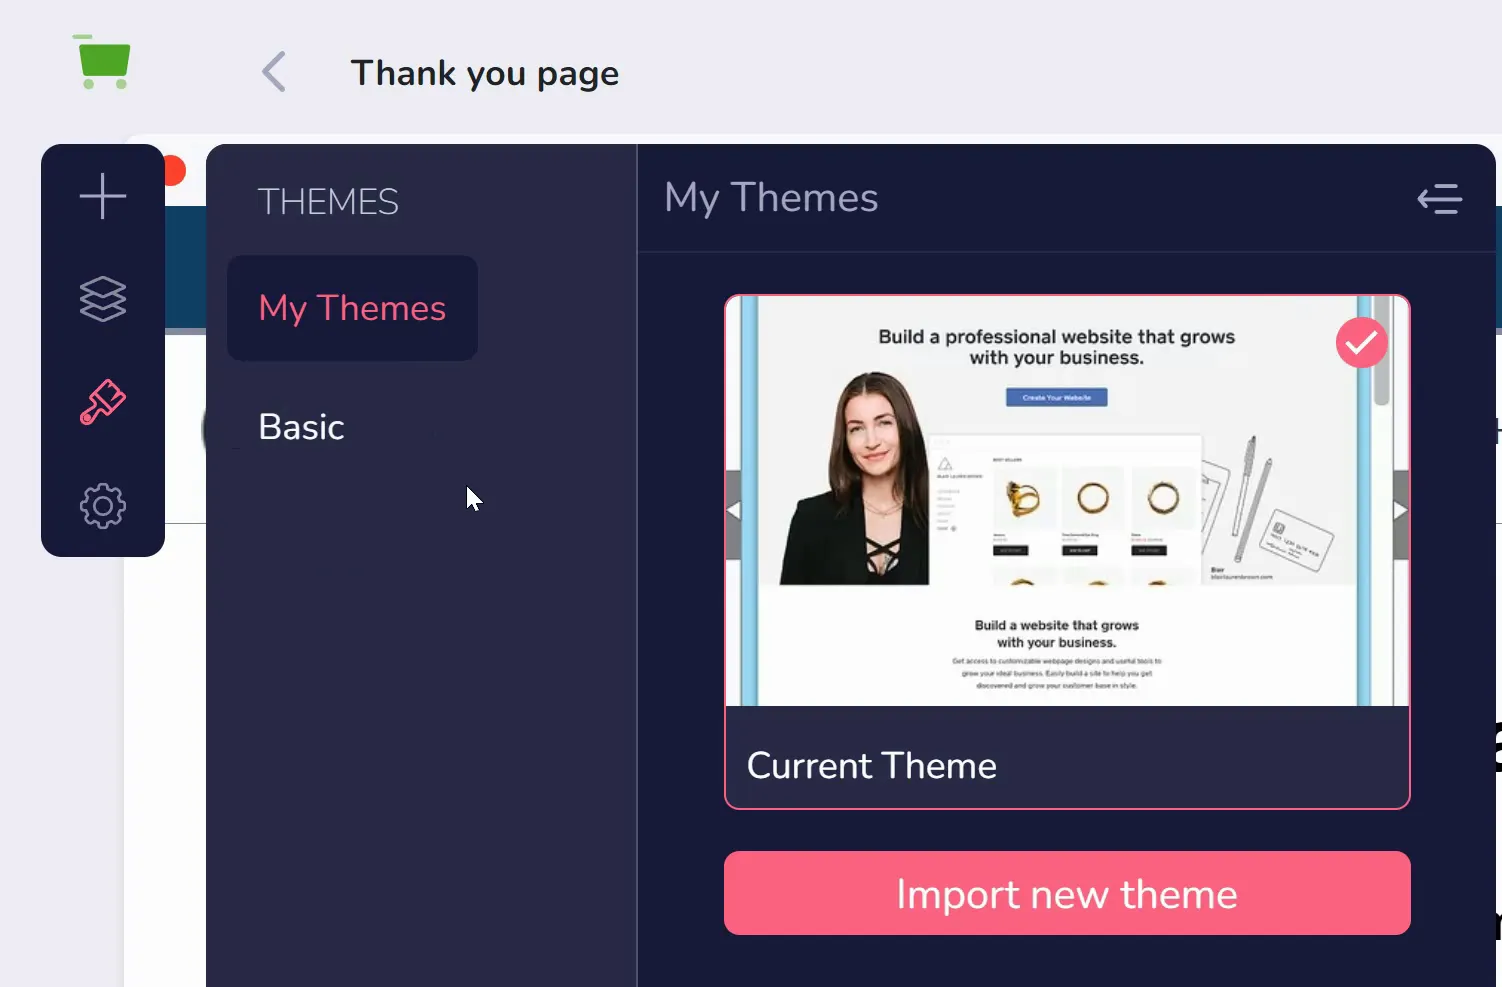
Let's take a look at the next option in the sidebar: Themes. My Themes (shown below) is for themes you have previously used and saved. This allows for you to quickly switch your store's appearance without the need for editing every page (for regular events like holidays and sales).
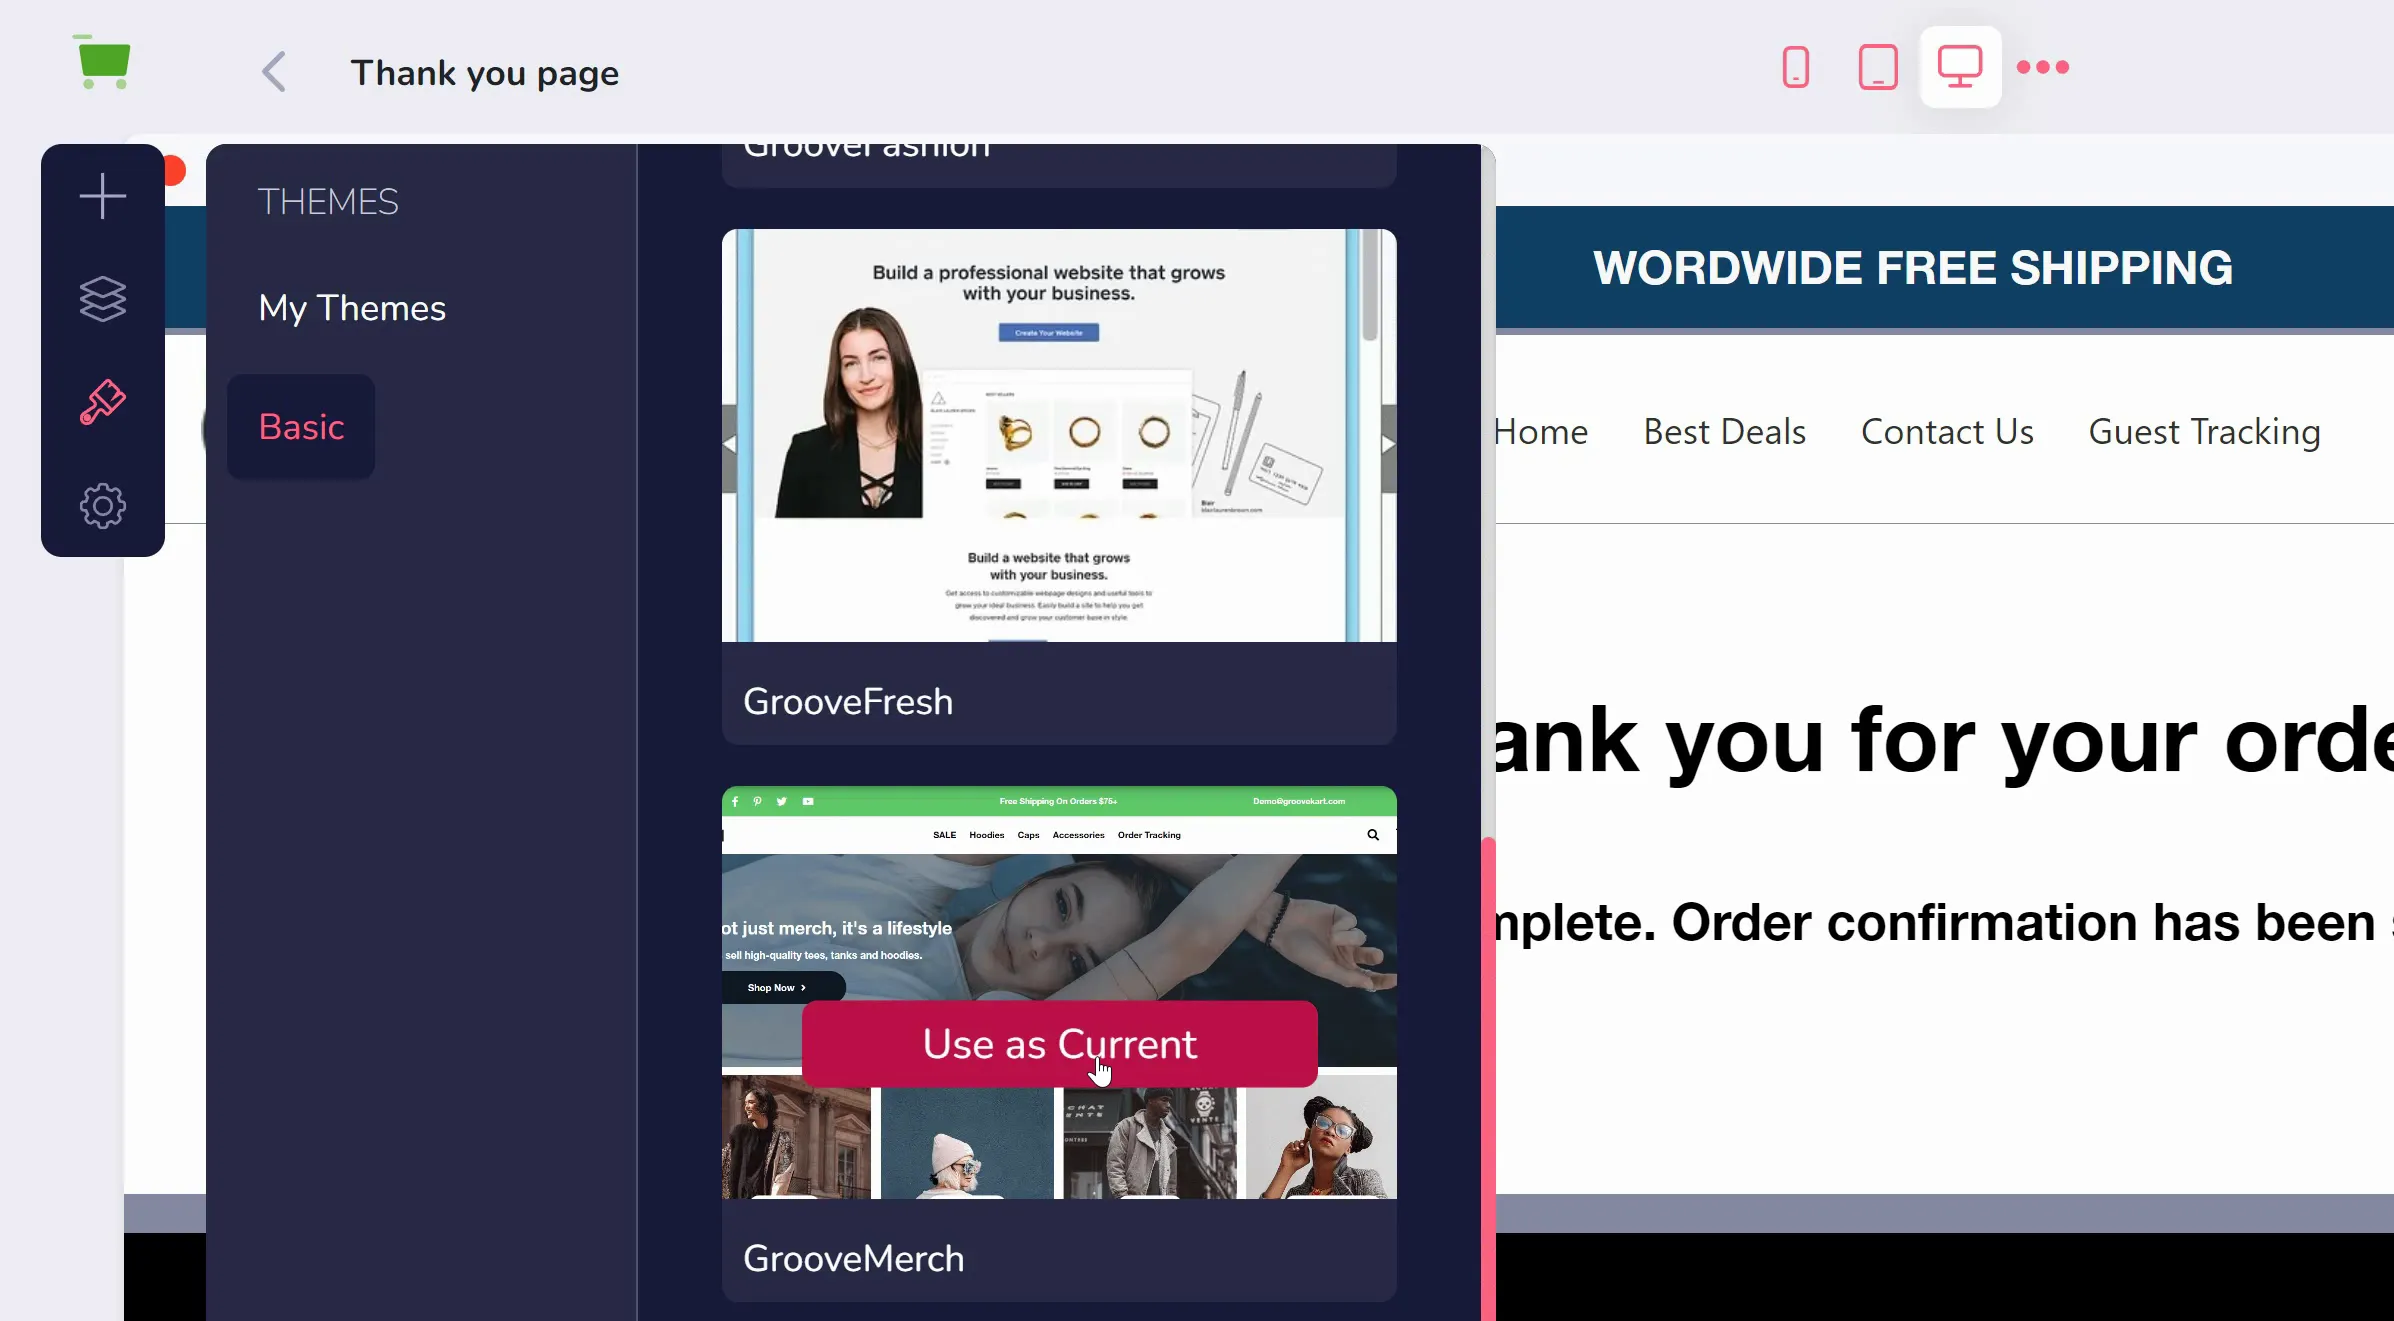
Clicking Basic (as shown below) will reveal a number of templates available for you to use and edit. Click "Use as Current" to use that theme.
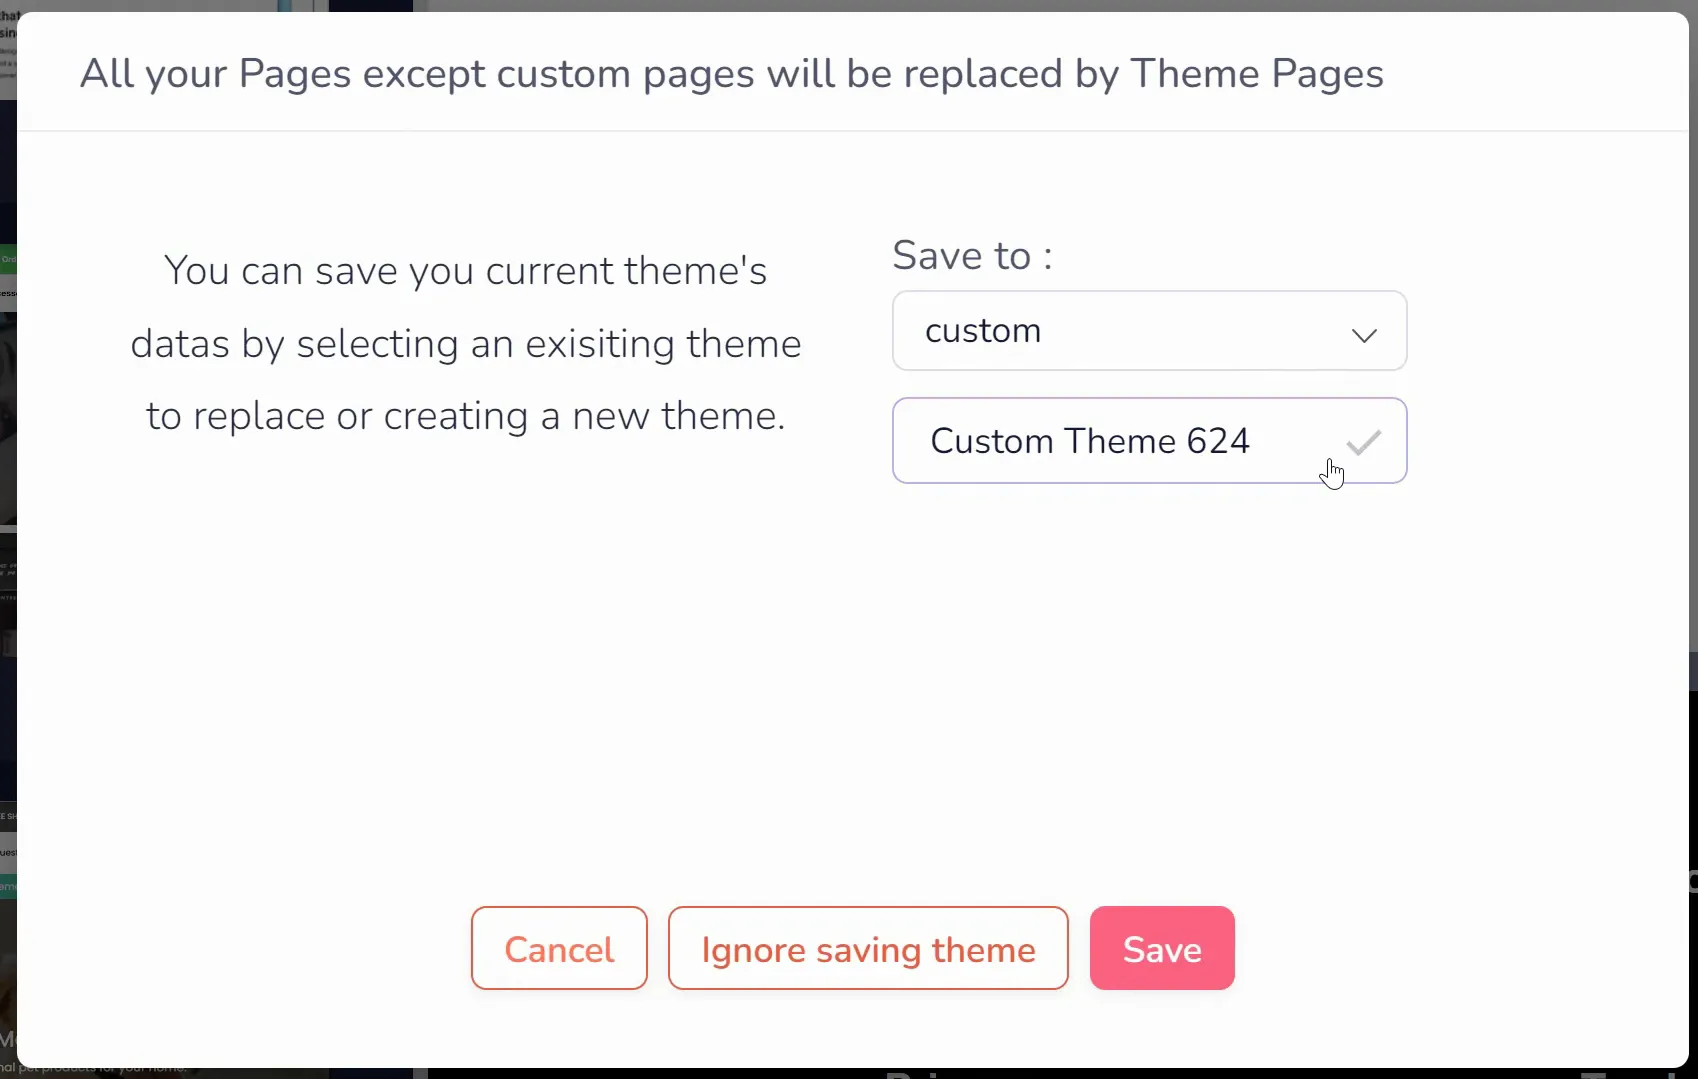
When choosing a template, you are given the option to save the one you are leaving behind (shown below). If you want to save it, choose a category and a name for your previous template, and click Save.
The Builder will reload and the new theme will be applied (as shown below).
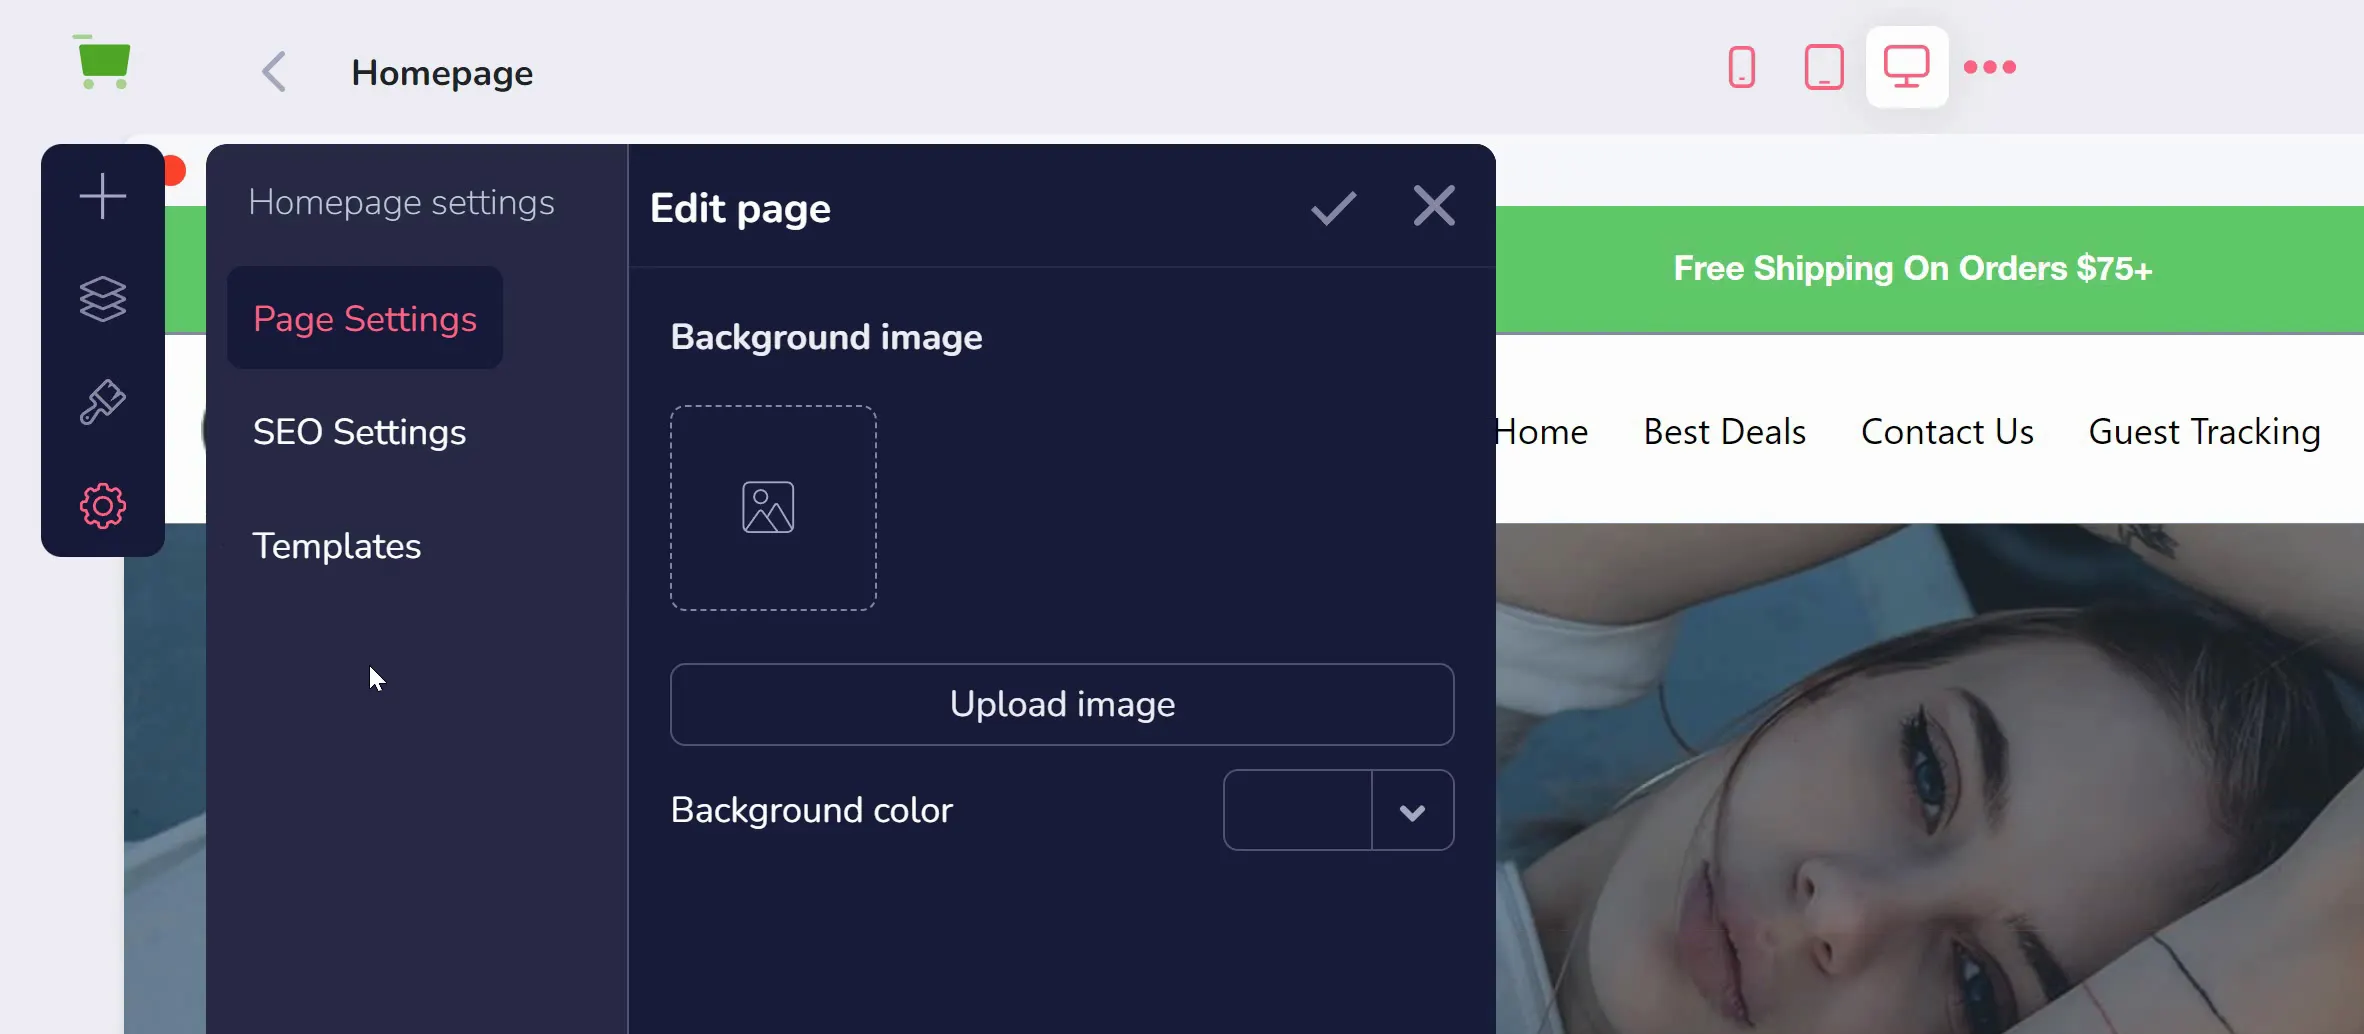
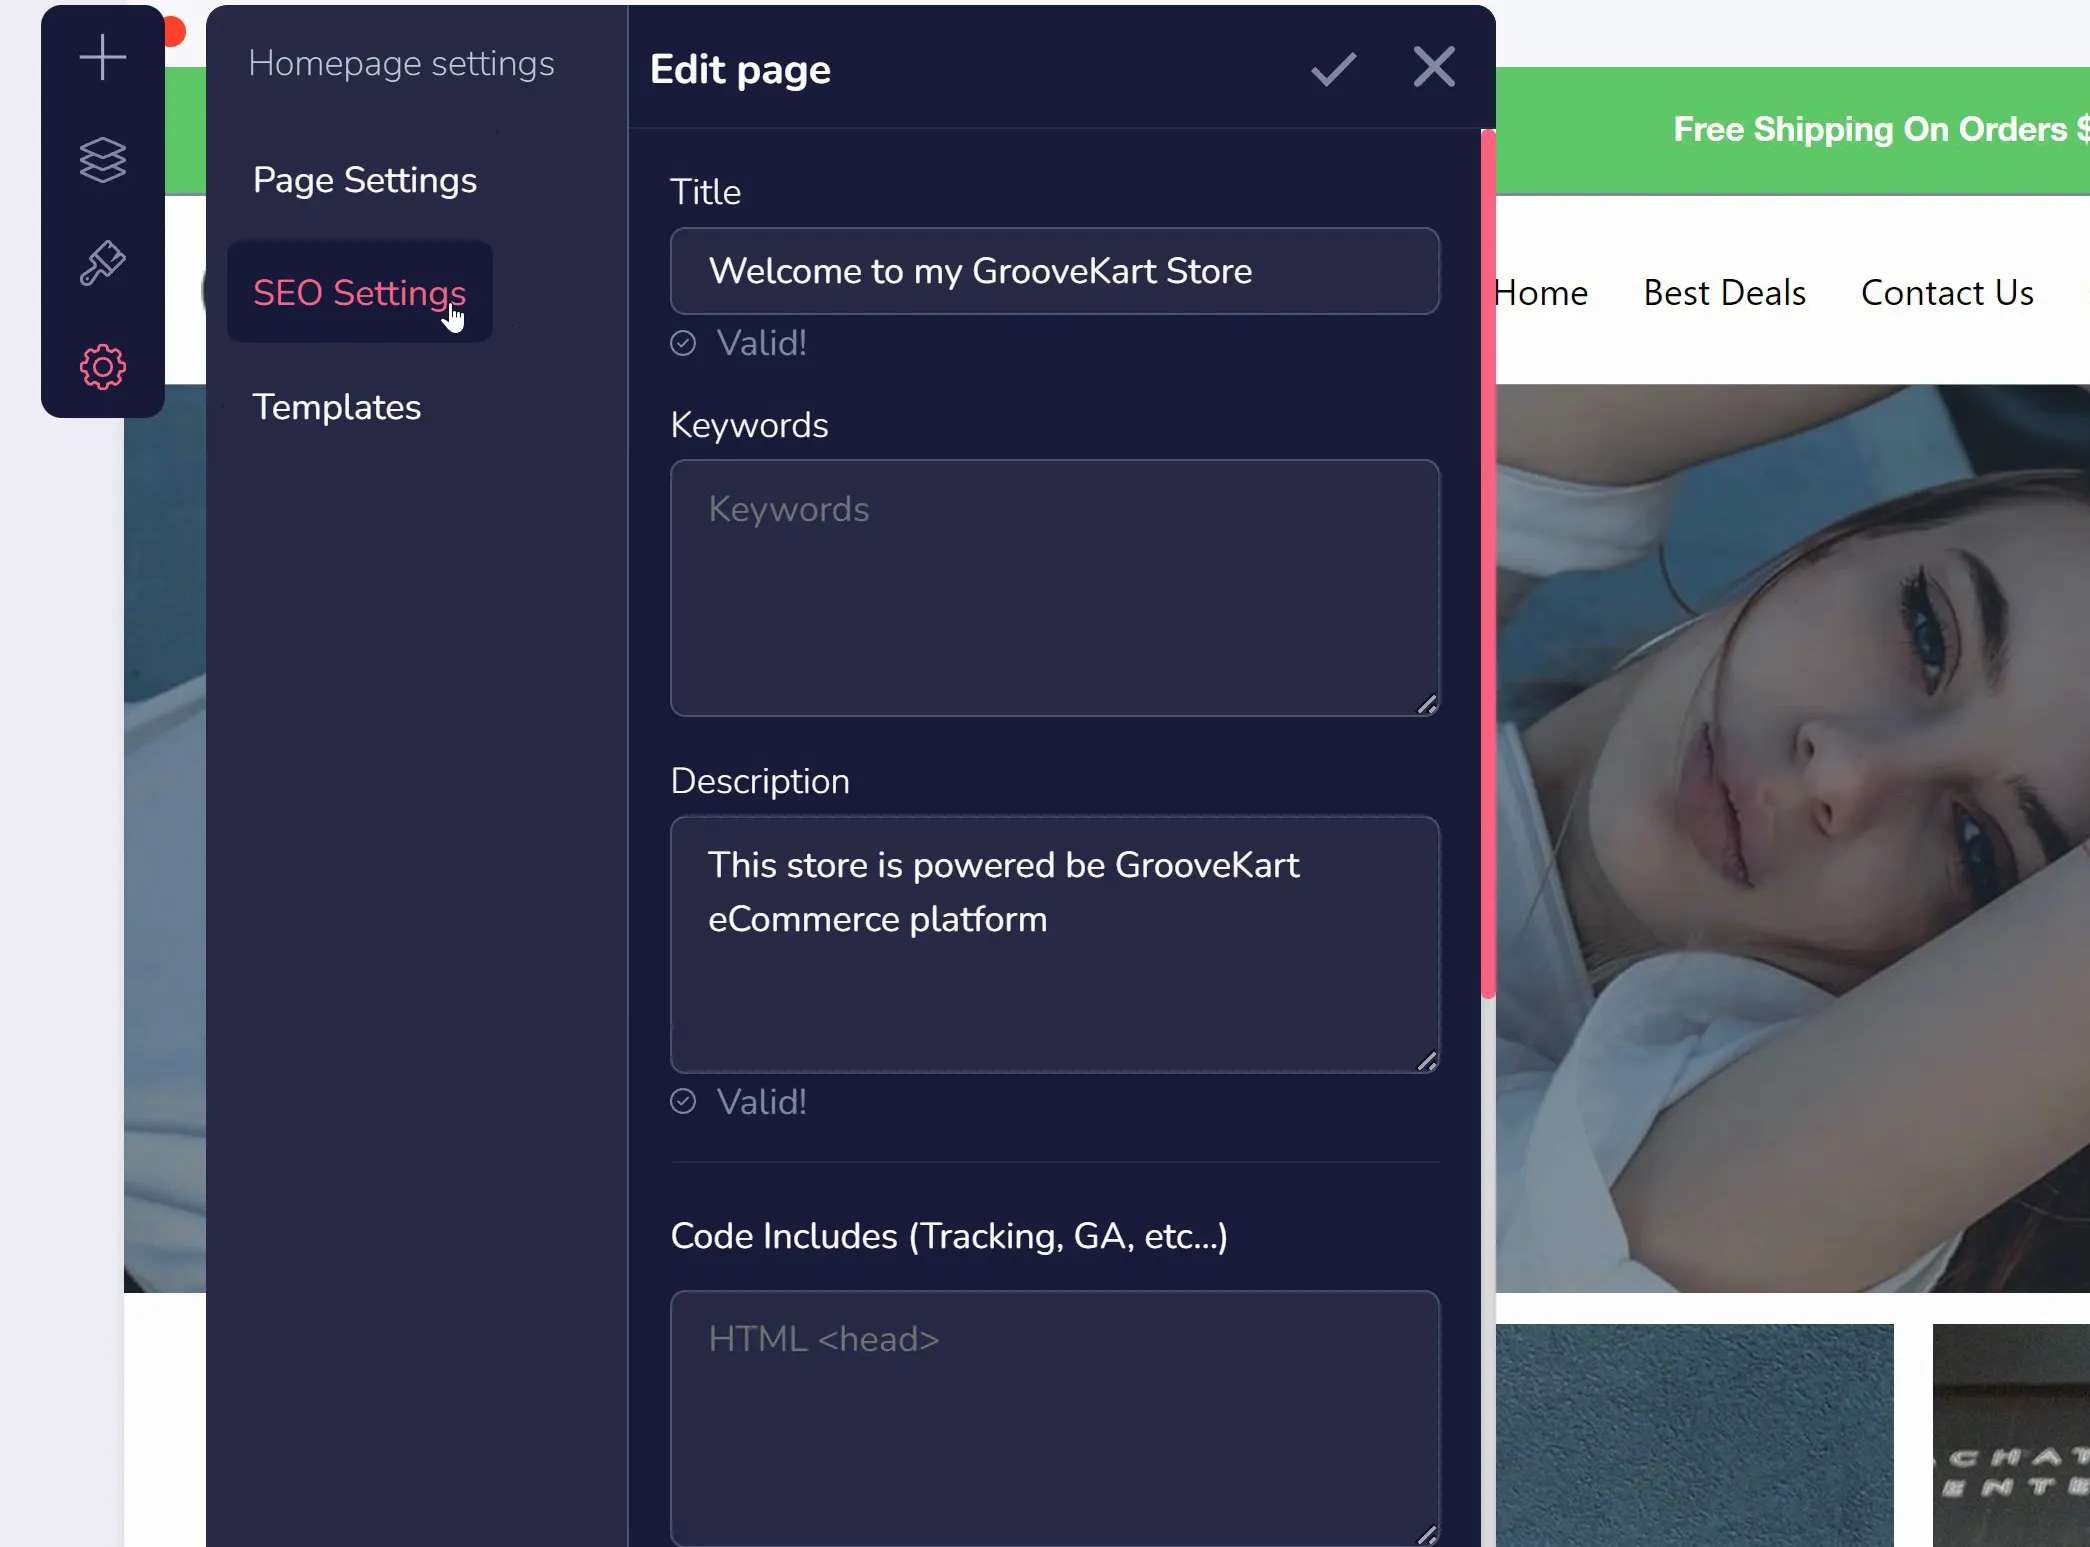
Next are the settings (shown selected above). There are 3 settings available: Page, SEO, and Templates. Page settings (open above) are specific to the page you are currently viewing. SEO settings (shown below) are for preview text for search engines, tracking codes you might want to embed, and preview content for social media sites (also known as OG, or Open Graph, Content).
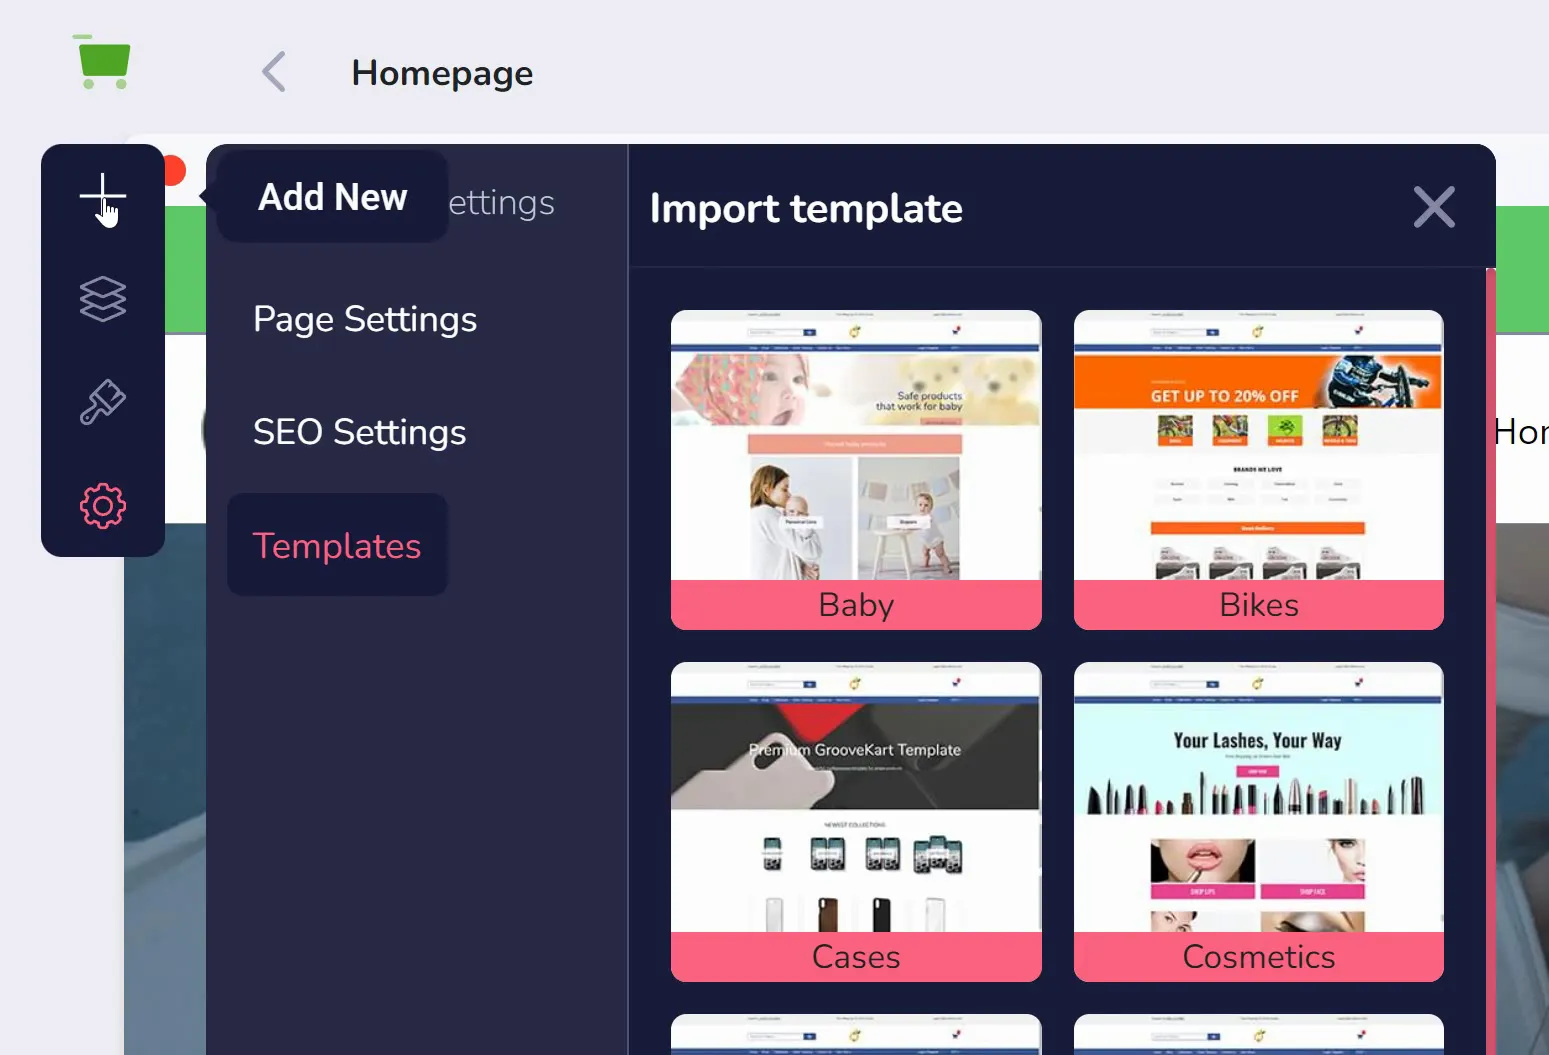
Templates are individual page templates. Rather than importing a theme for your entire store, you can use a template to change a single page. Specifically, this will change the page you are currently viewing.
To add new things to any page, you will use the top "Add New" button from the sidebar (shown below). There are two items here: Blocks and Elements.
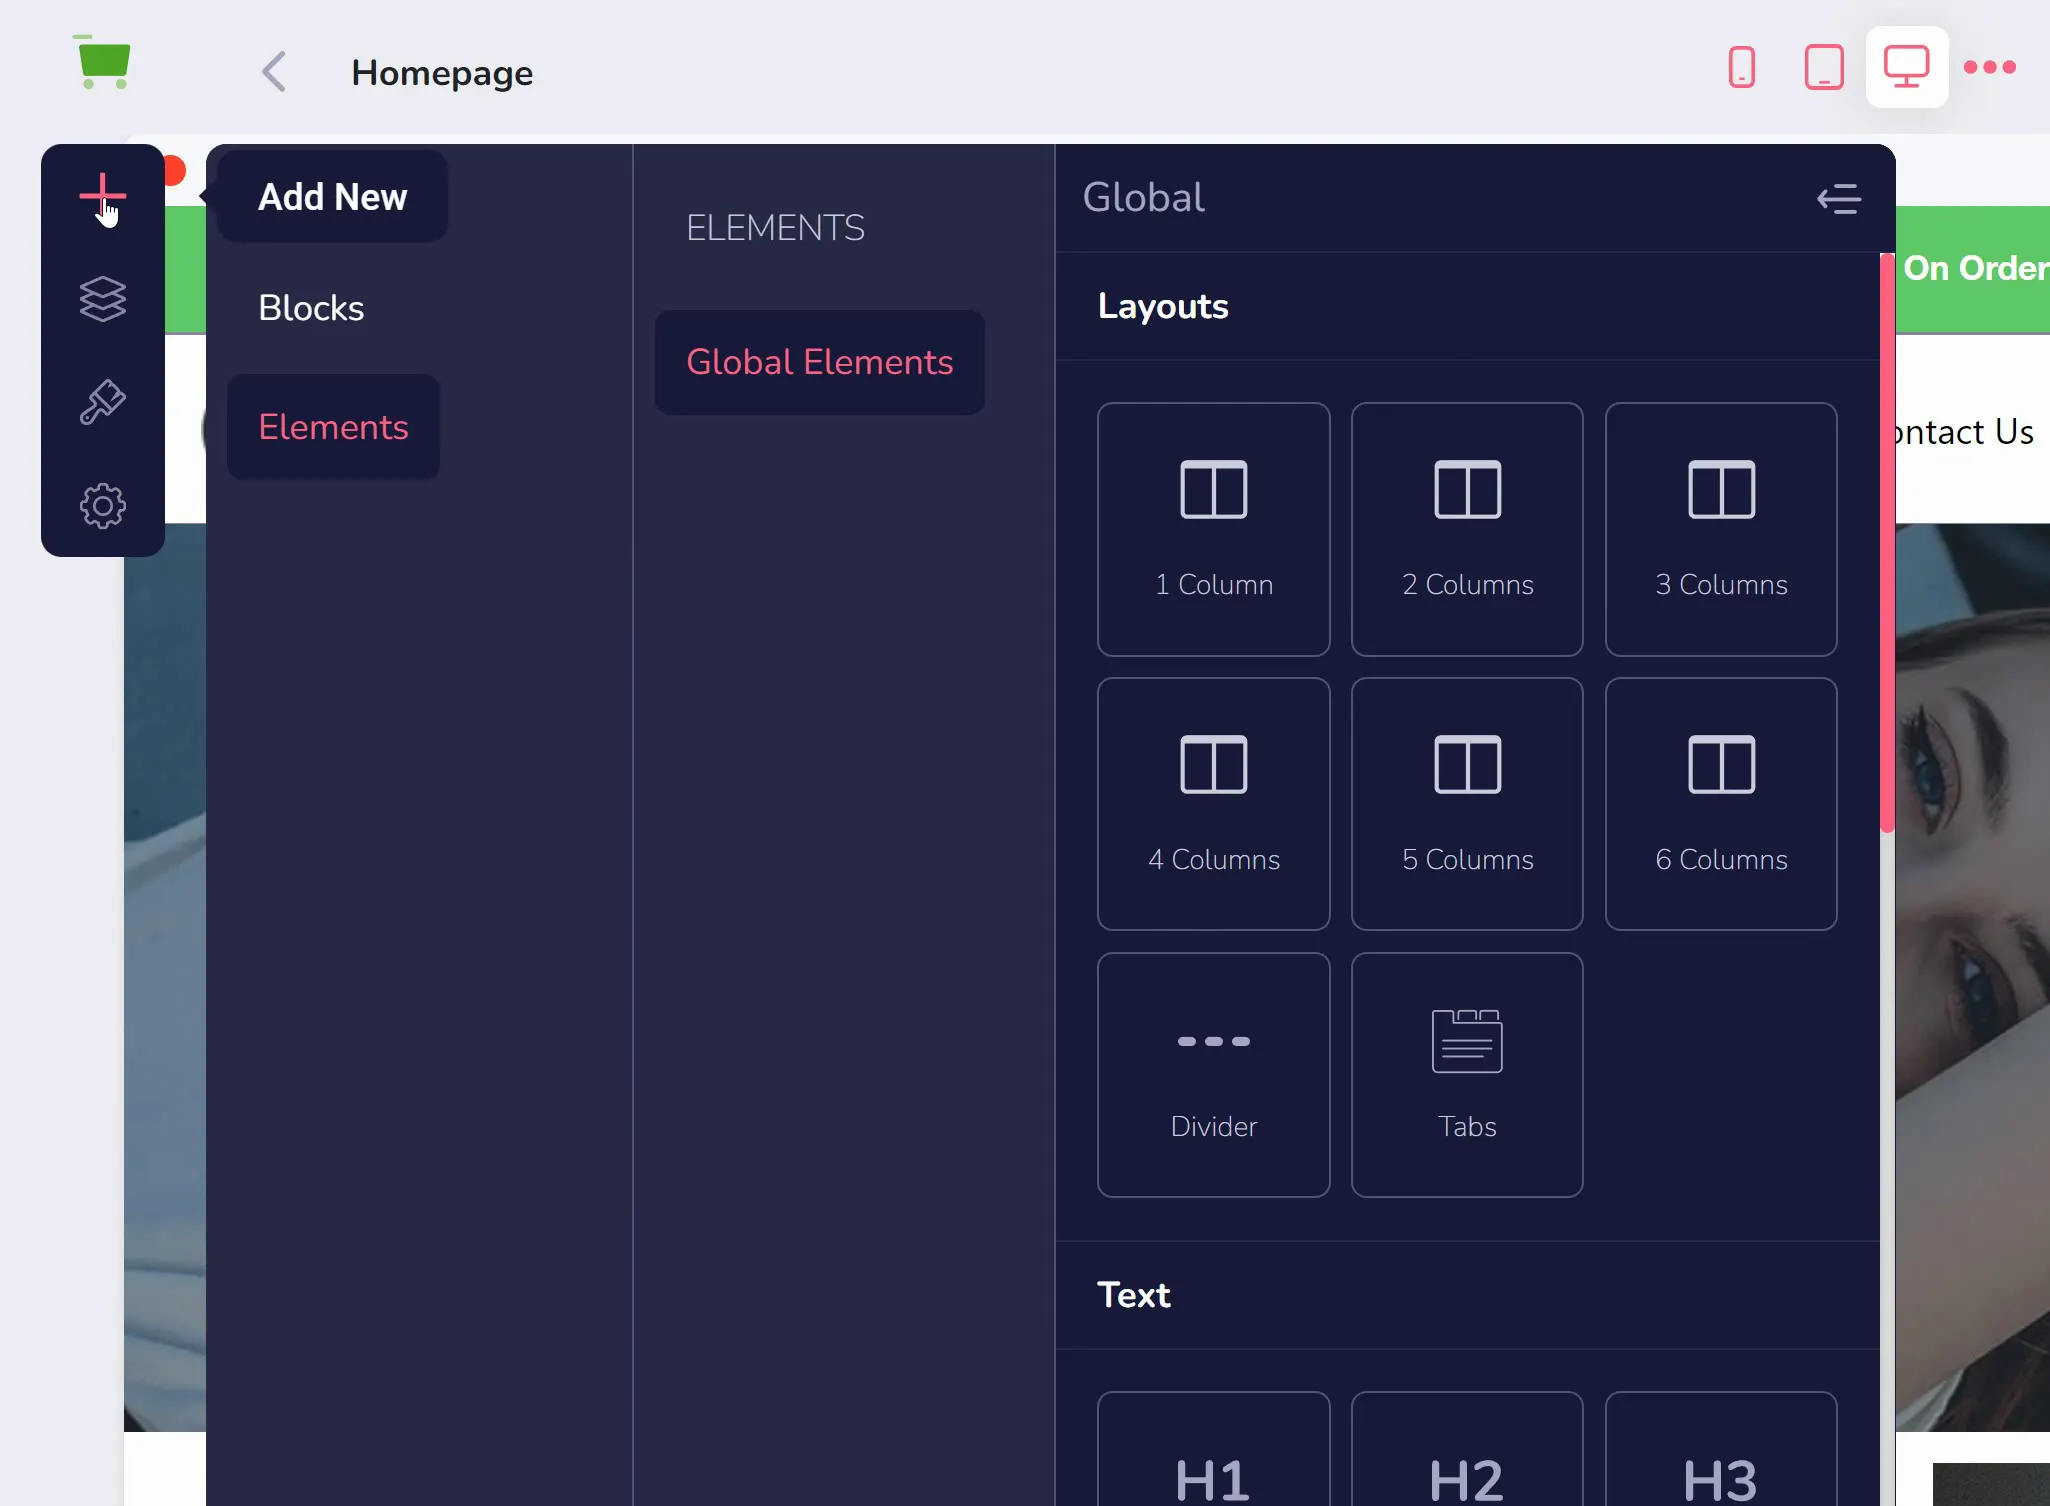
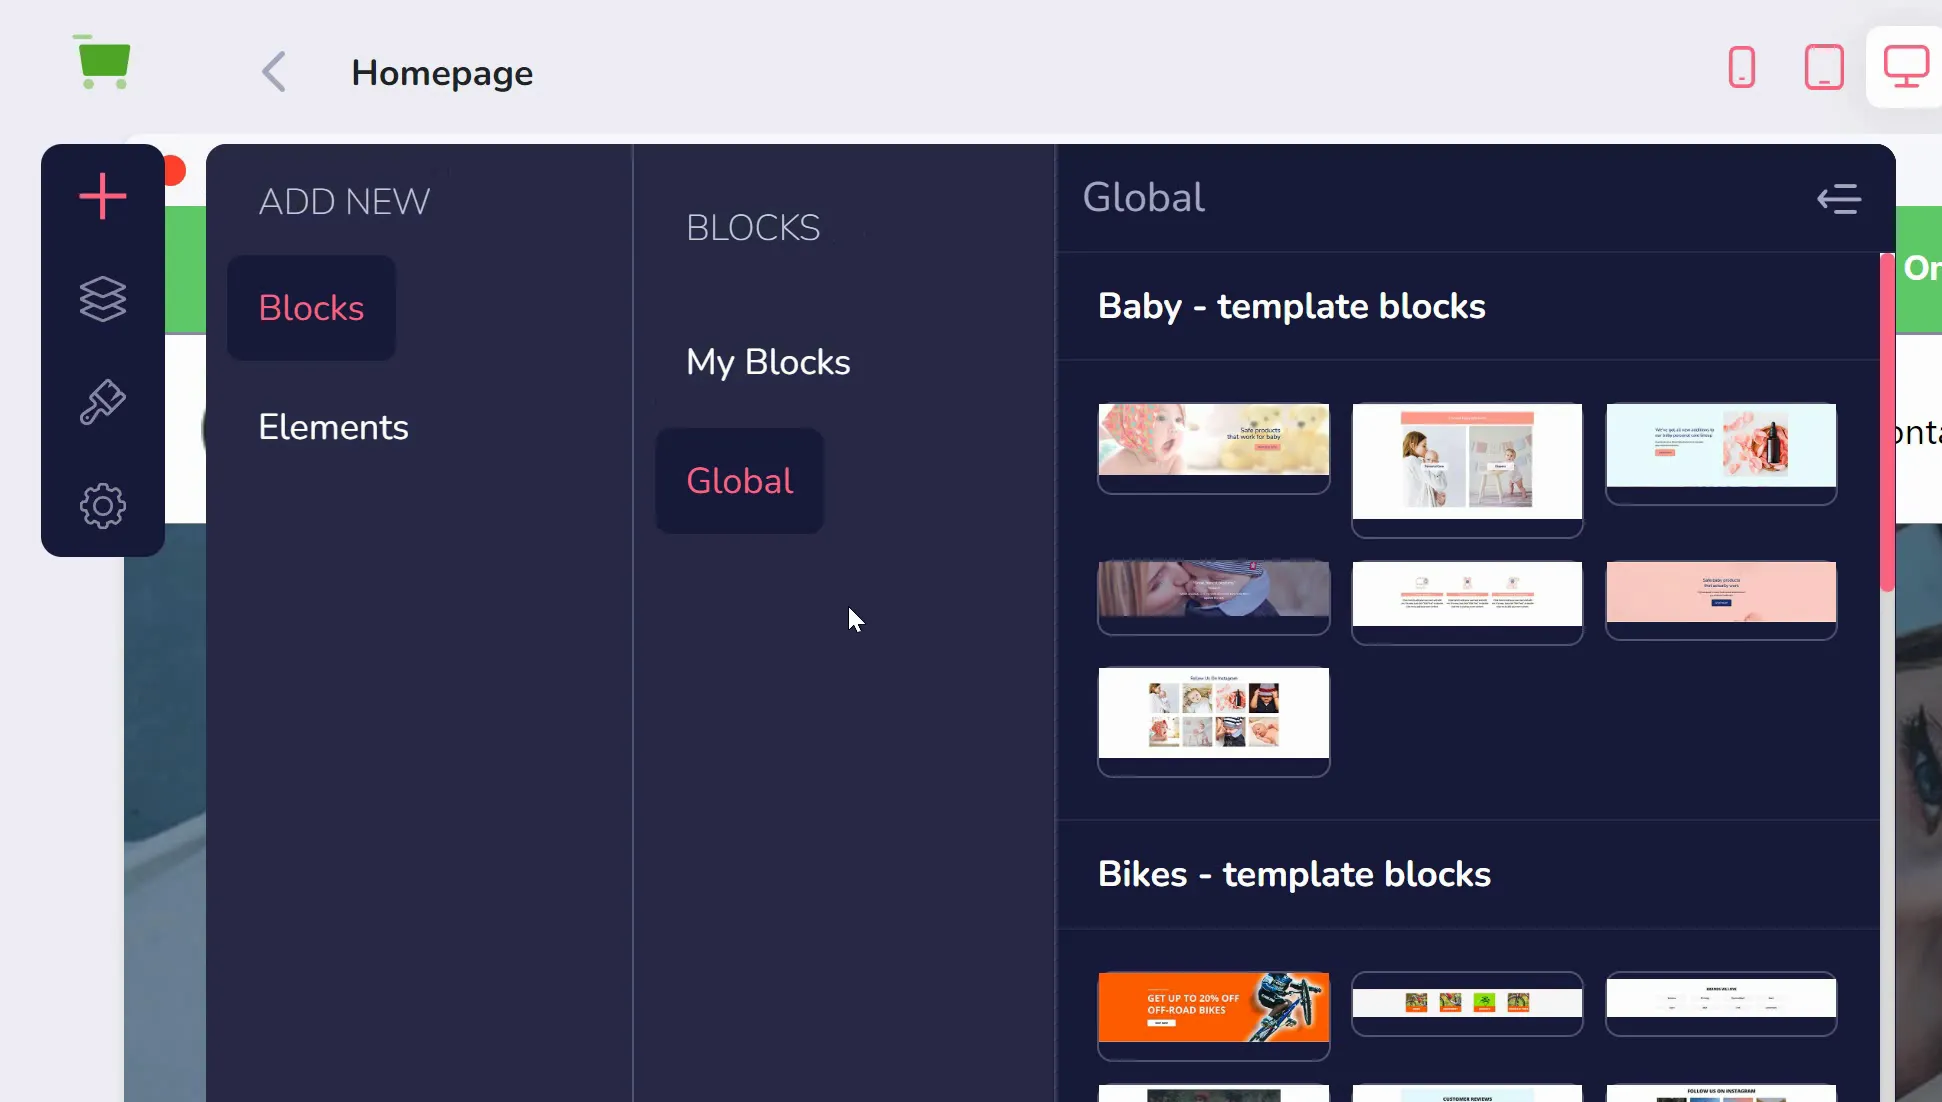
Elements (shown above) are individual items on your page, such as a headline or an image. Blocks (shown below) are collections of Elements together. You can find pre-built Global Blocks (shown below) to drag into your page or you can save Blocks that you have made using elements.
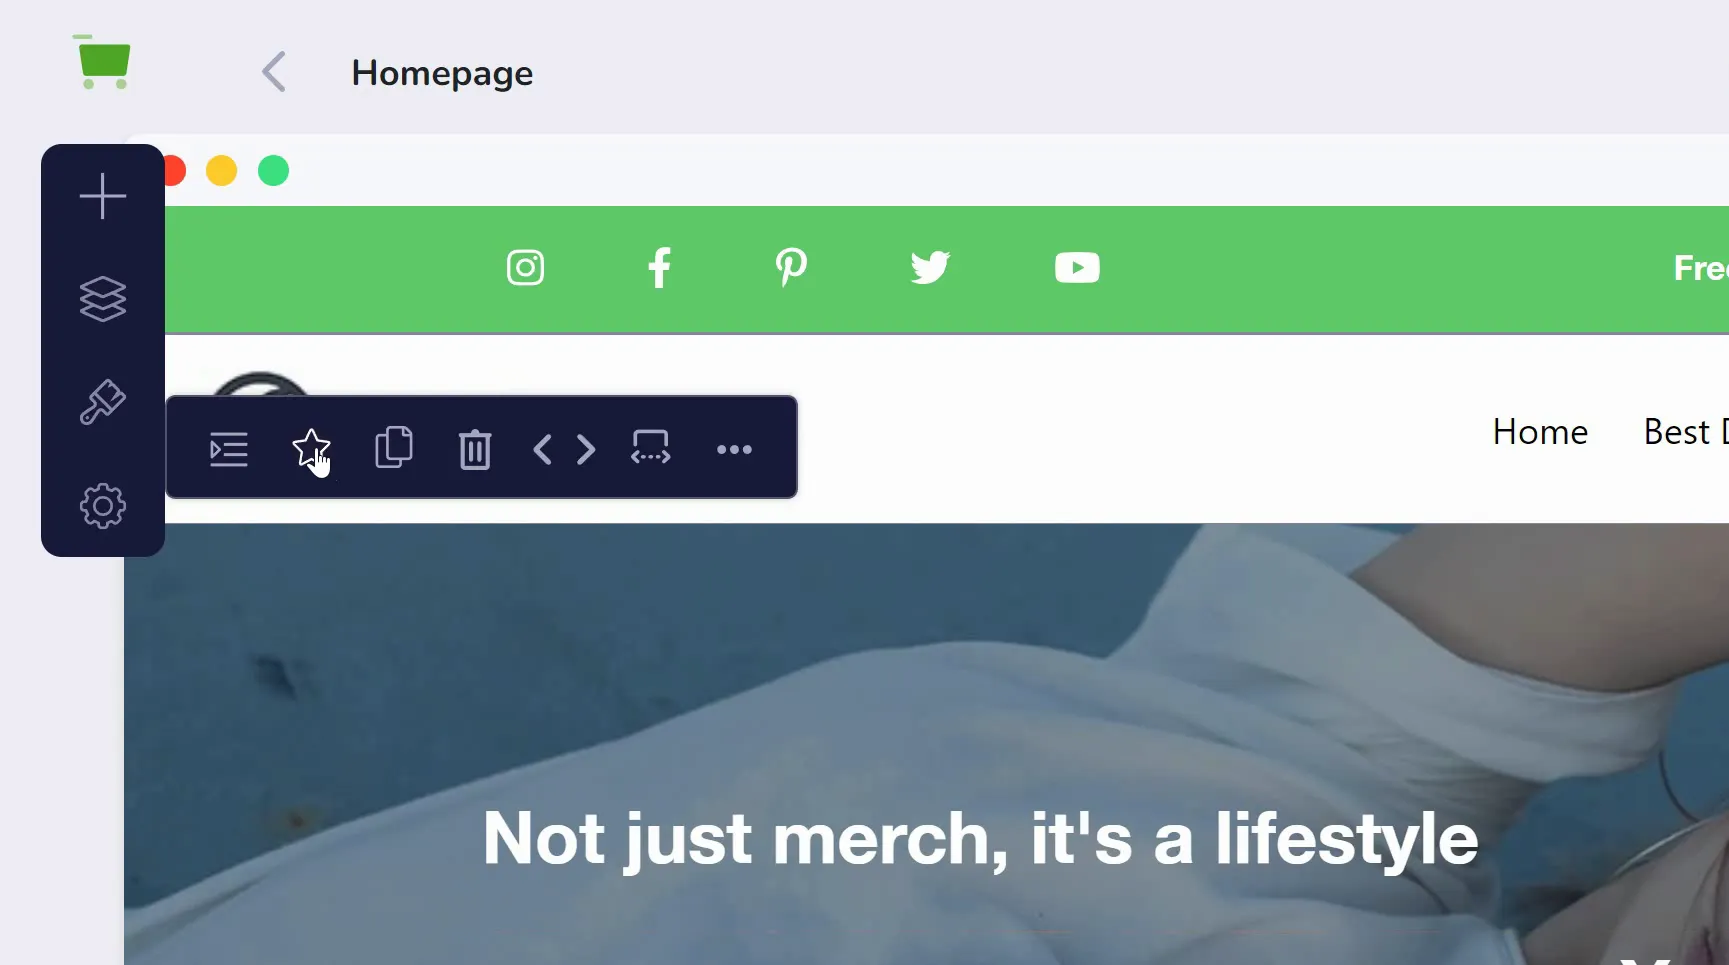
For example, I can drag in a headline to an existing block, and then click the star ✰ icon to save that block (as shown below).
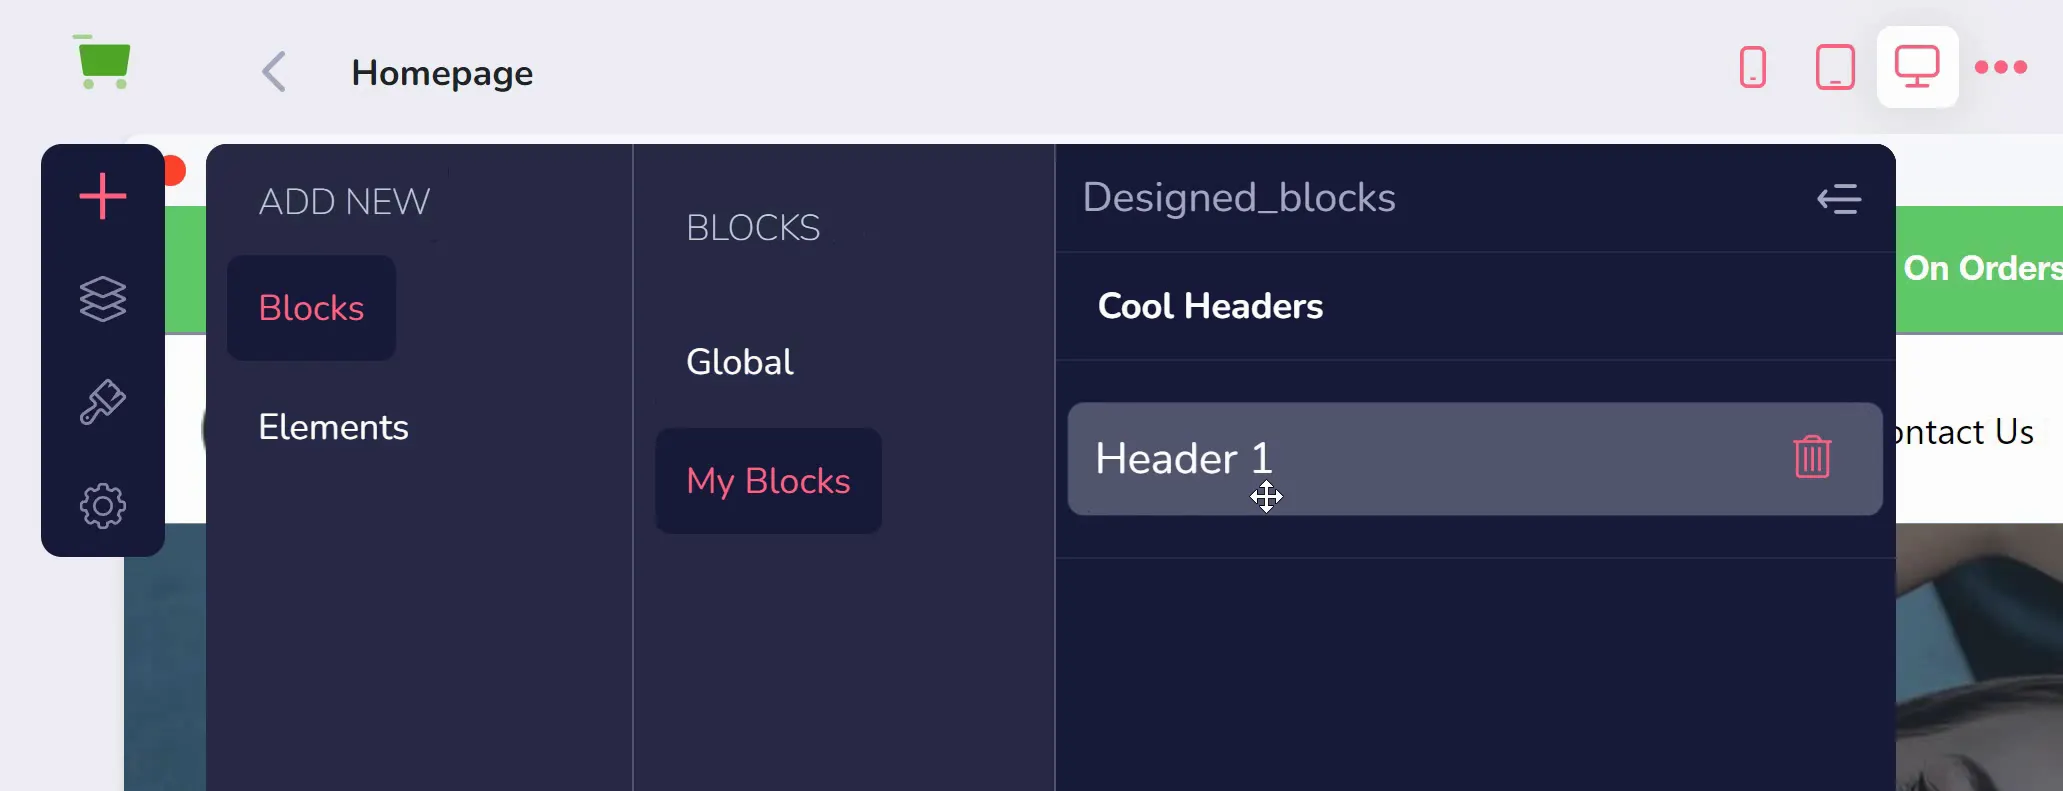
Once the Block is saved, it will be found under My Blocks (shown below), so it can be added anywhere on the store.
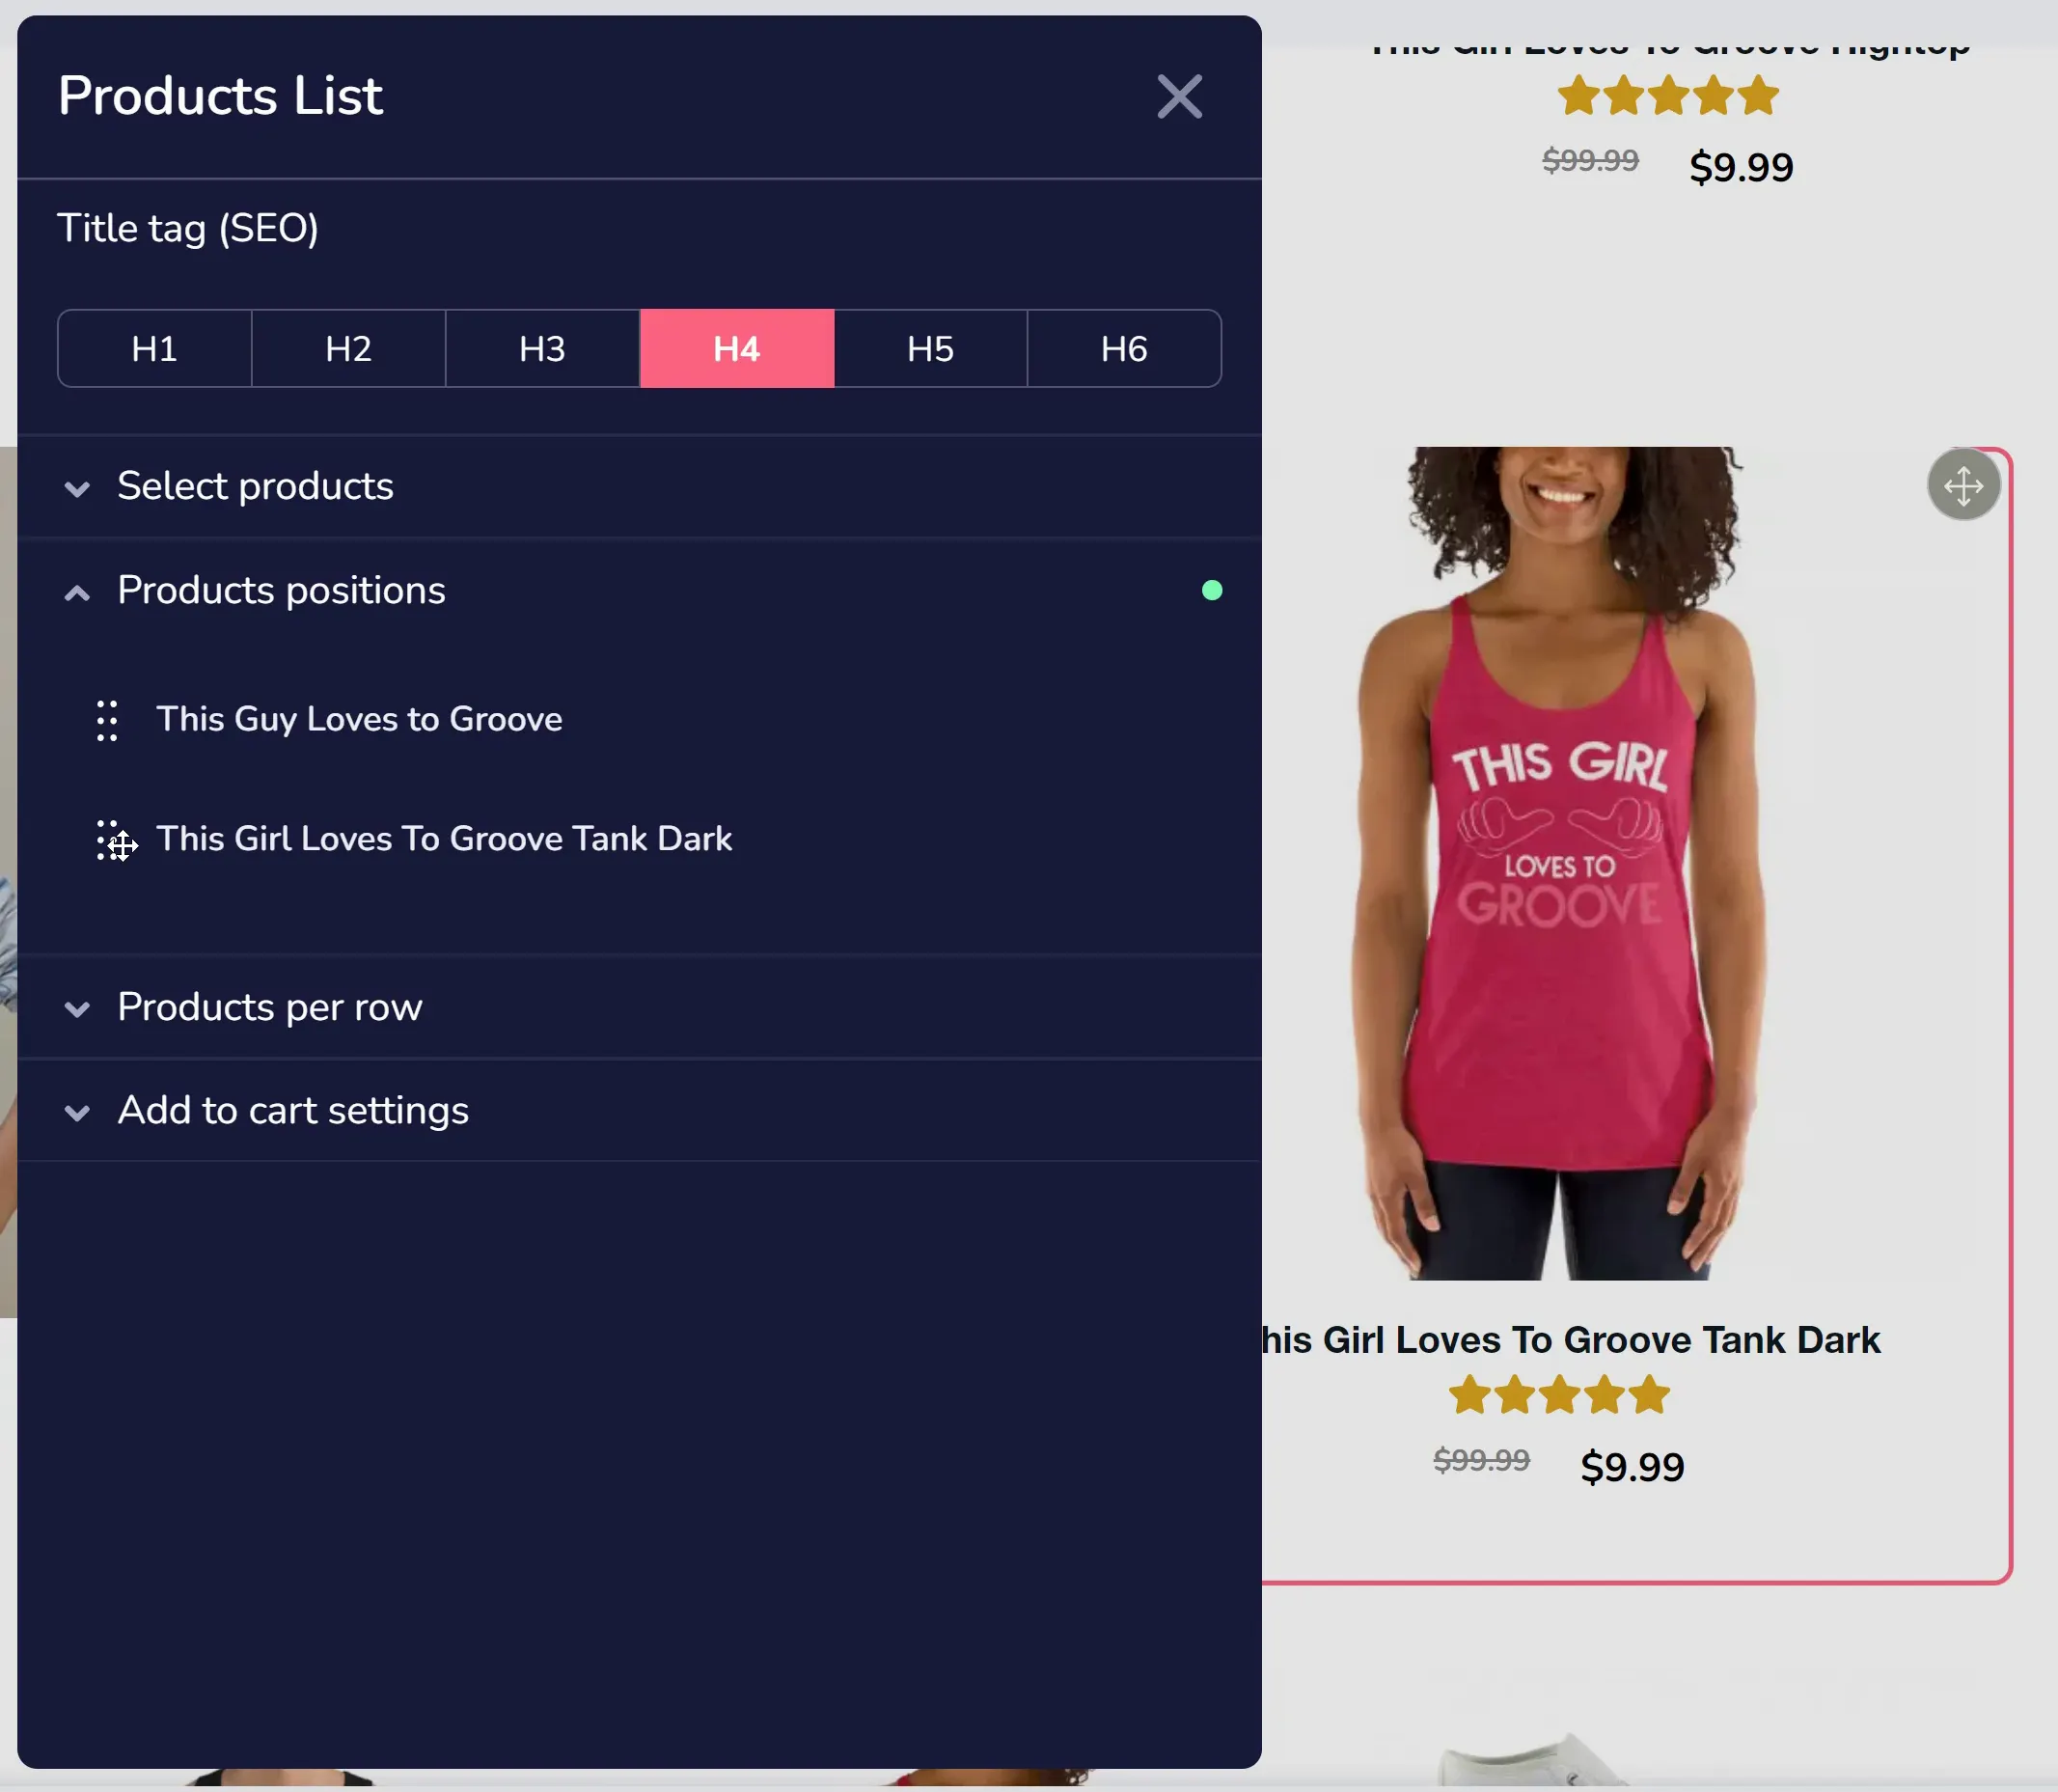
To edit elements that are already on the page, simply click one and choose the settings gear icon (shown below).
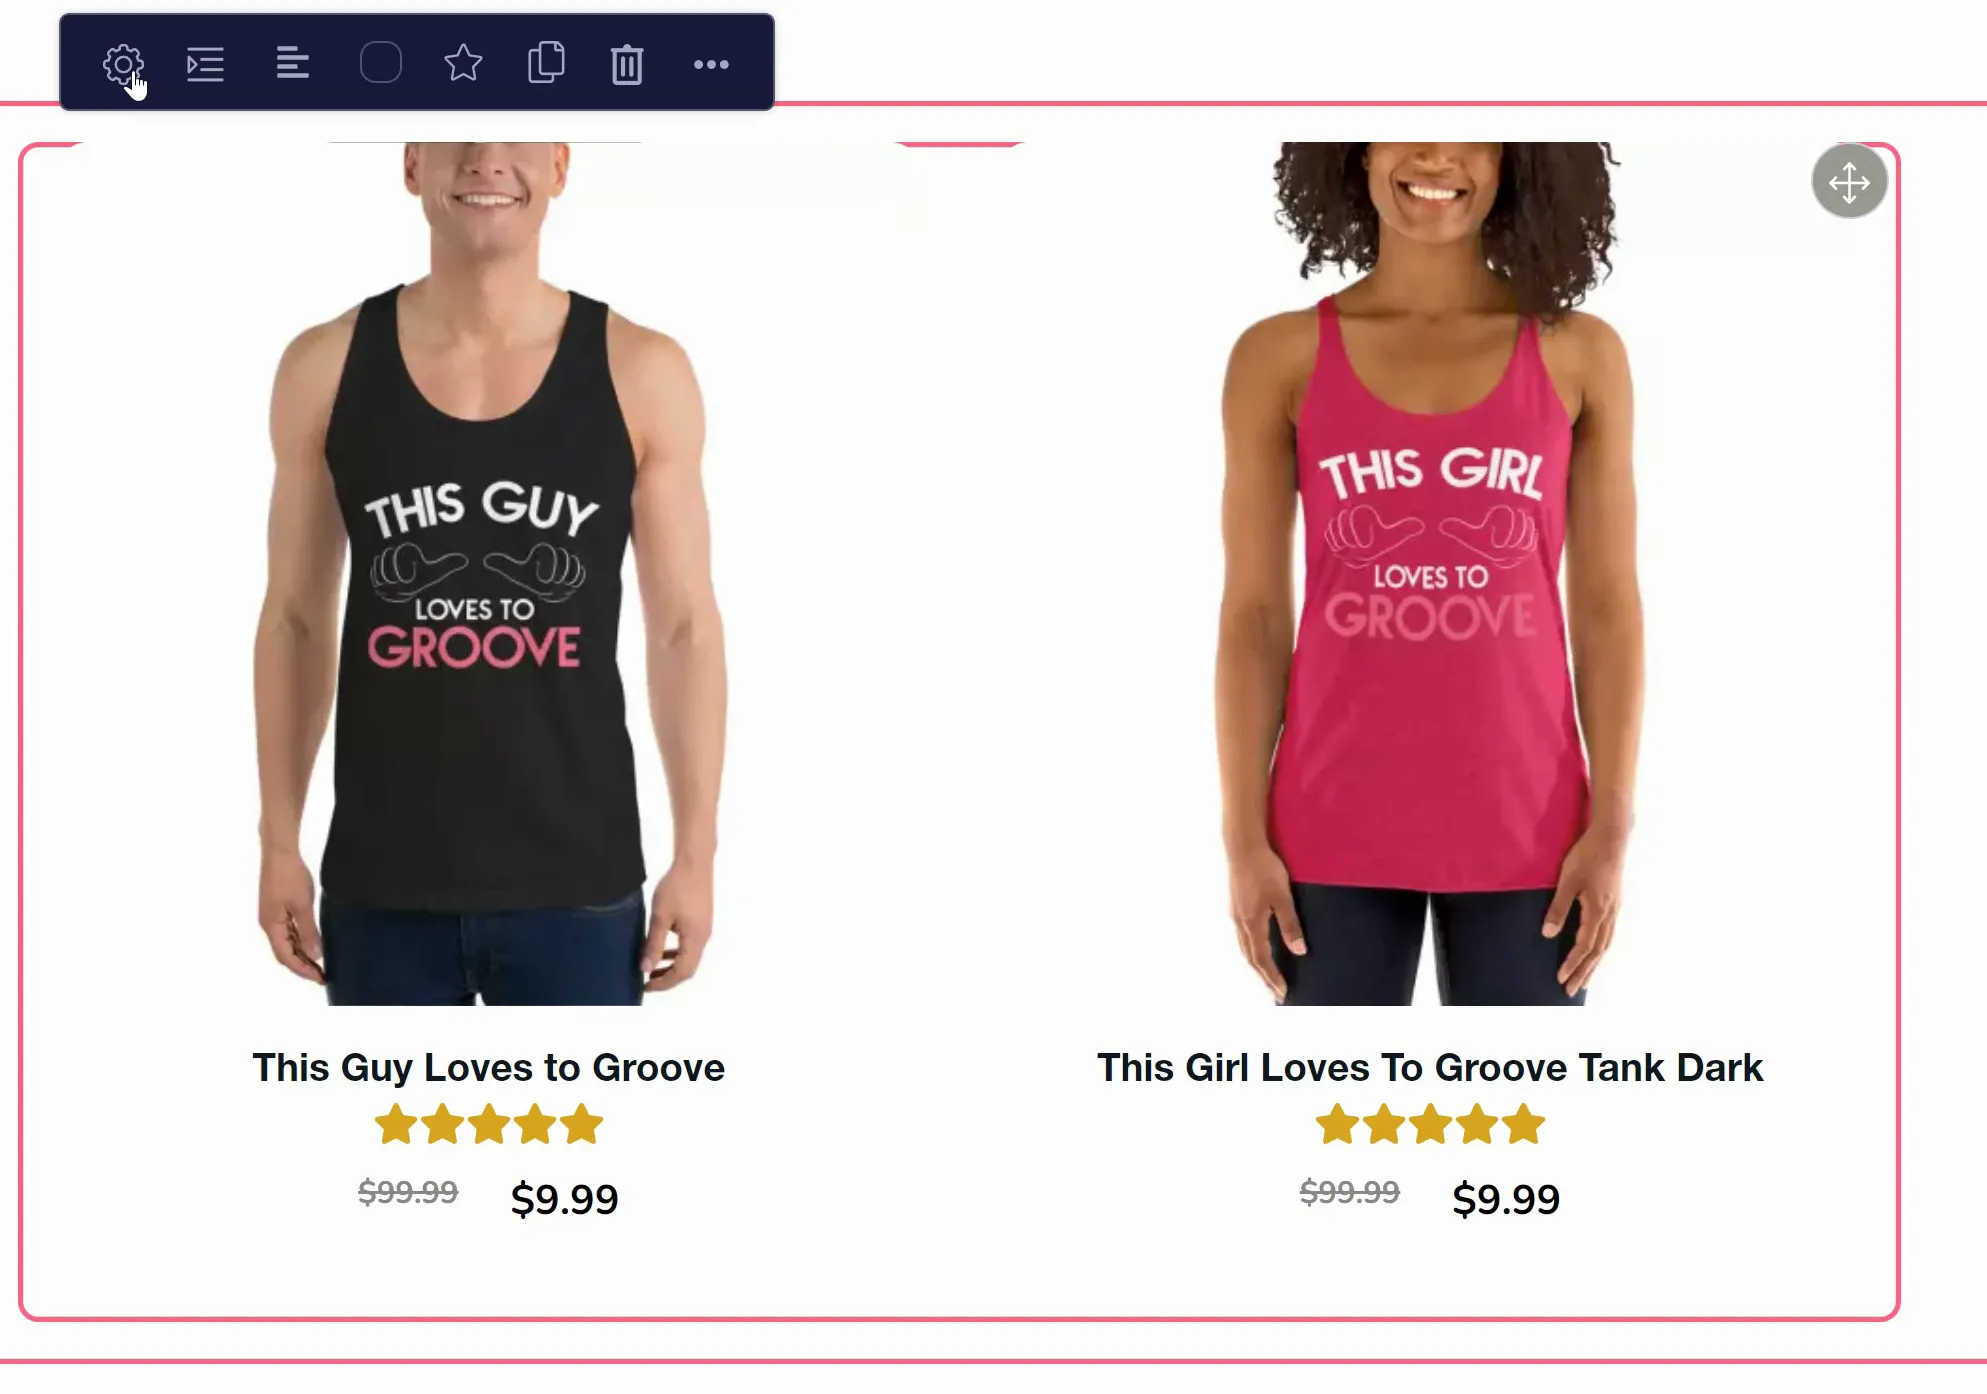
Each element will have unique settings available, depending on what it is (example below). You might have the option to add images to slides, rearrange products, or choose where a button links.
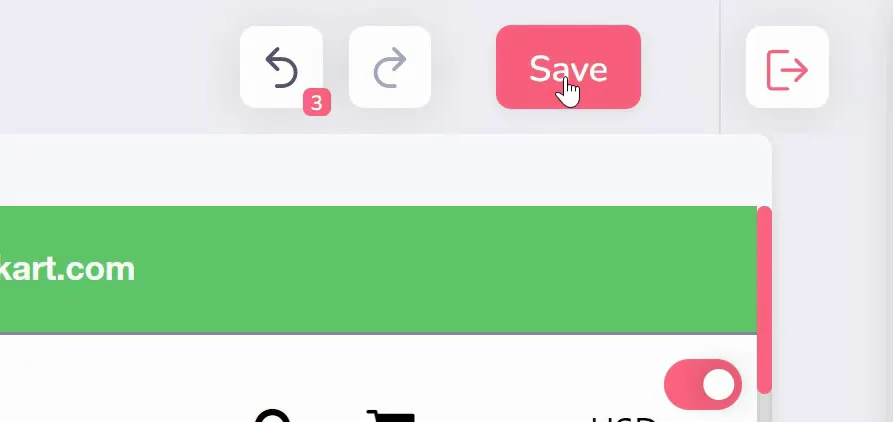
Whatever changes you decide to make to your page, it is crucial to remember to click save in the upper right.