Creating Forms: An Overview
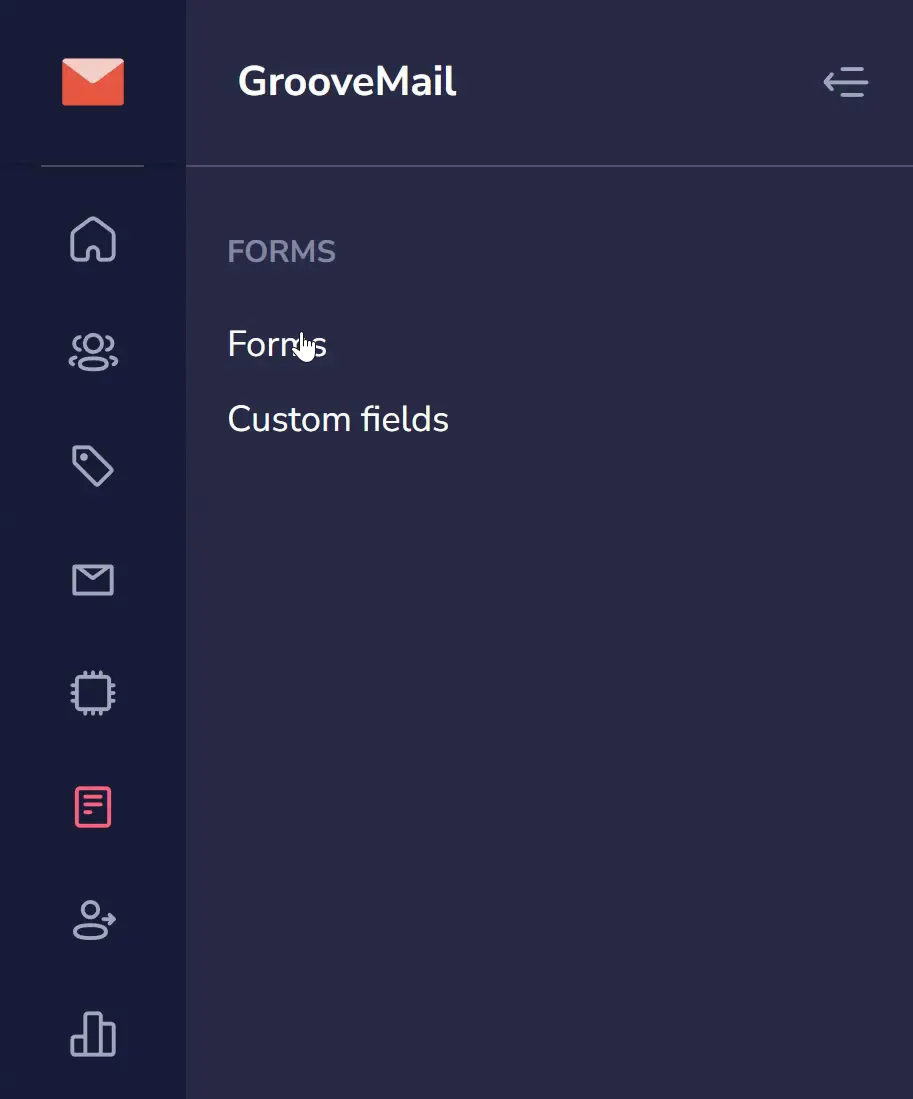
To begin, log in to your GrooveMail dashboard. From the dashboard, you can find the "Forms" section in two ways.
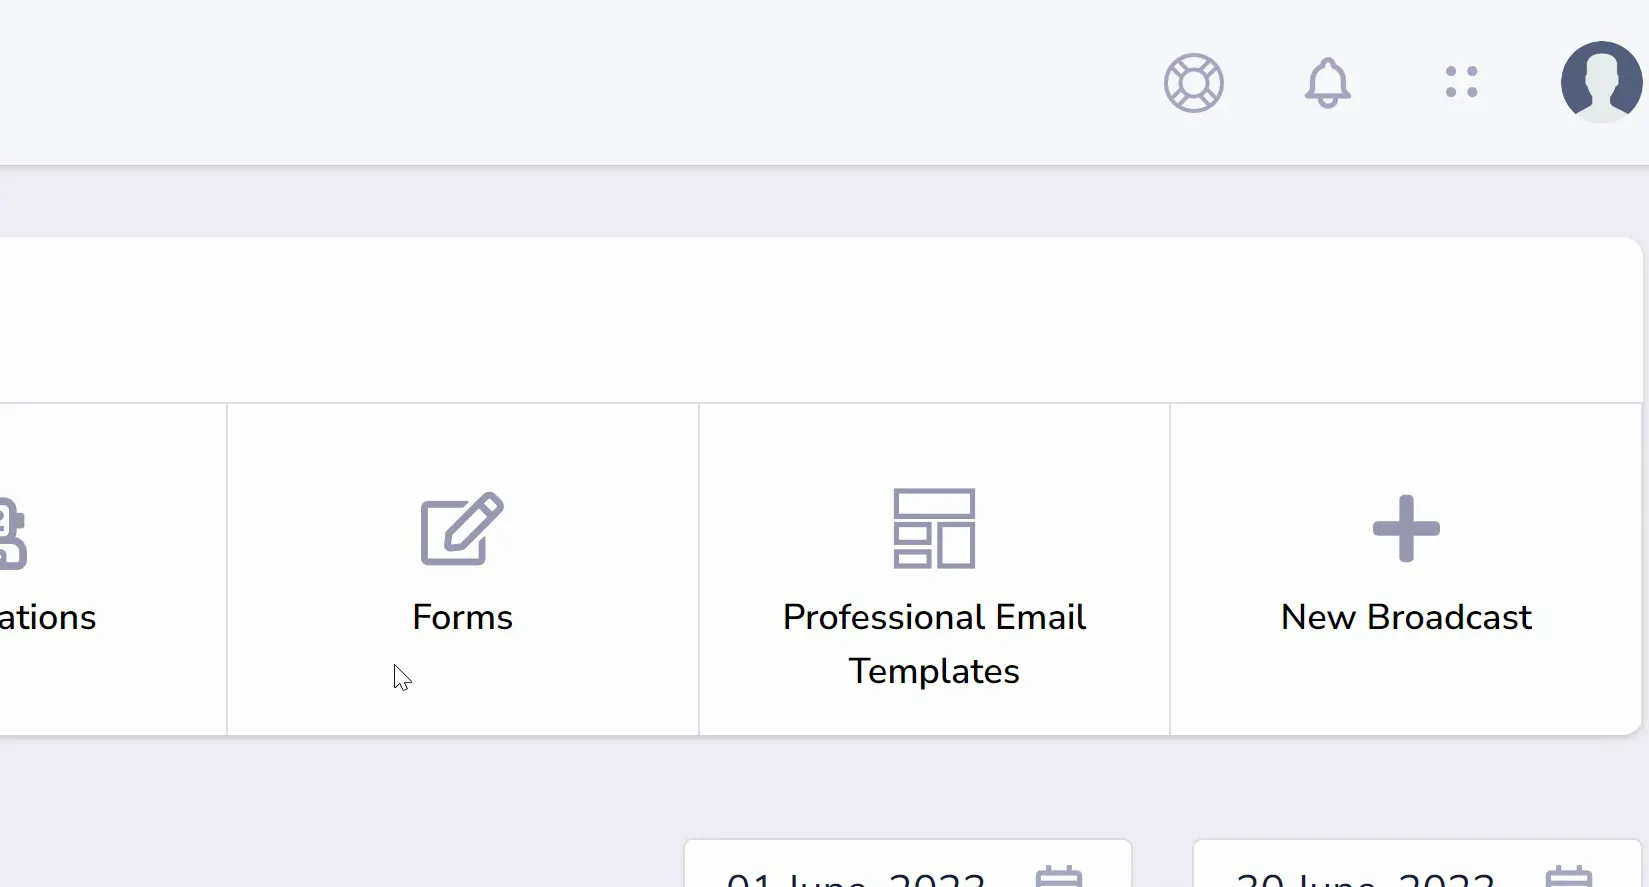
Firstly (as shown above), you can click on the "Forms" icon located in the Quick Links bar. Alternatively, you can select "Forms" from the sidebar on the left (shown highlighted in pink below) and click "Forms" from the menu that appears.
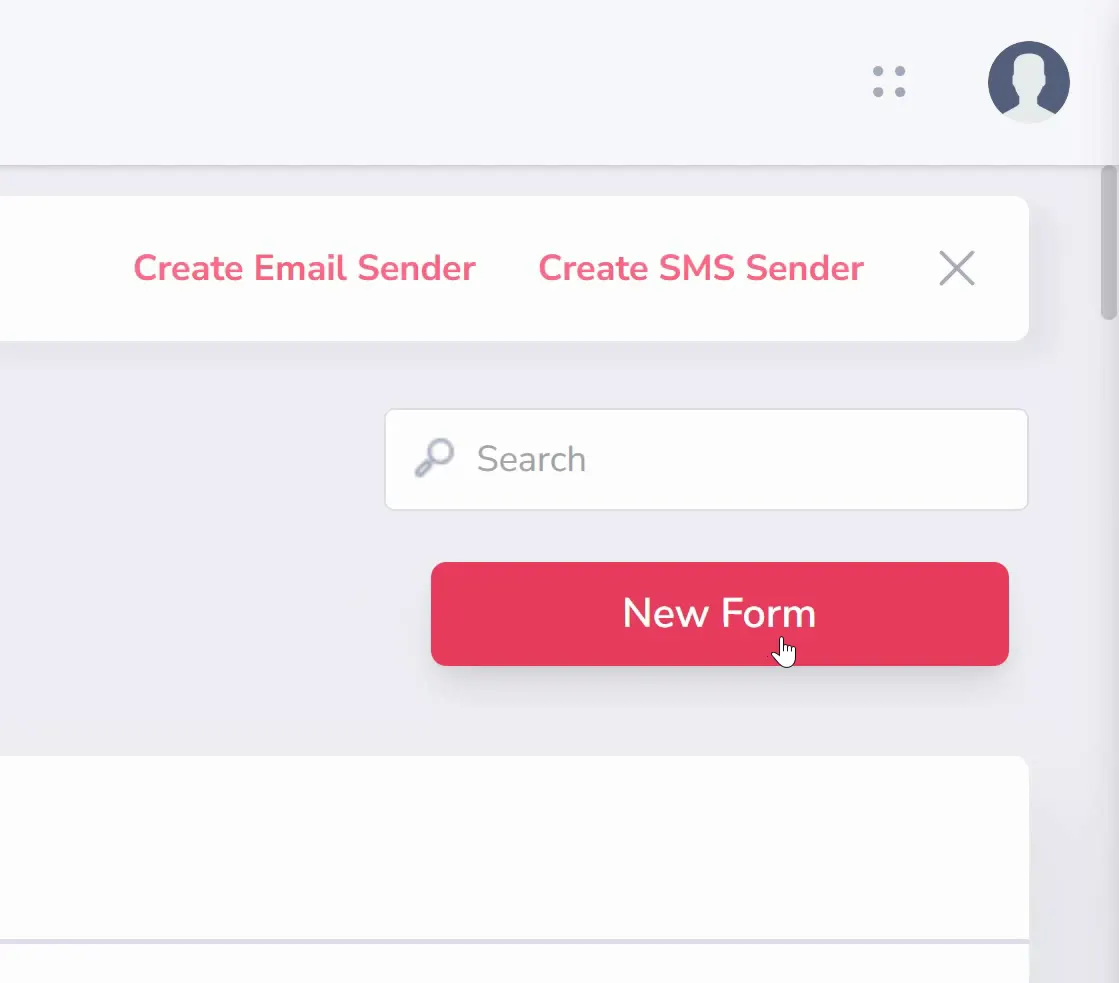
Once you're on the Forms page, look for the "New form" button (as shown below) and click on it.
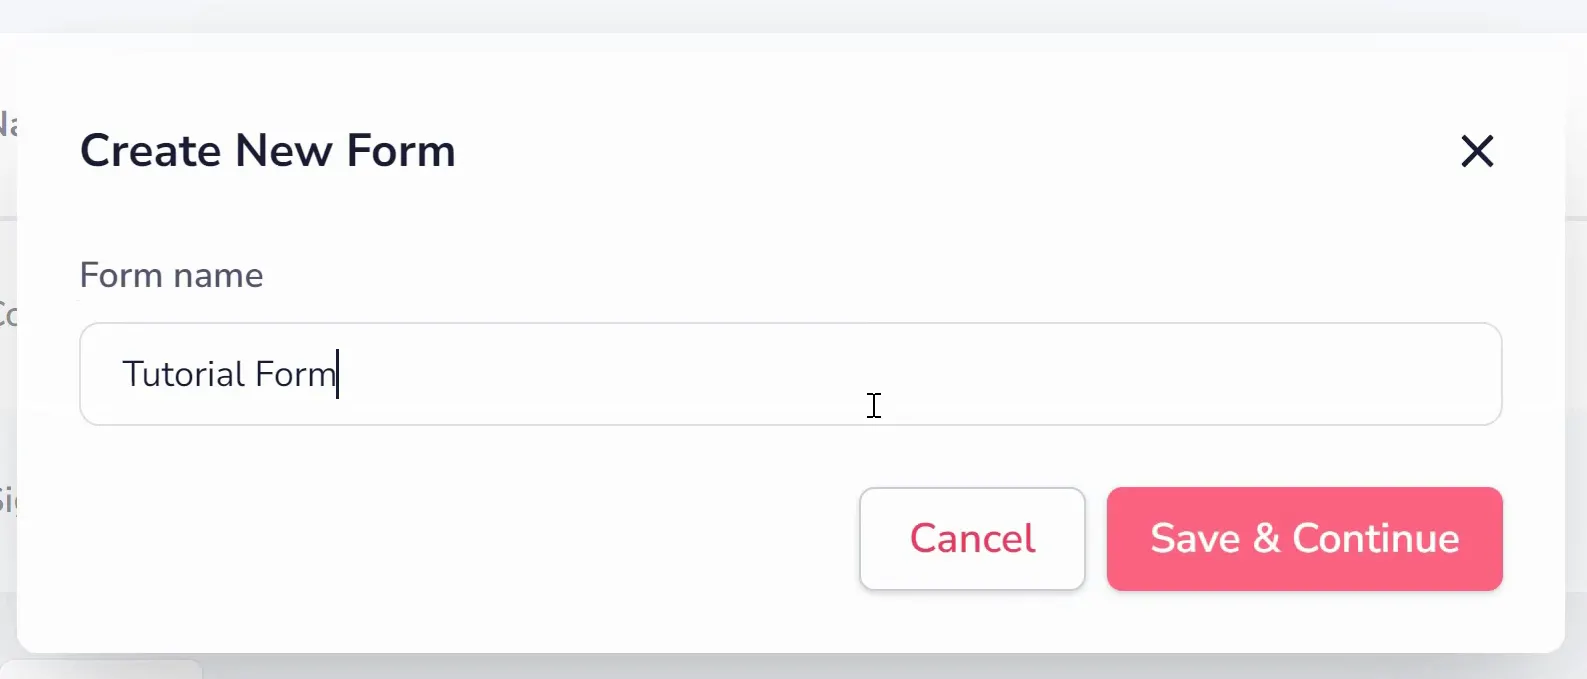
A popup window (shown below) will appear where you can provide a name for the form. This name is for your reference. Enter a name and click "Save & Continue."
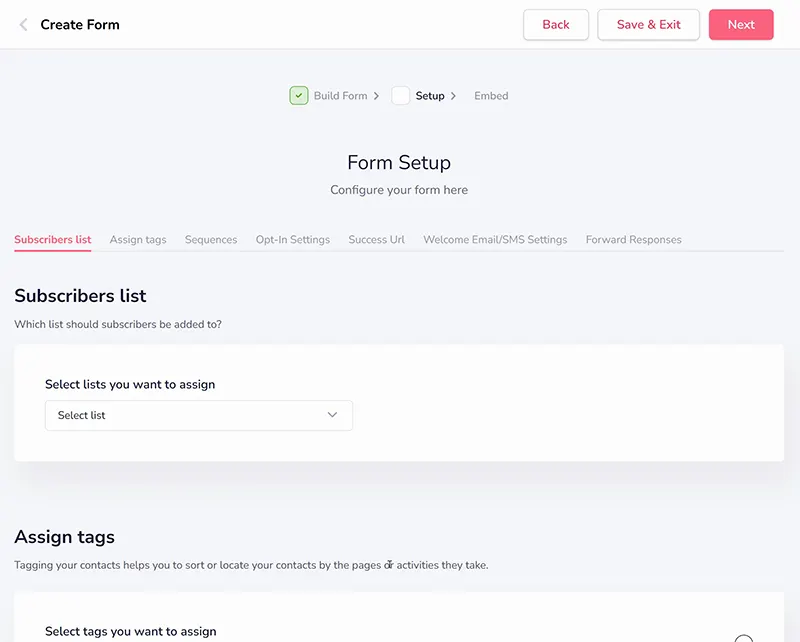
After saving the form's name, a three-step wizard will appear. Let's quickly go through the steps to give you an idea of what to expect.
Step 1 (shown below) is Build Form - This is where you add form fields. By default, Email and First Name fields are included. You can add more fields by clicking the "New Field" plus button. Custom fields are also an option.

Step 2 (shown below) is Form Setup - In this step, you'll find seven tabs with various options:
- Subscribers List
- Assign Tags
- Sequences
- Opt-in Settings
- Success URL
- Welcome Email/SMS Settings
- Forward Responses.
Each tab links to an area below for additional customization to what your form does when someone submits it.
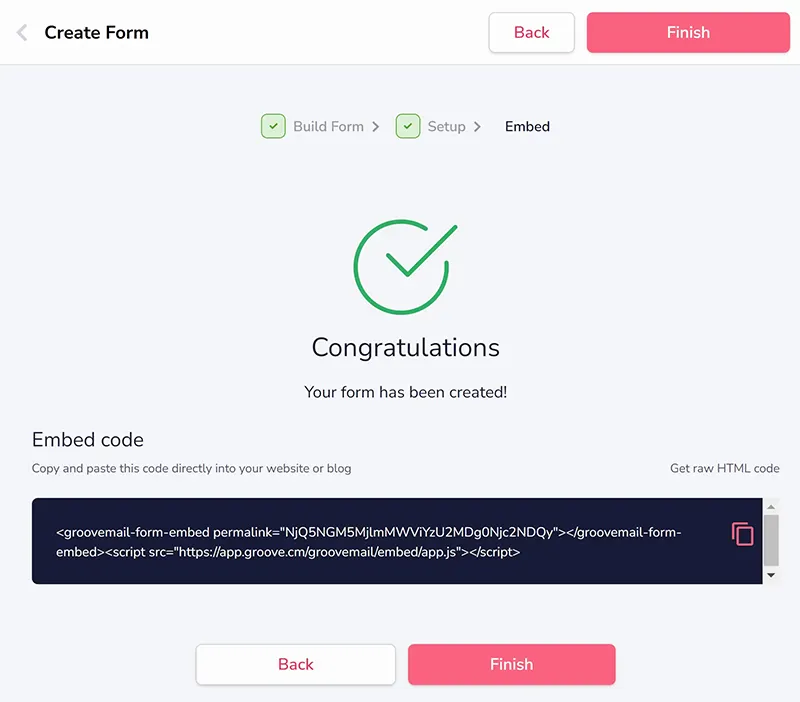
Step 3 (shown below) is Embed - Once you have reached this page, your form setup is complete! This step provides the embed code for the form, which you can use on external sites. However, if you're using GroovePages, you can simply drag and drop the GrooveMail Form option onto your website.